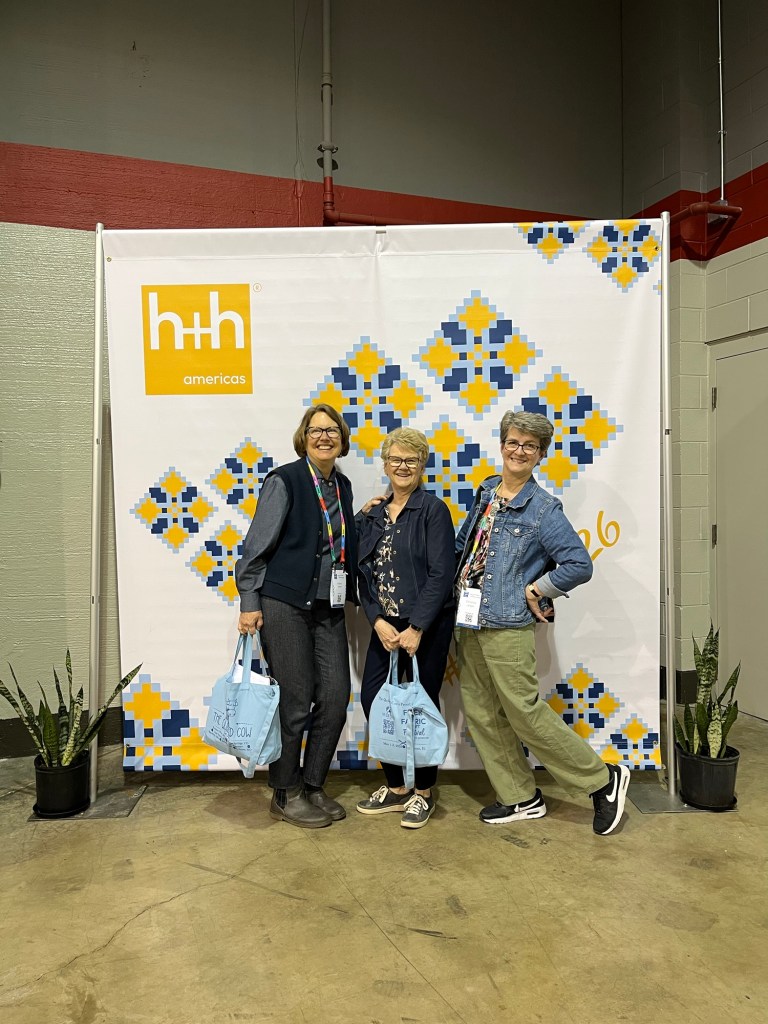
July was a big month for attendance!! Cohosting seems to be working very well-thanks, everyone!
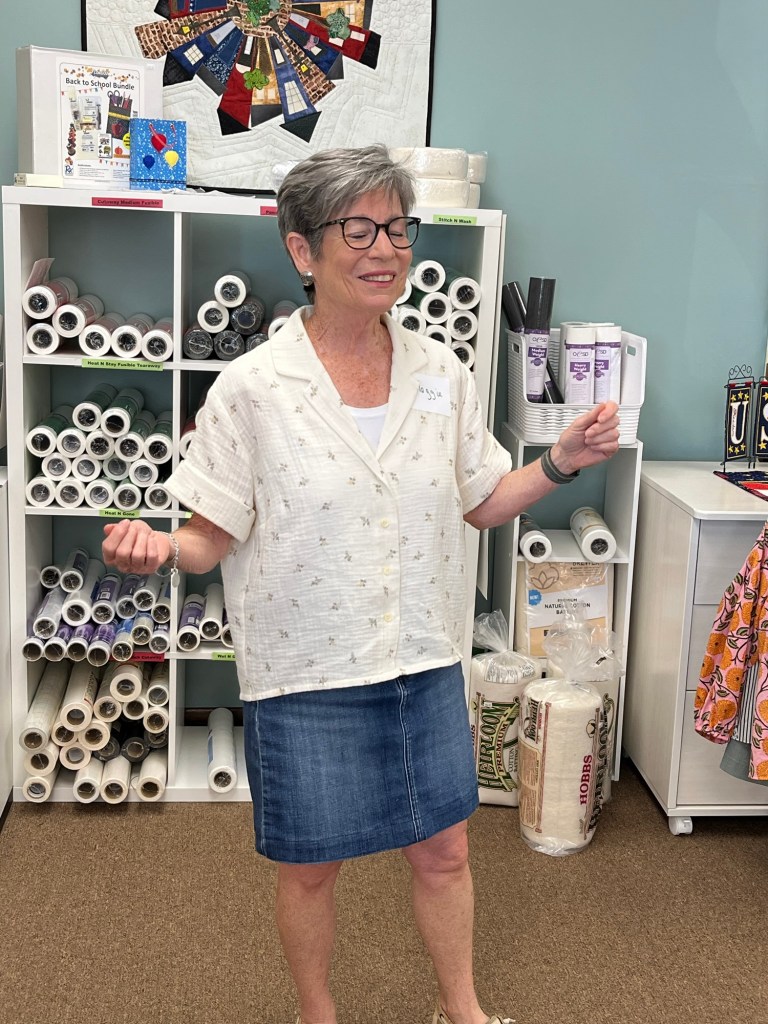
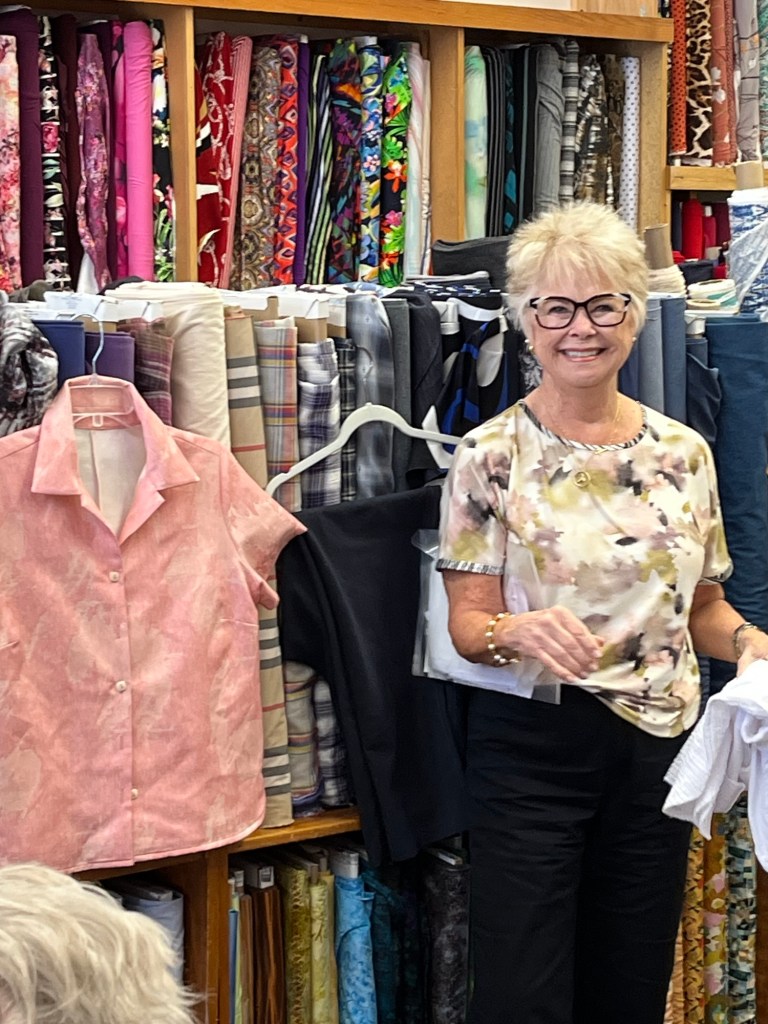
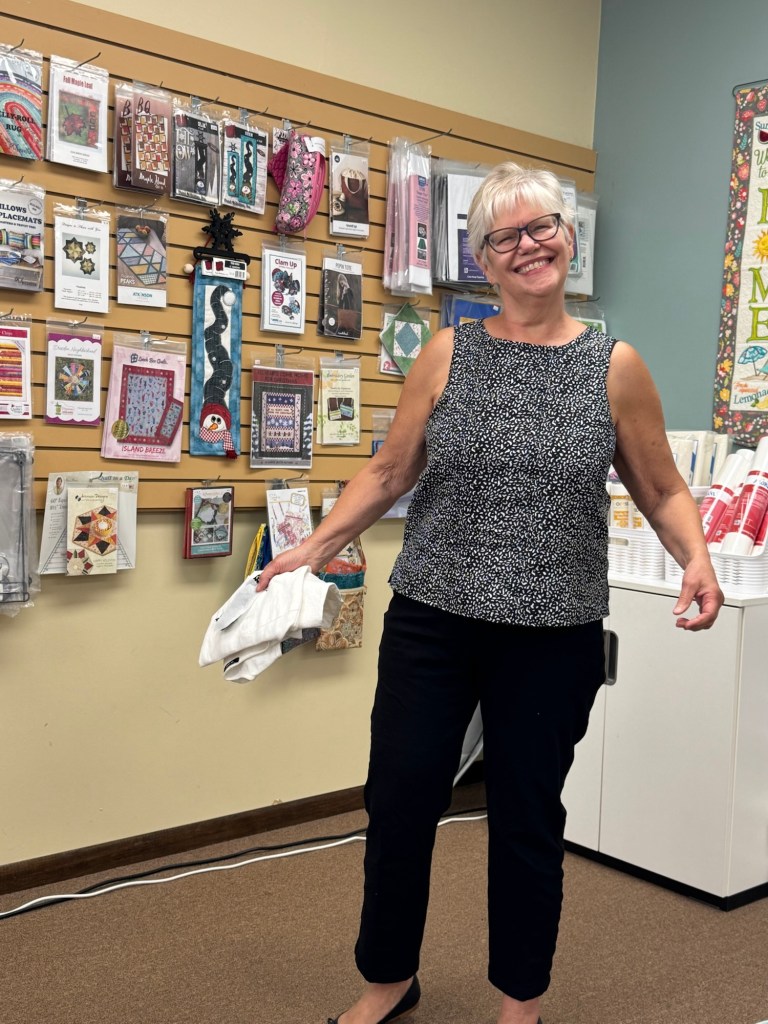
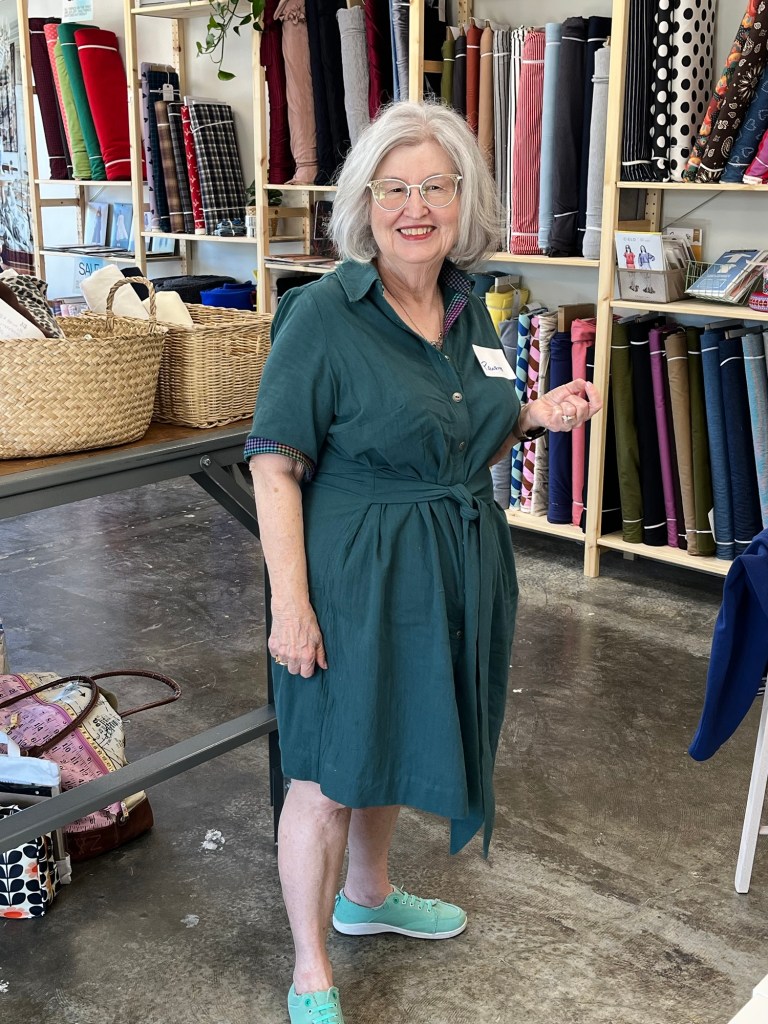
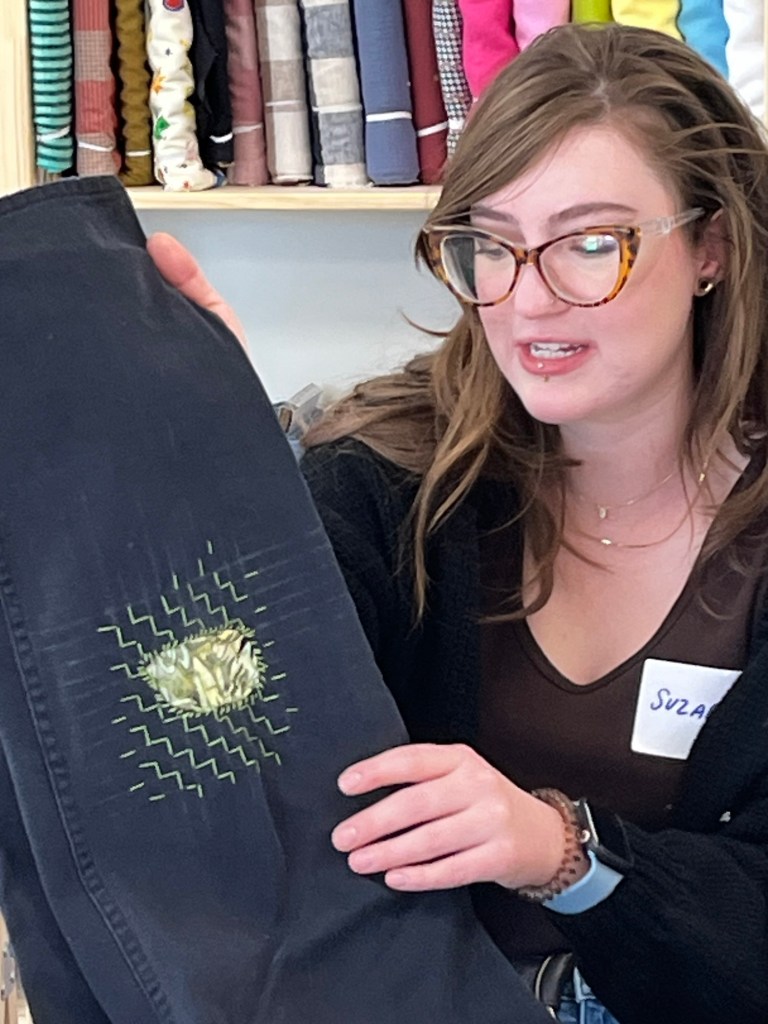
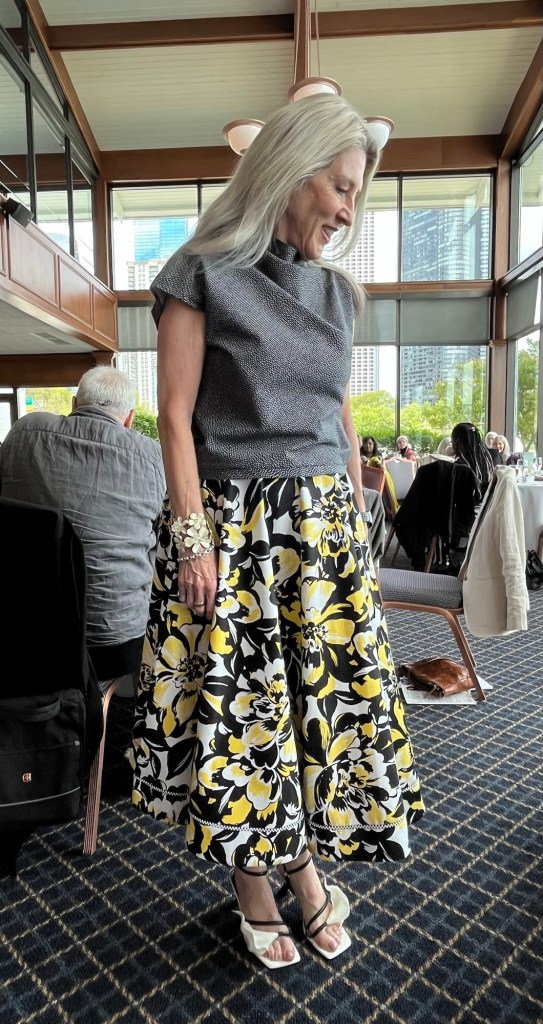
Sandra’s Garments:
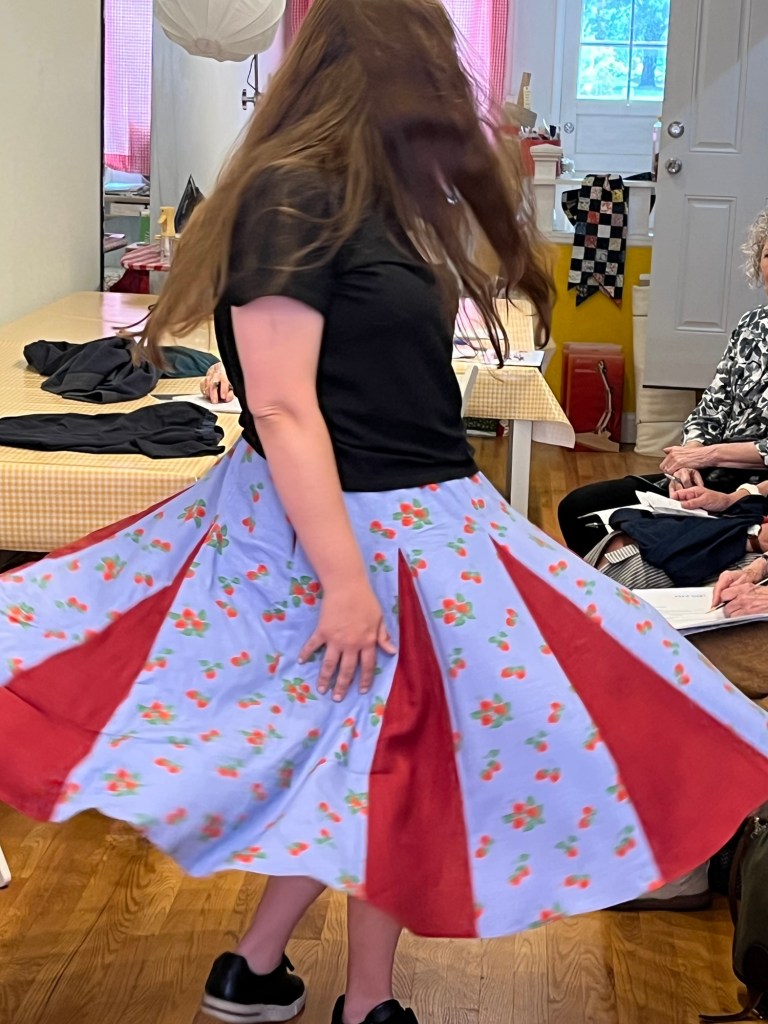
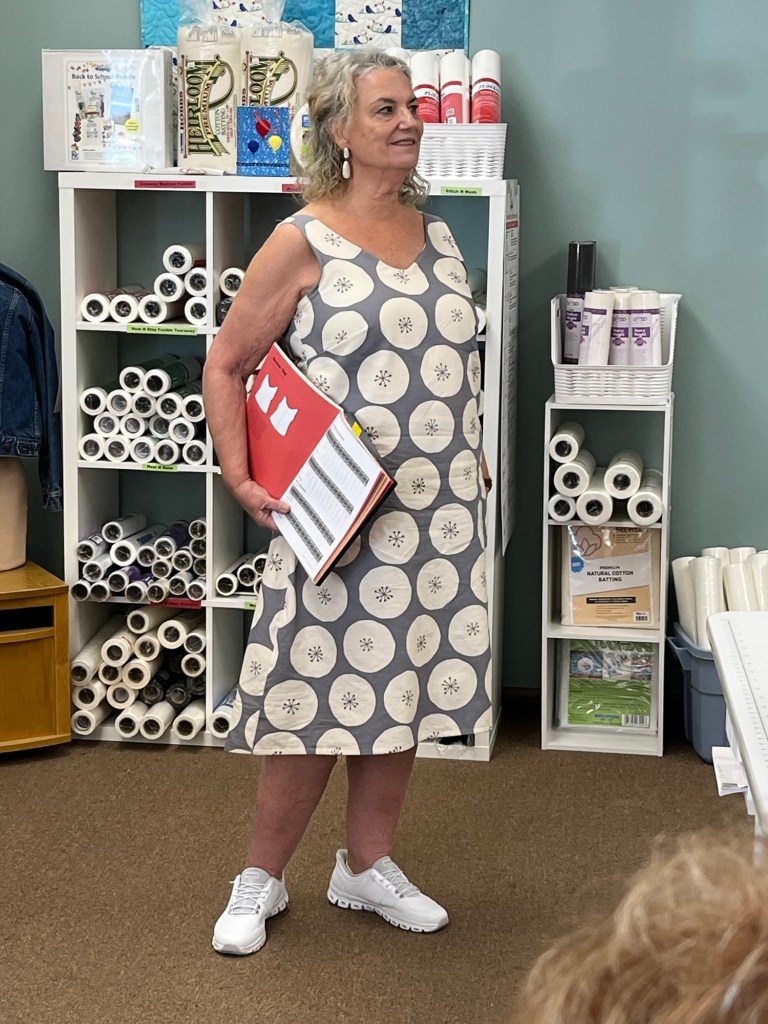
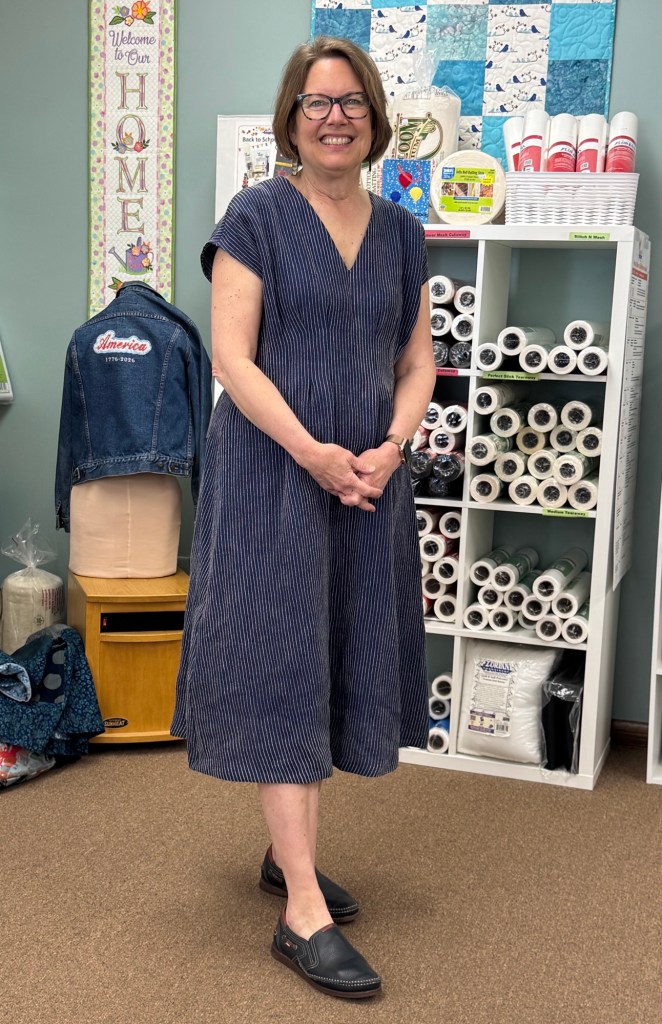
First made a muslin with a bedsheet to mimic 100% cotton drape. Sewed up a straight size 16, pleased.
Pattern shows a slight dropped shoulder which I kept.
A wonderful, fun and easy sew, interesting design. I’ve made 2 already.

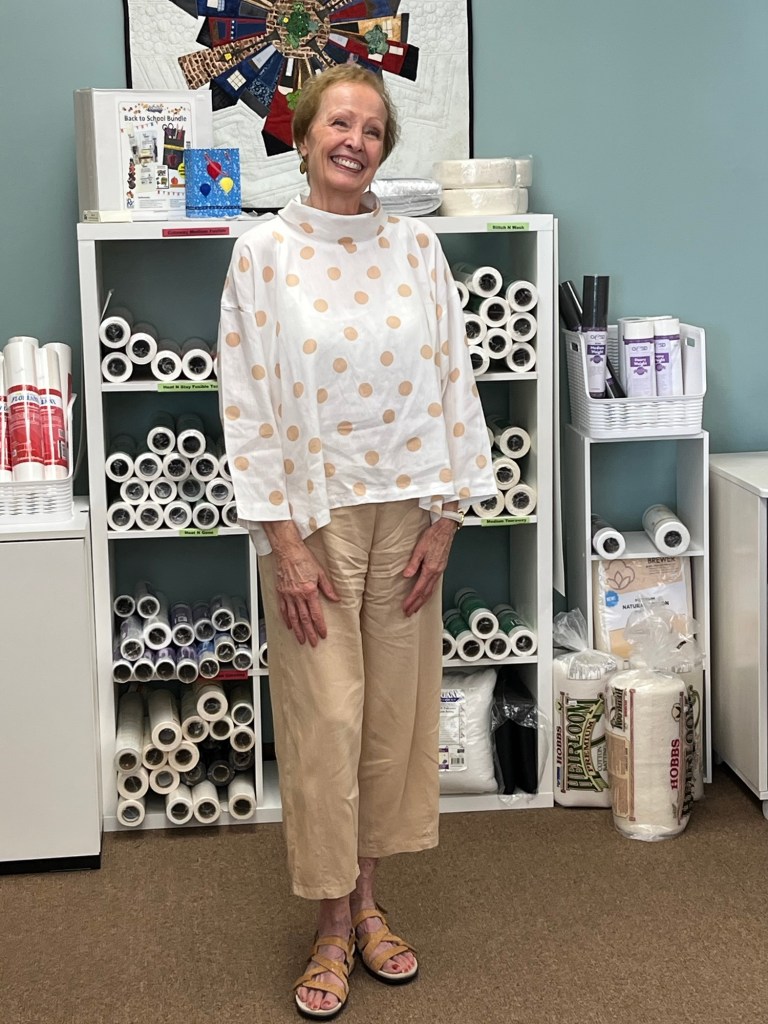
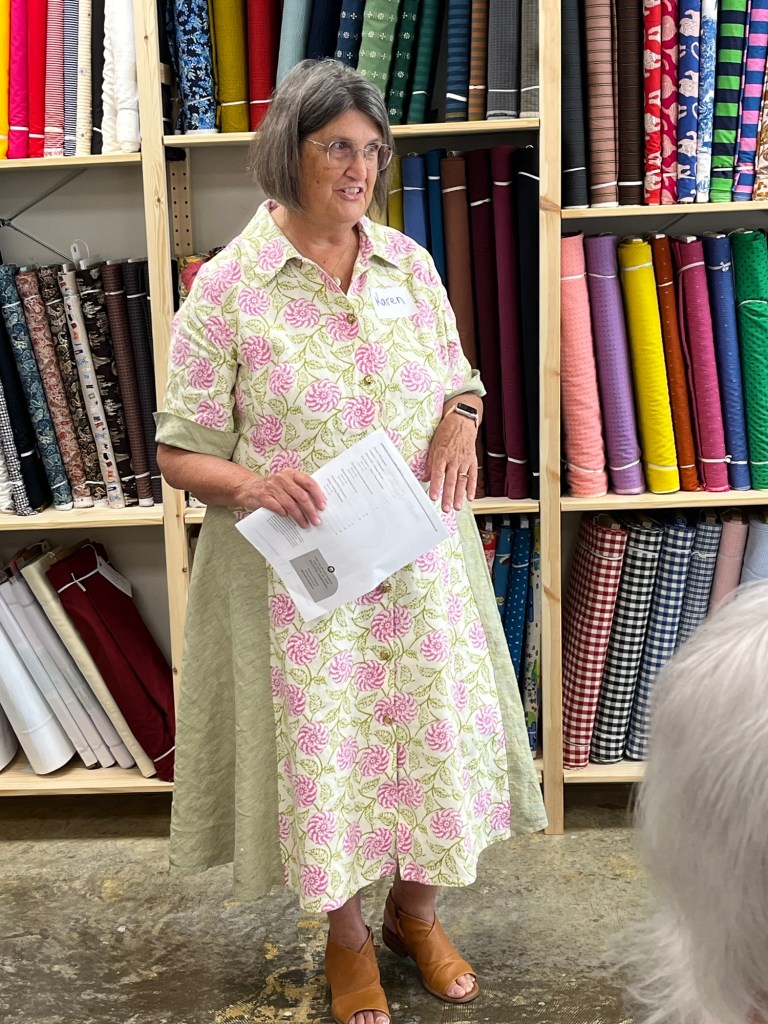
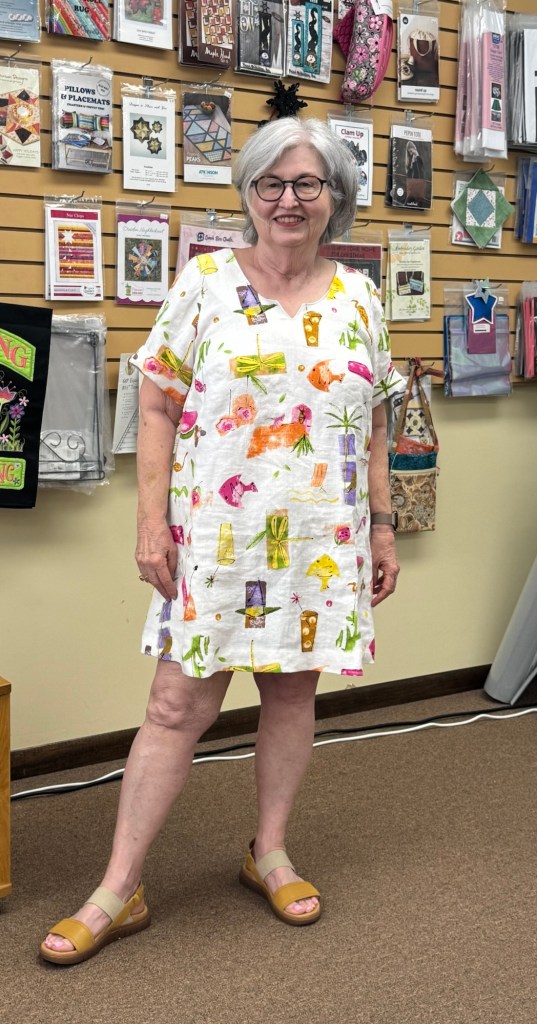
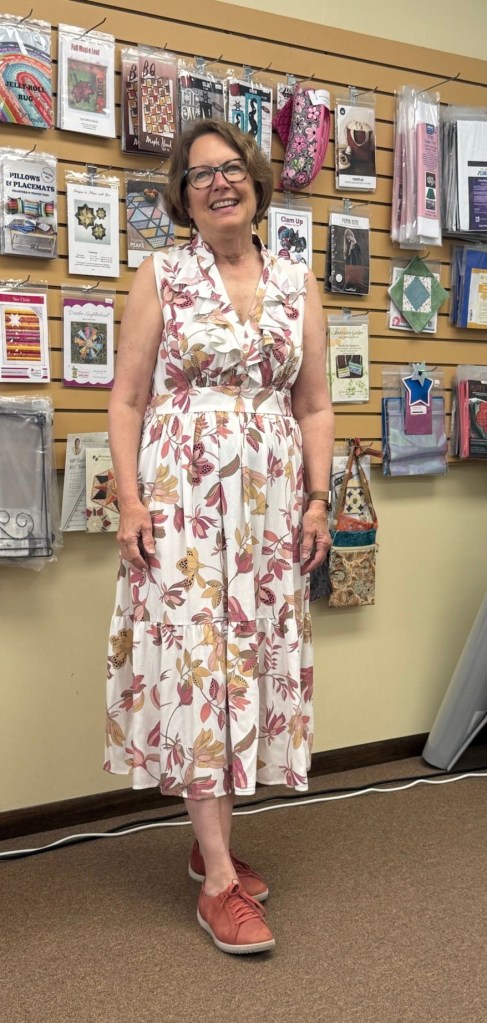
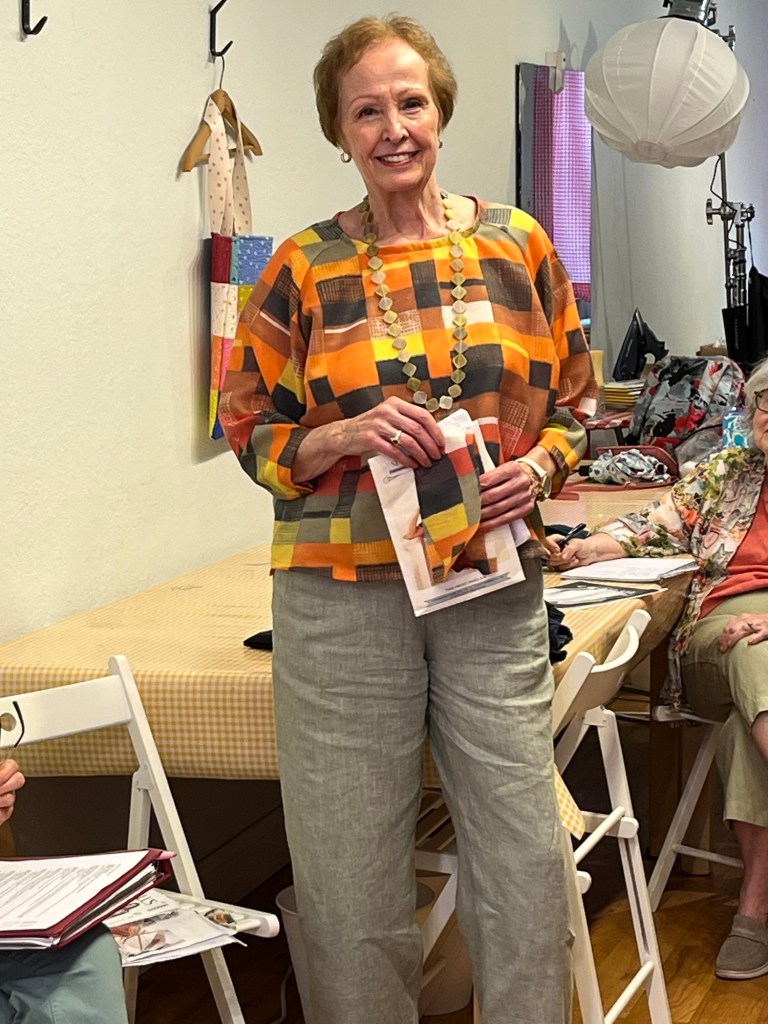
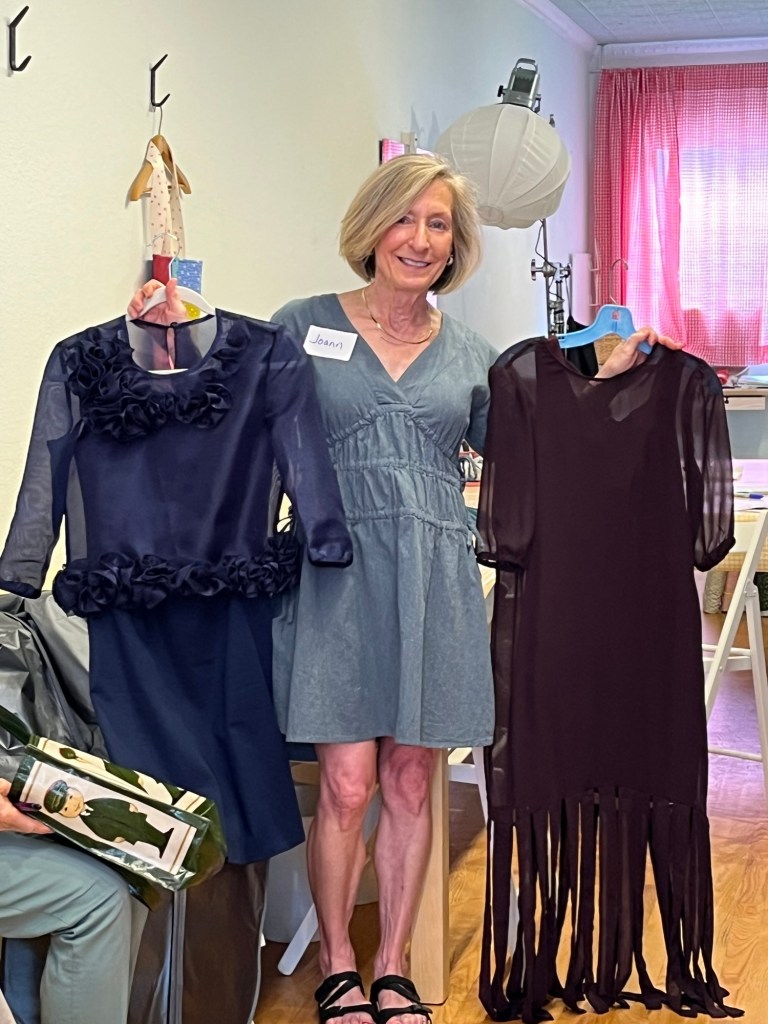
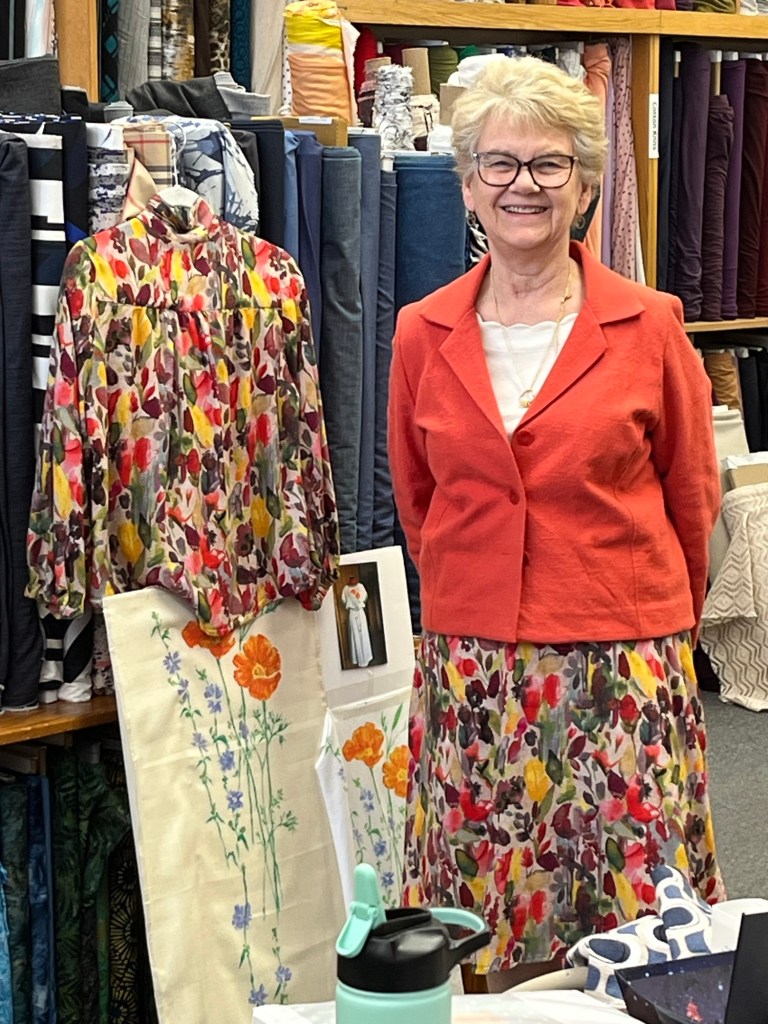
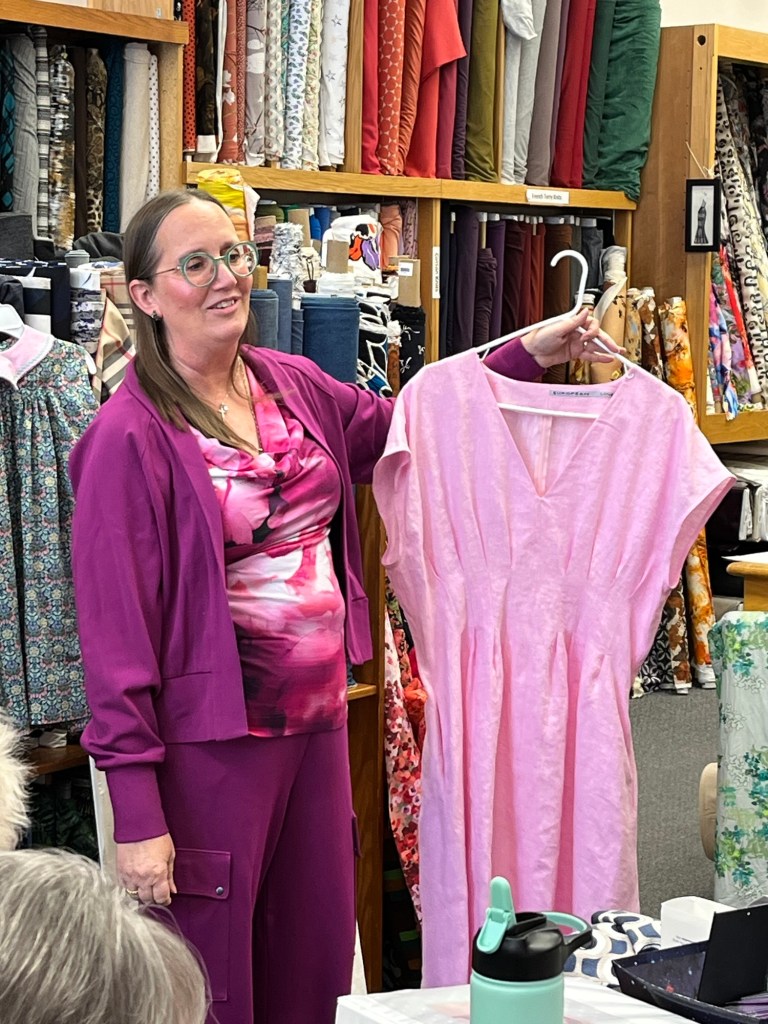
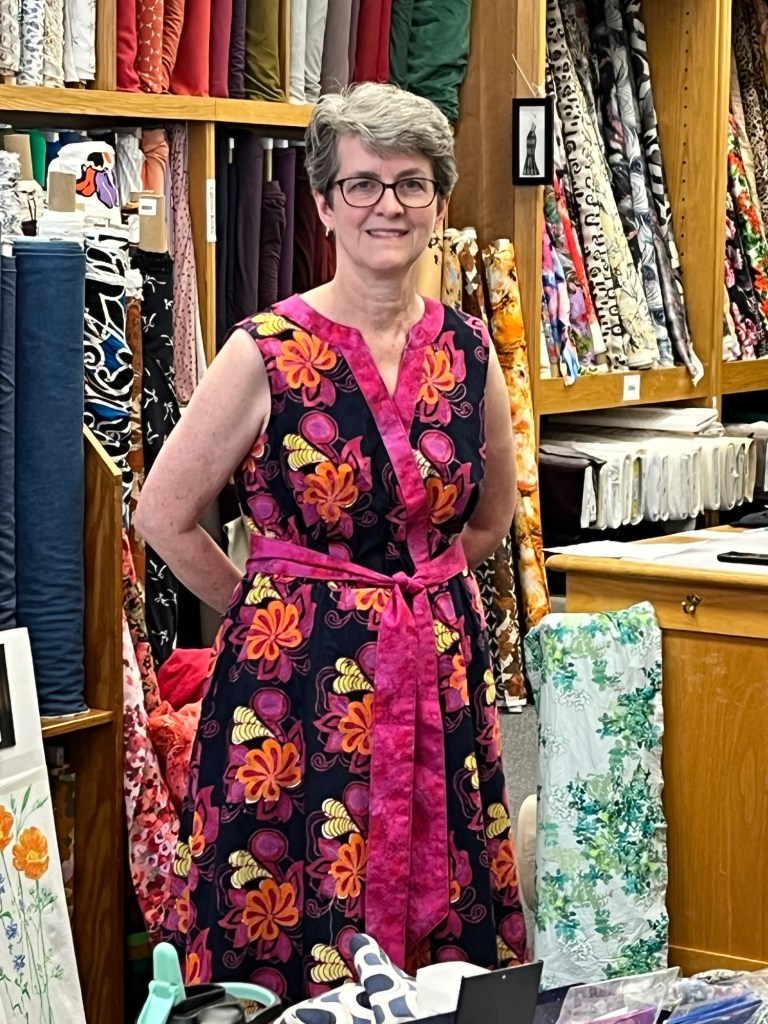
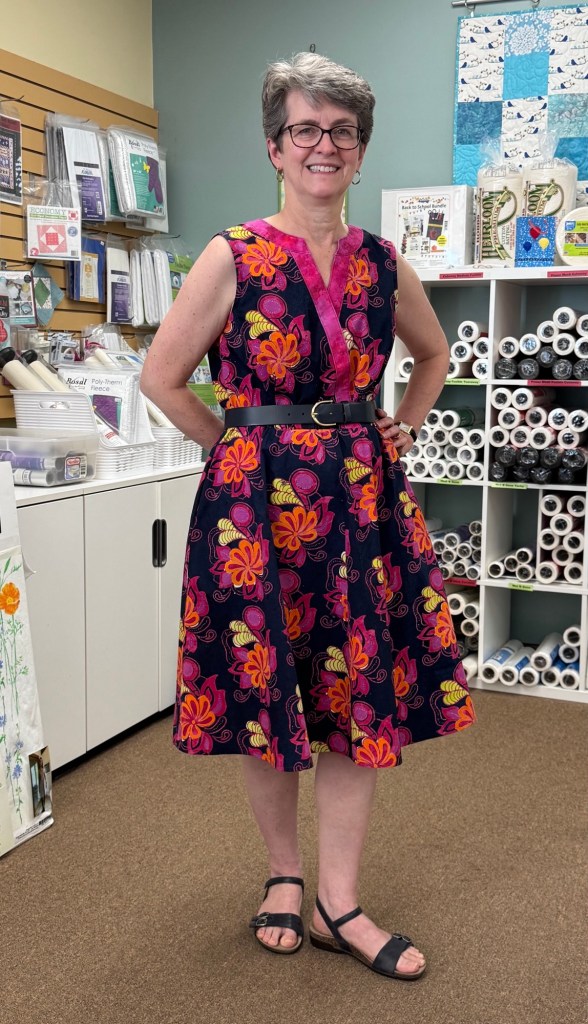
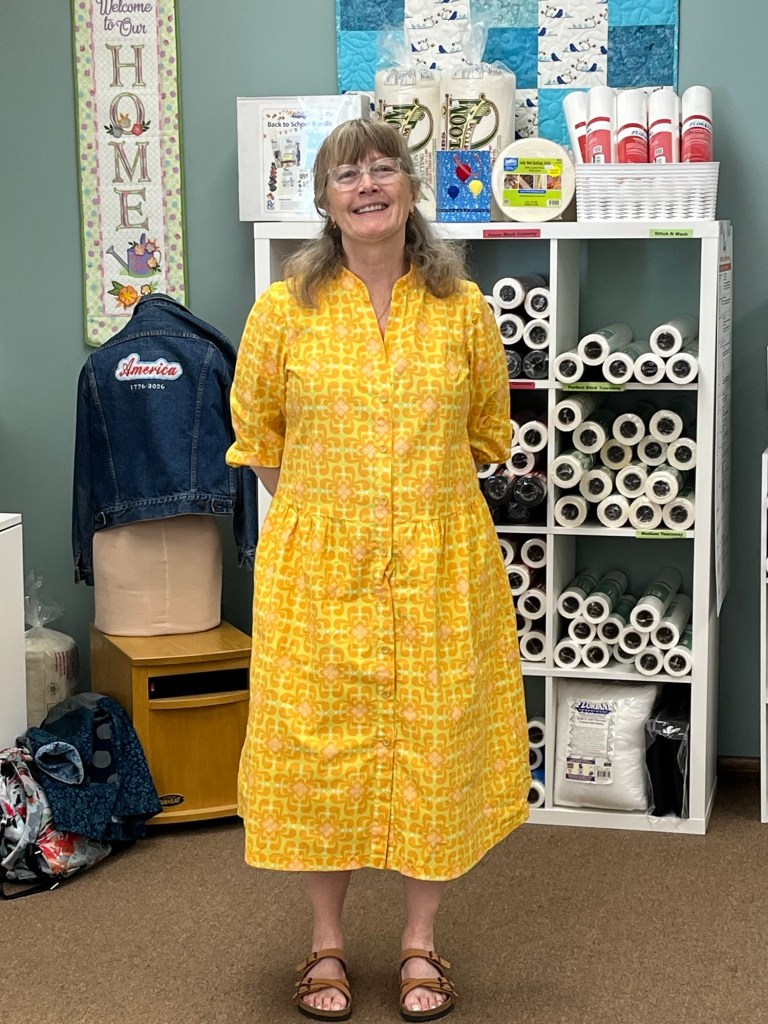
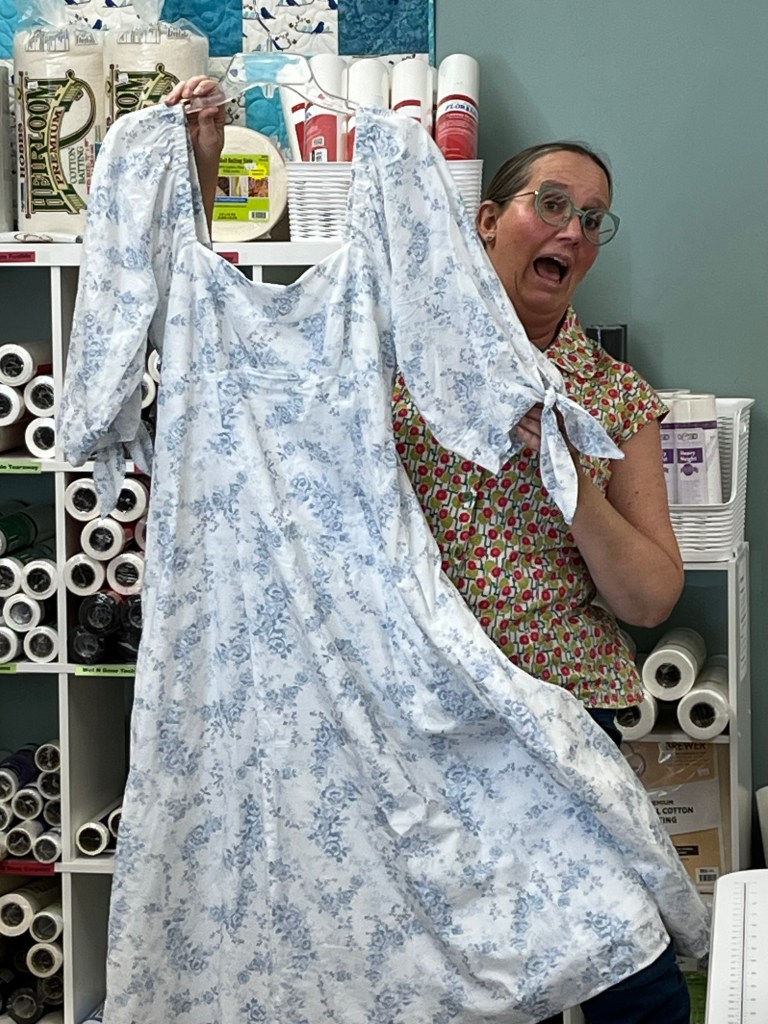
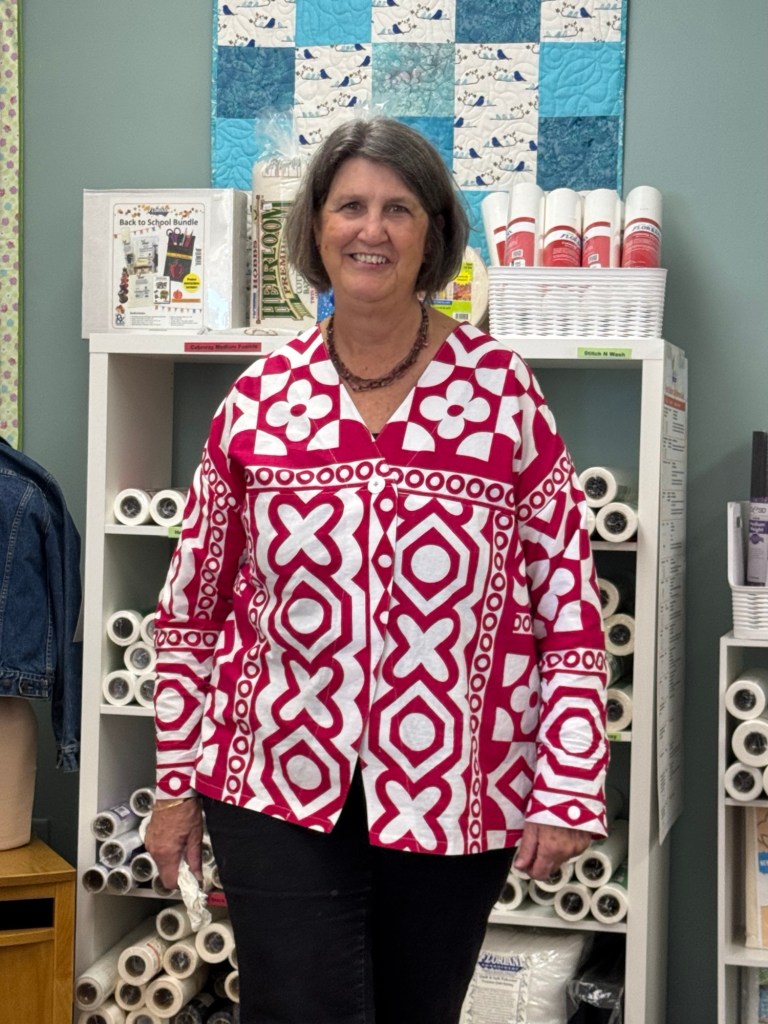
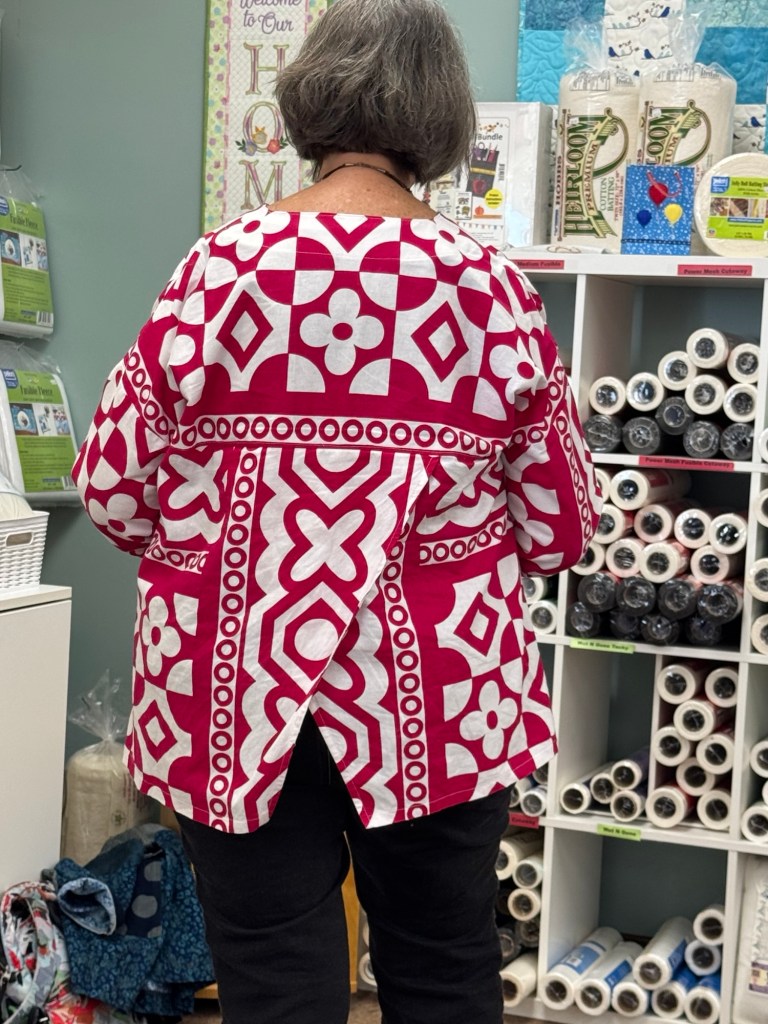
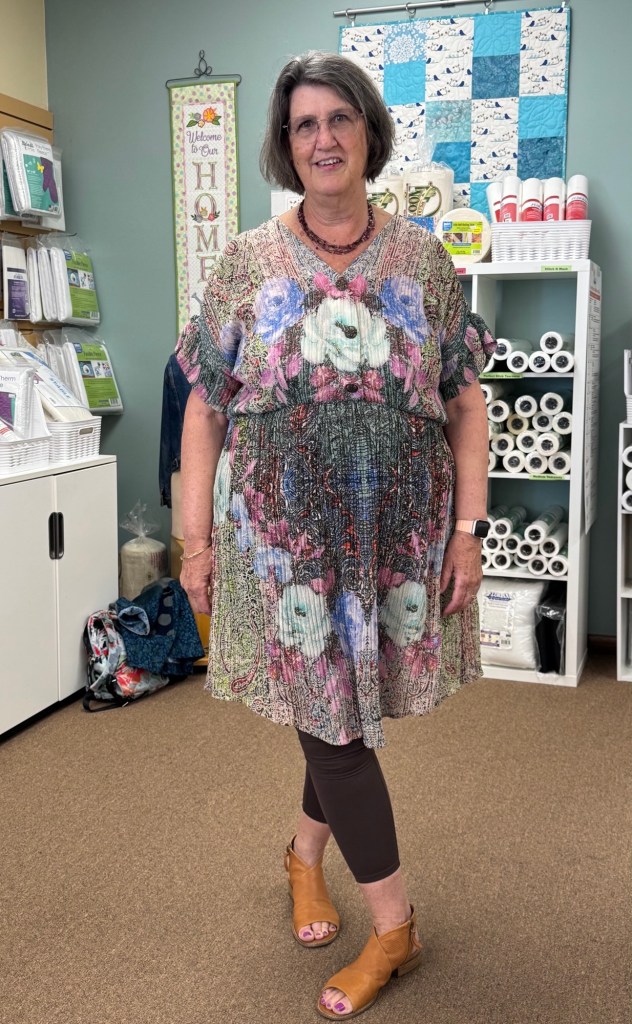
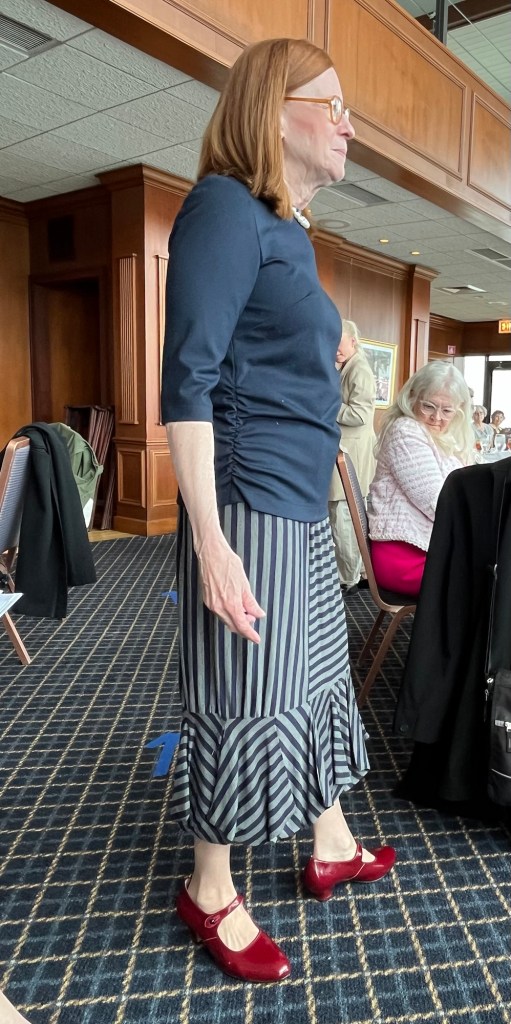
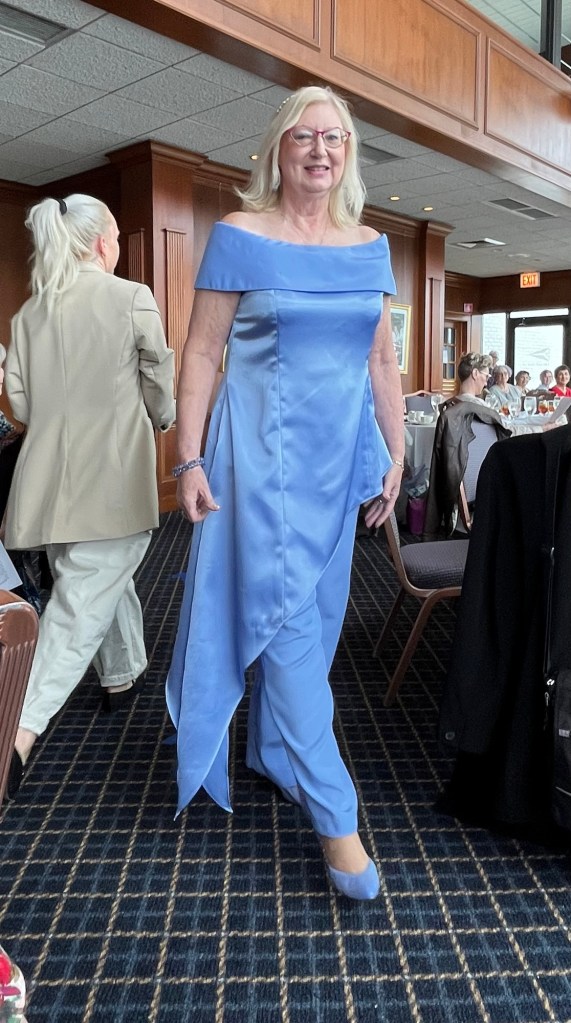
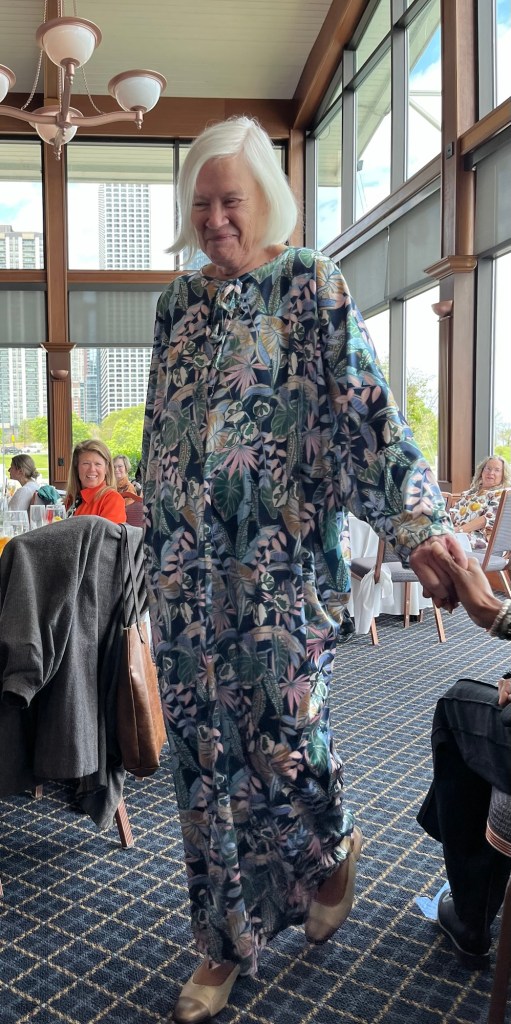
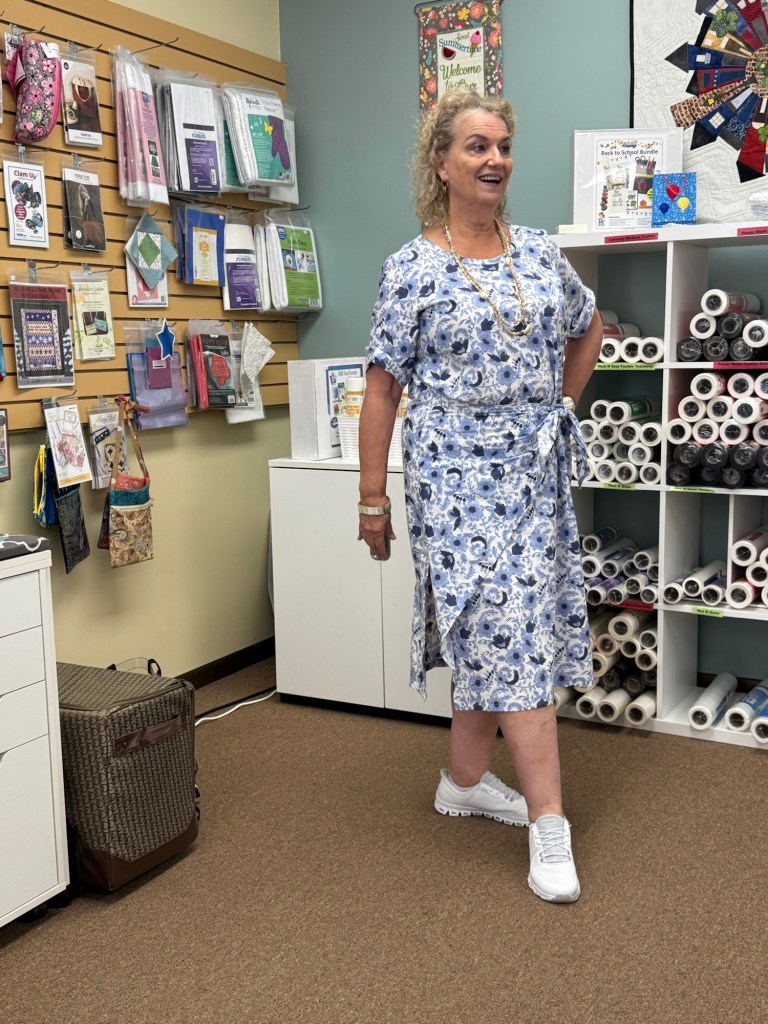
Sewed up this one-of-a-kind cotton hand dyed in Zambia, exactly 2 yards, gifted to me.
Made dress in a size 14, TNT pattern for me, knew it would work well.
Lowered bust darts 2”, flared out as much as fabric allowed for an a-line skirt effect.
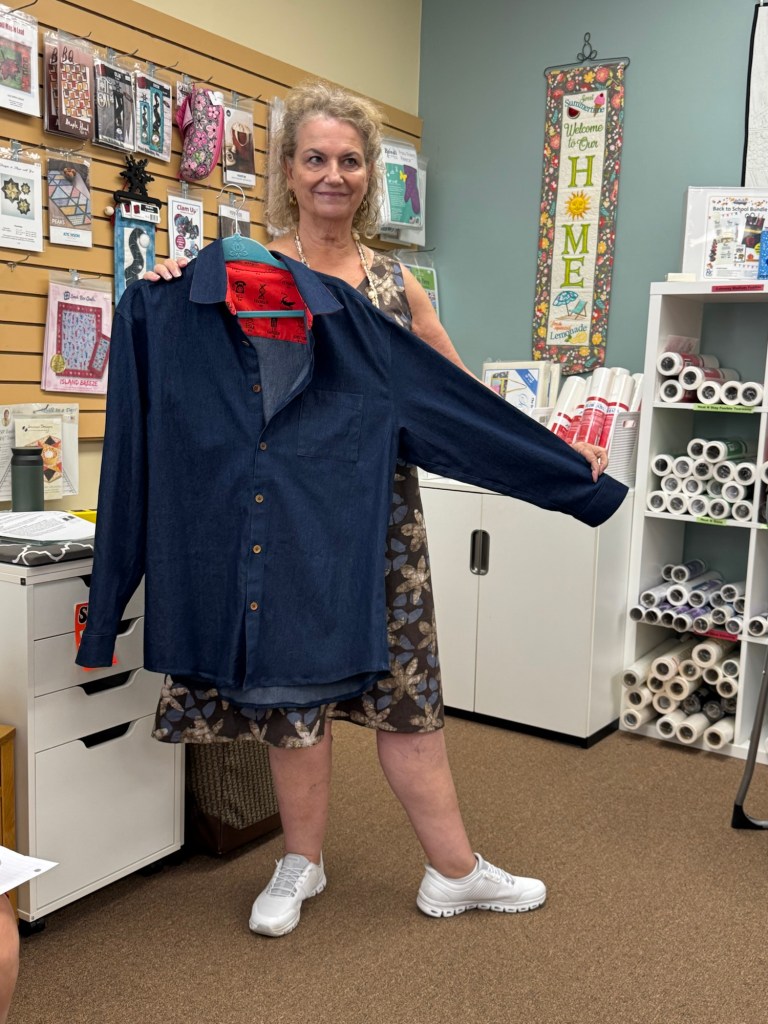
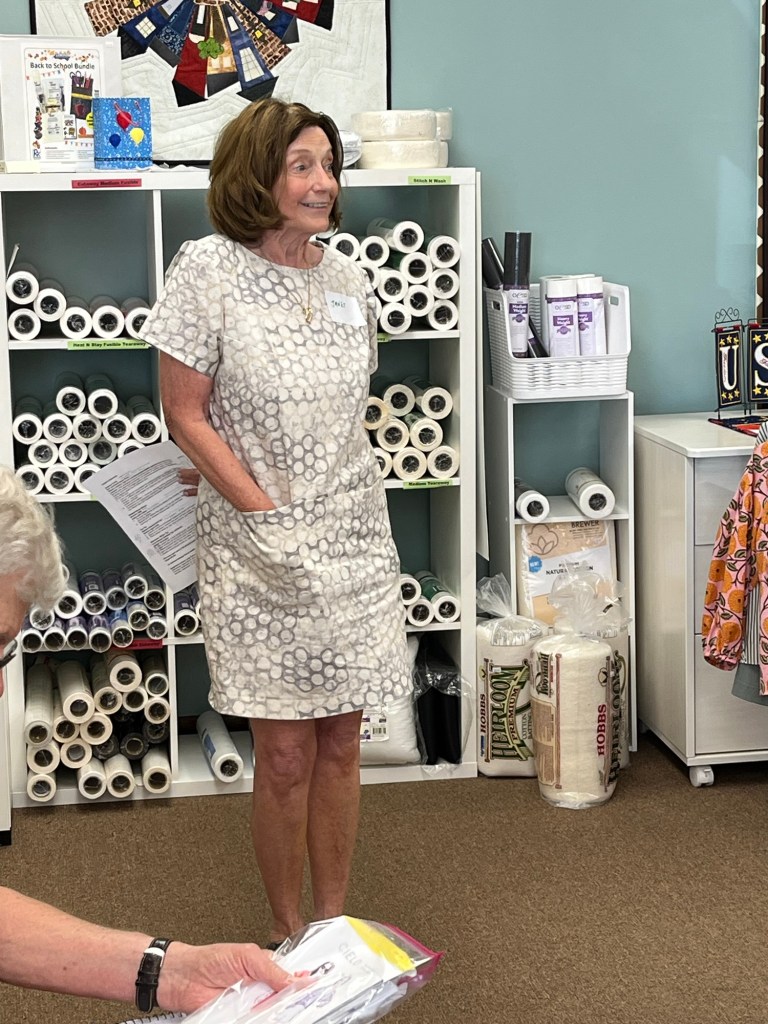
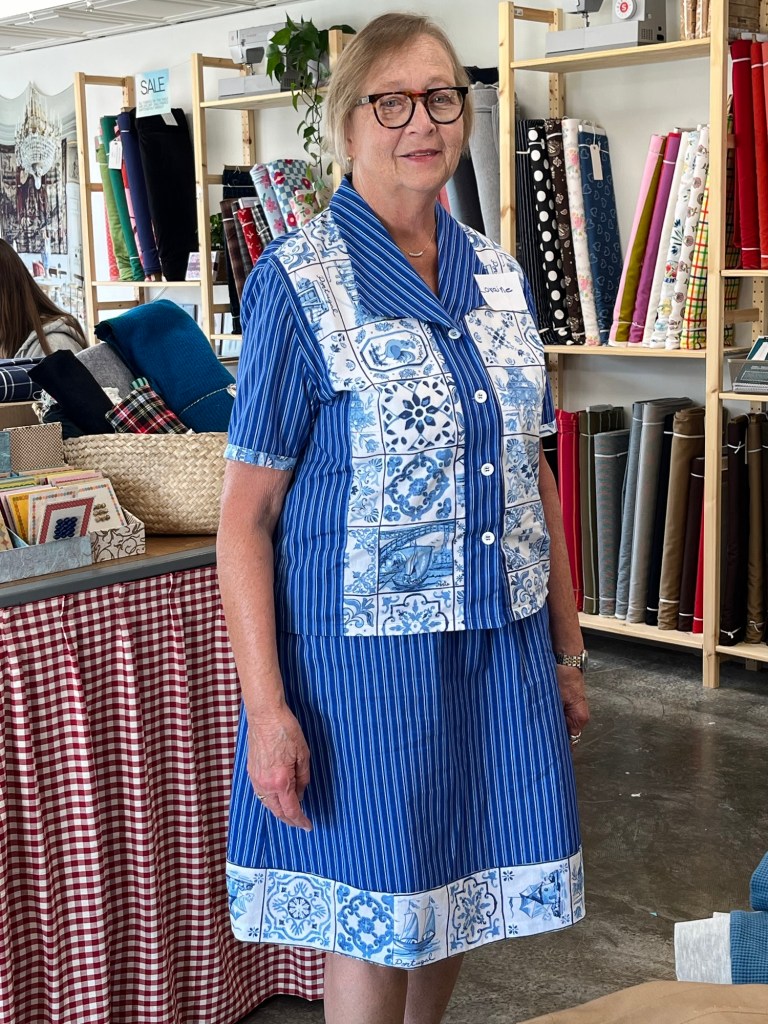
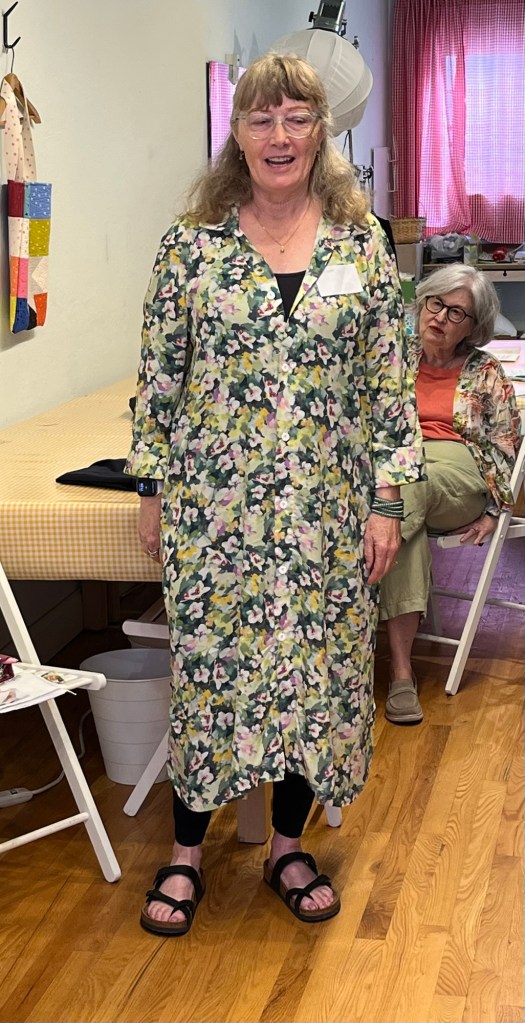
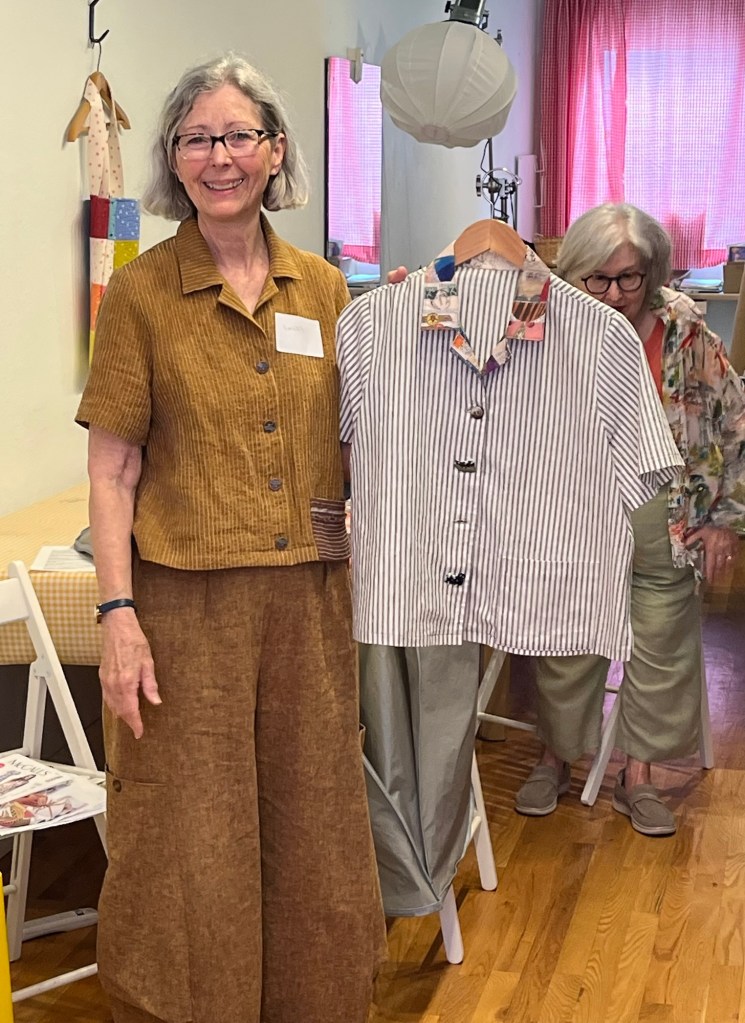
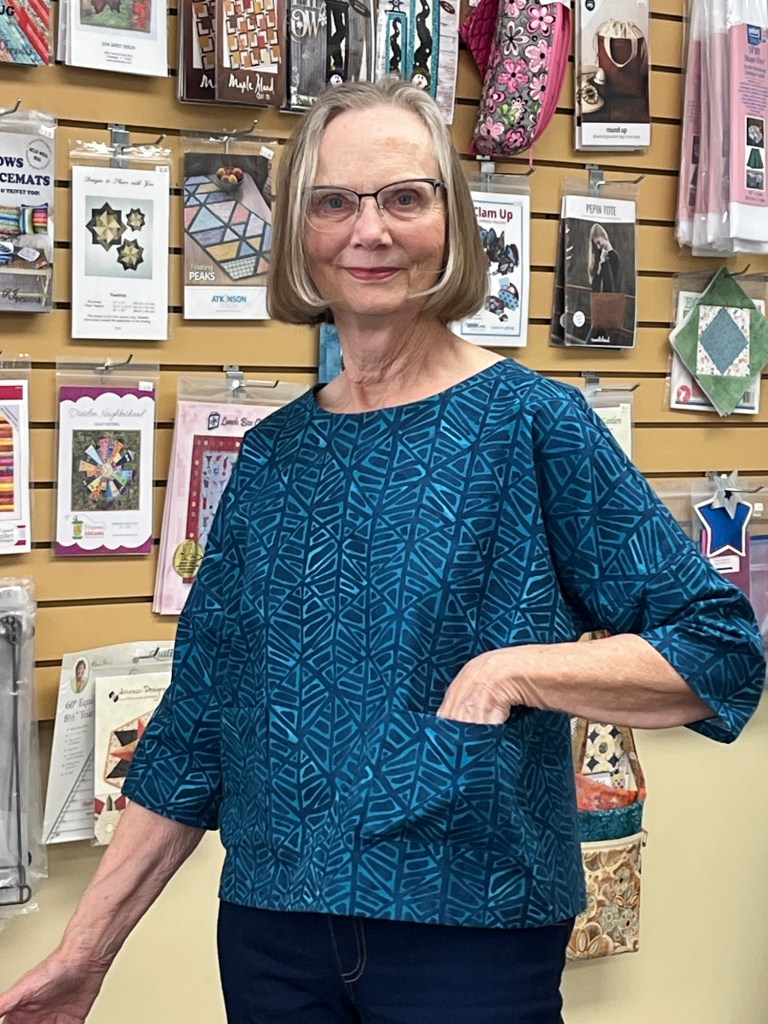
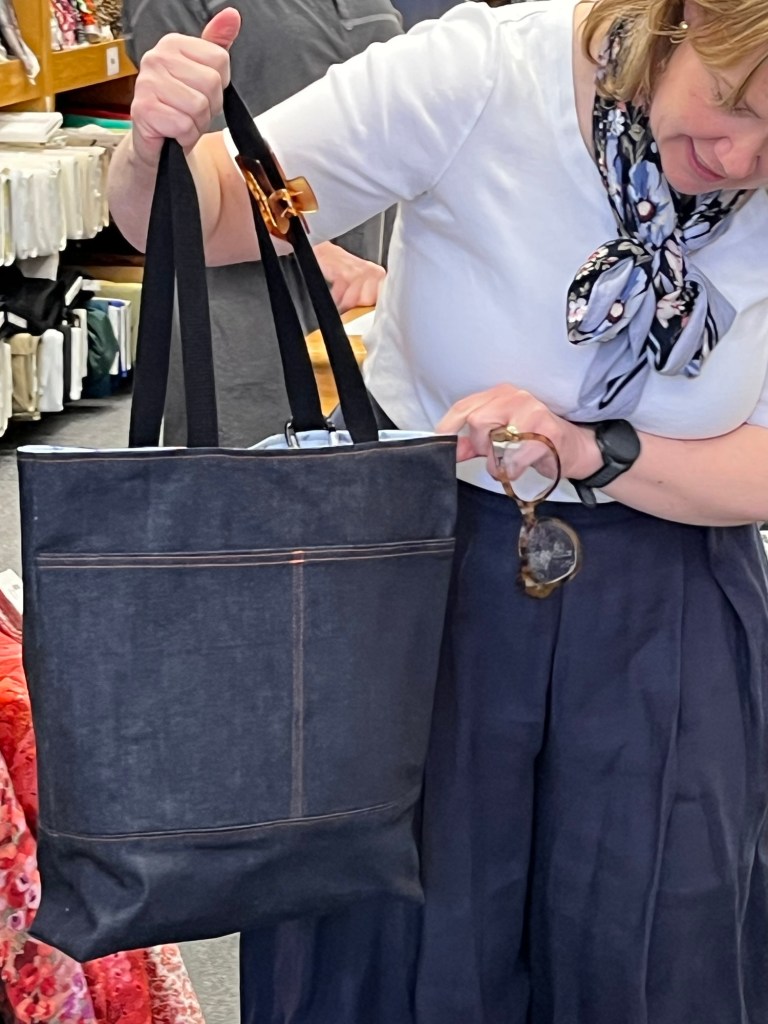
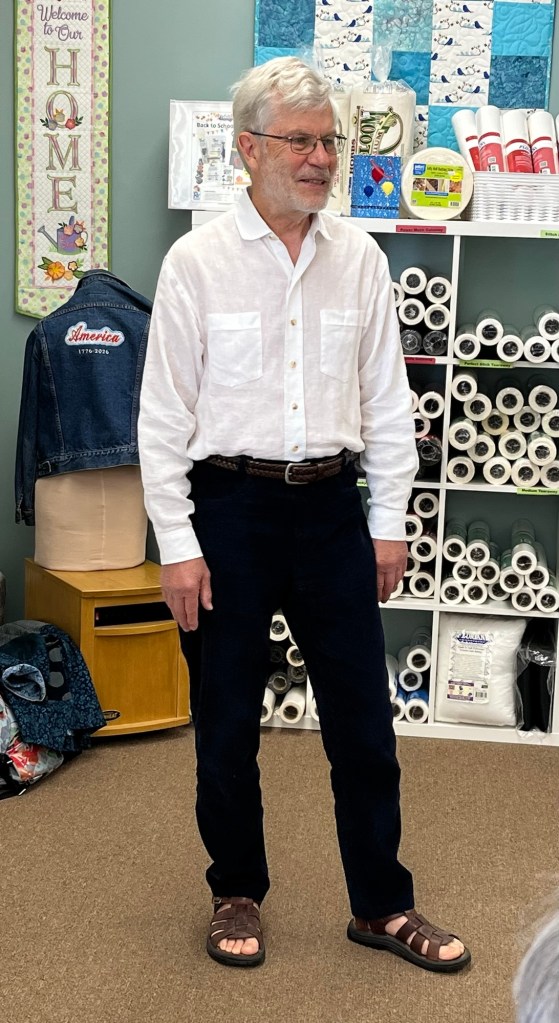
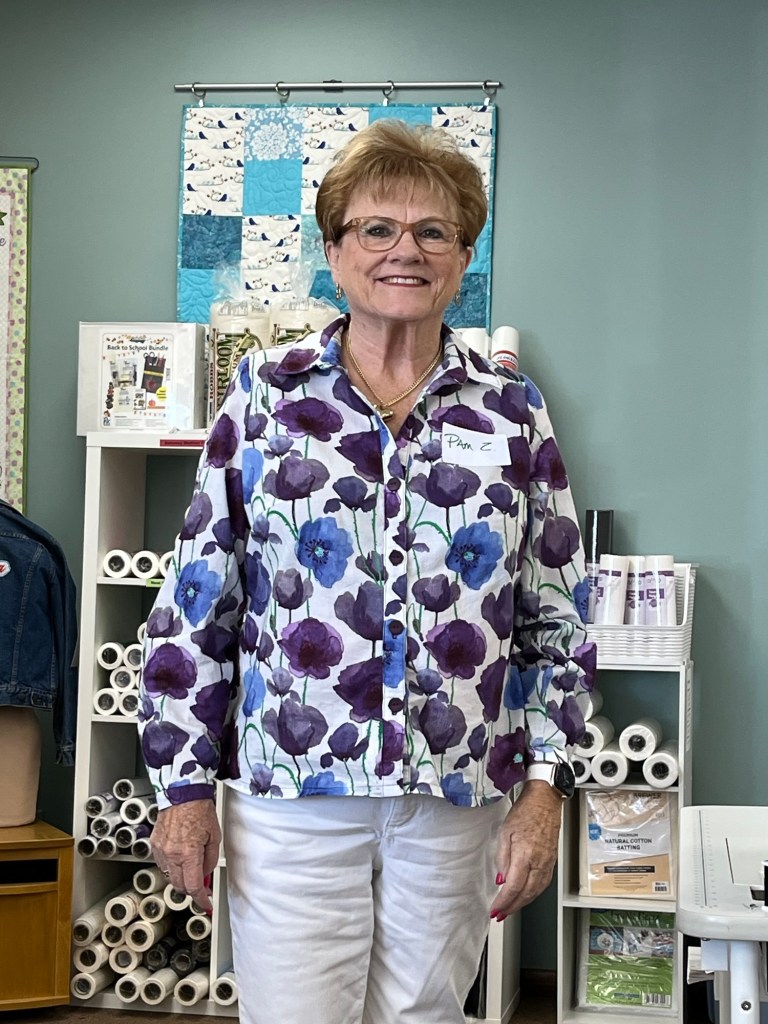
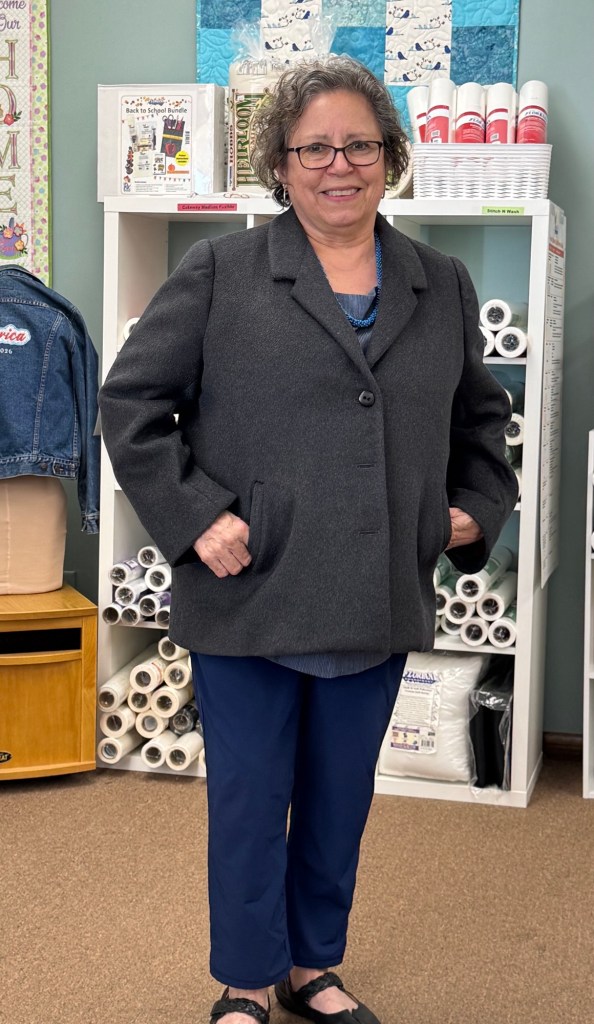
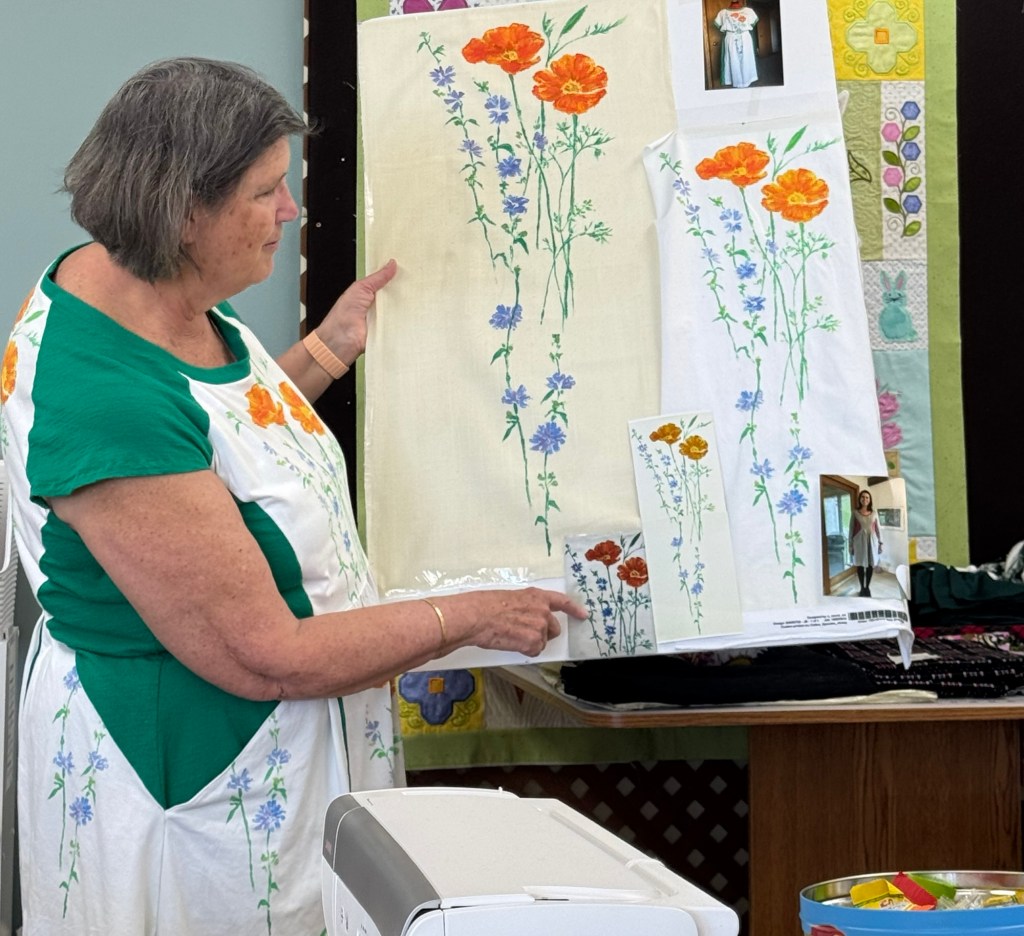
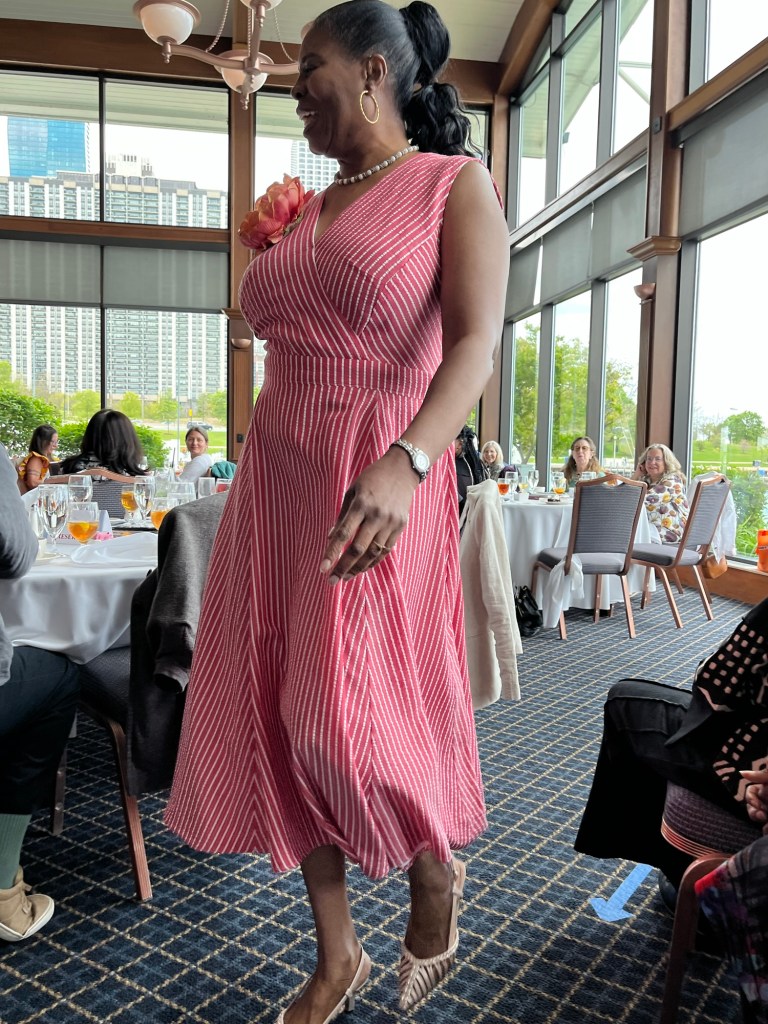
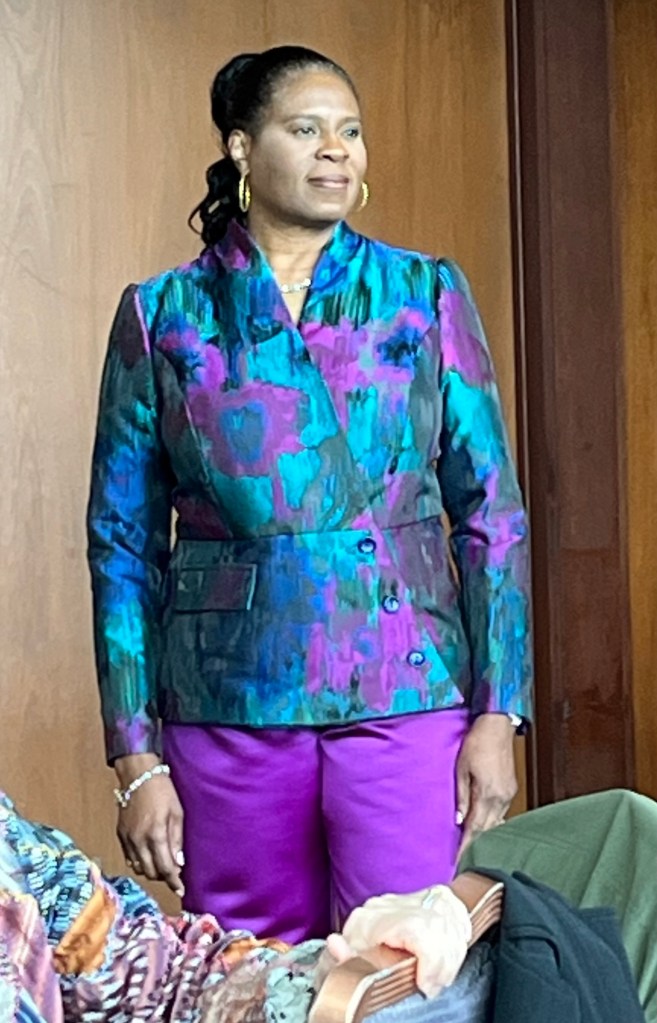
I chose size 46 in the 44-52 size pattern, classic fit. Needed to raise pocket 2”. (Even patternreview.com reviewer noted pocket is way too low!)
Flat-felled seams, fun facing fabric, not easy, but worth it.

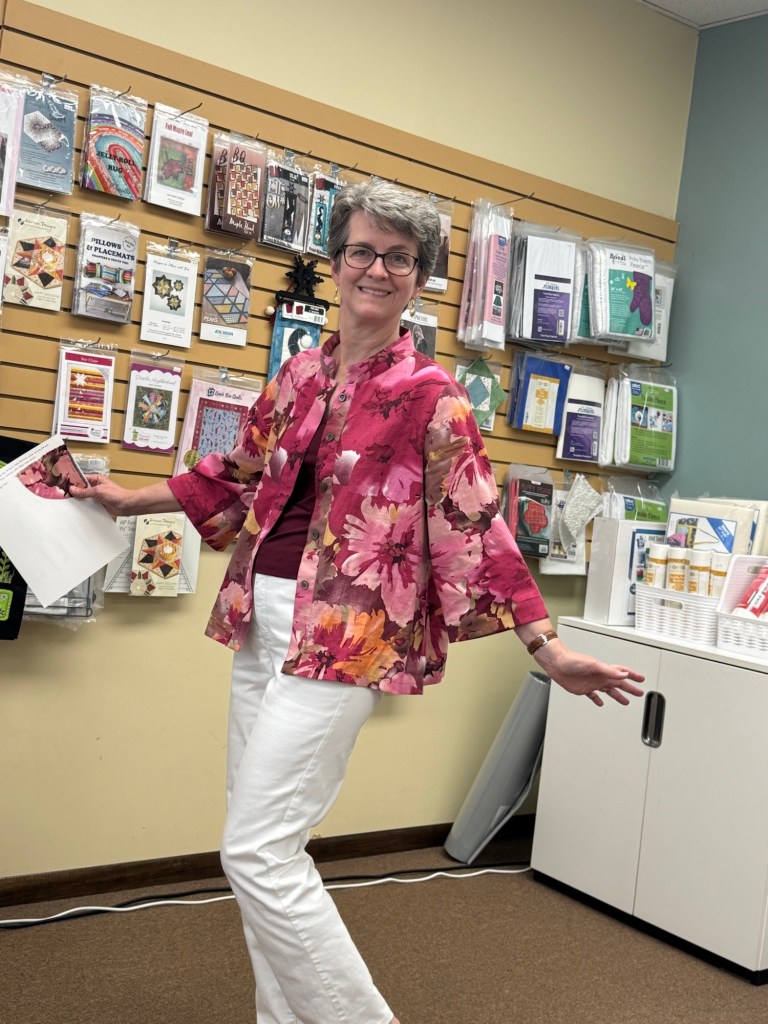
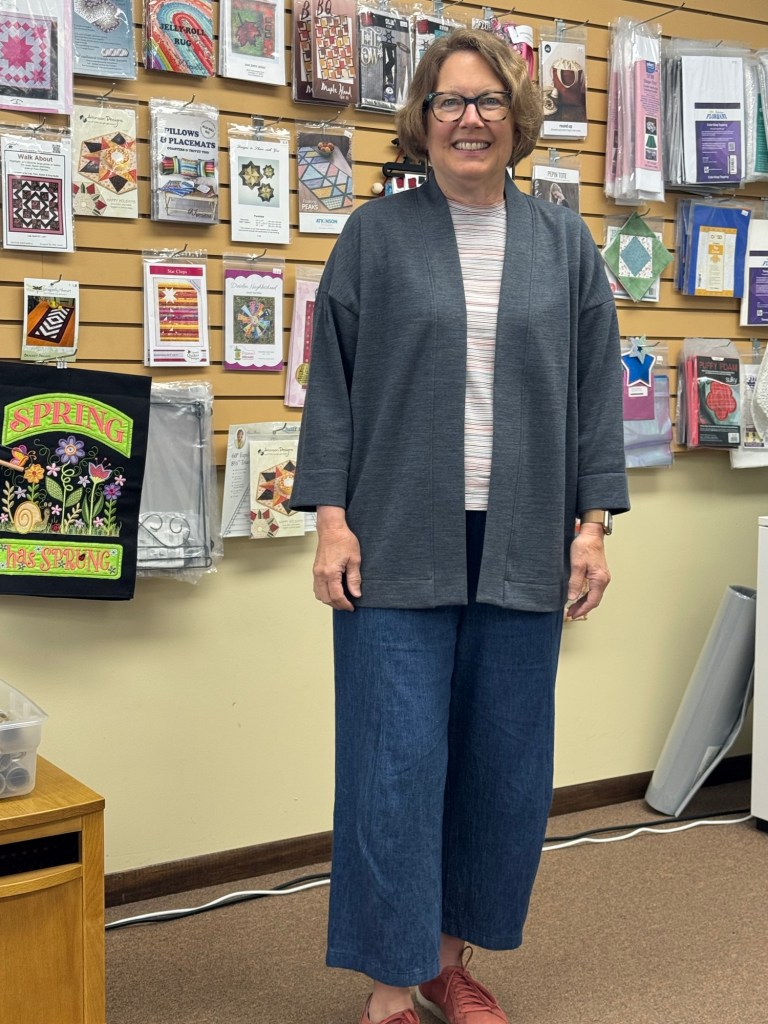
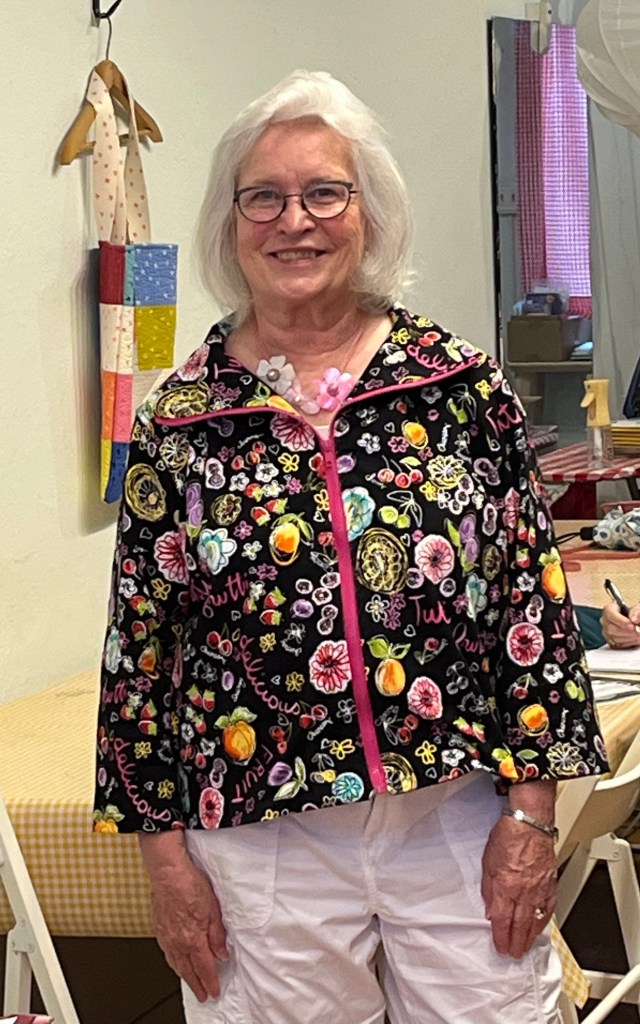
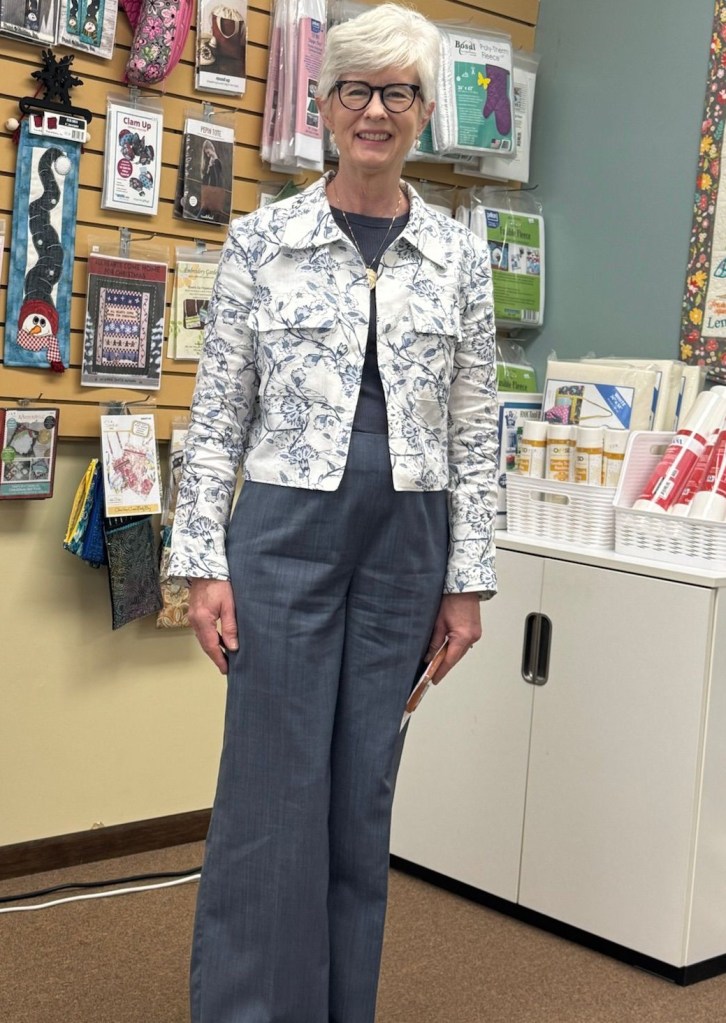
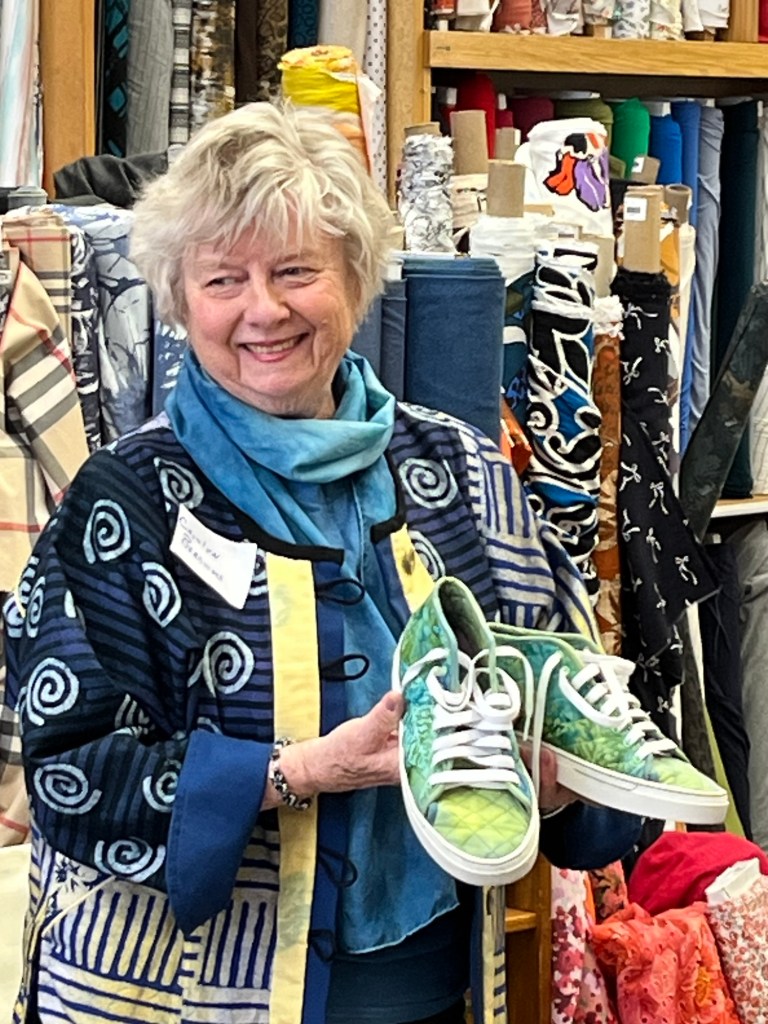
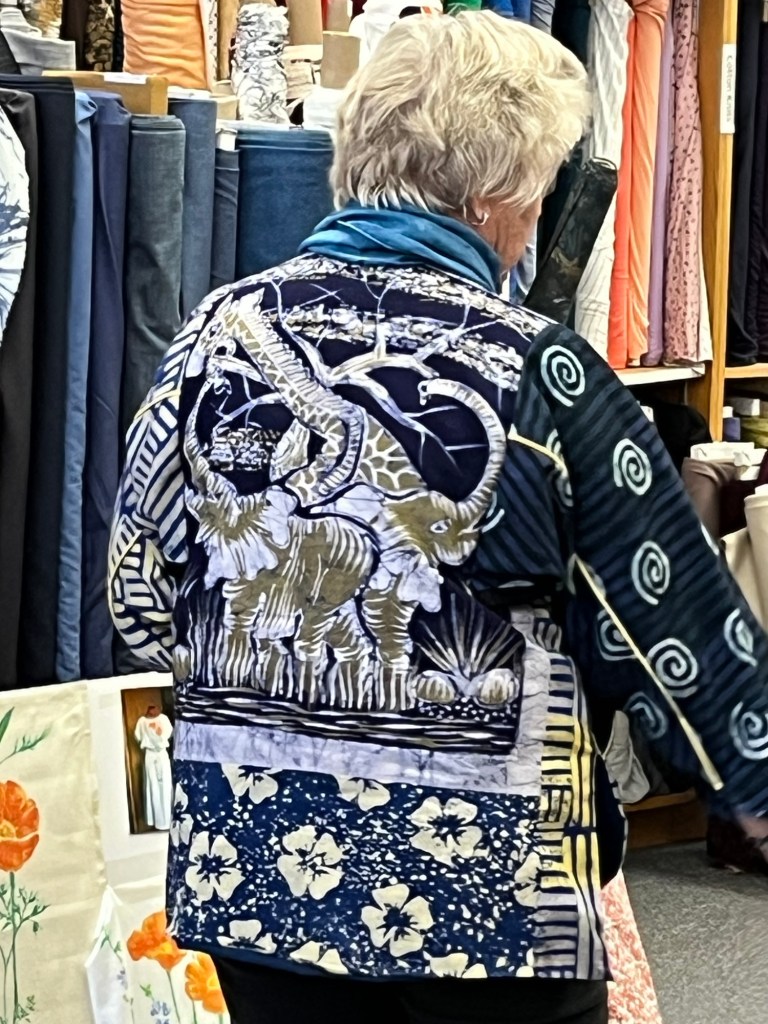
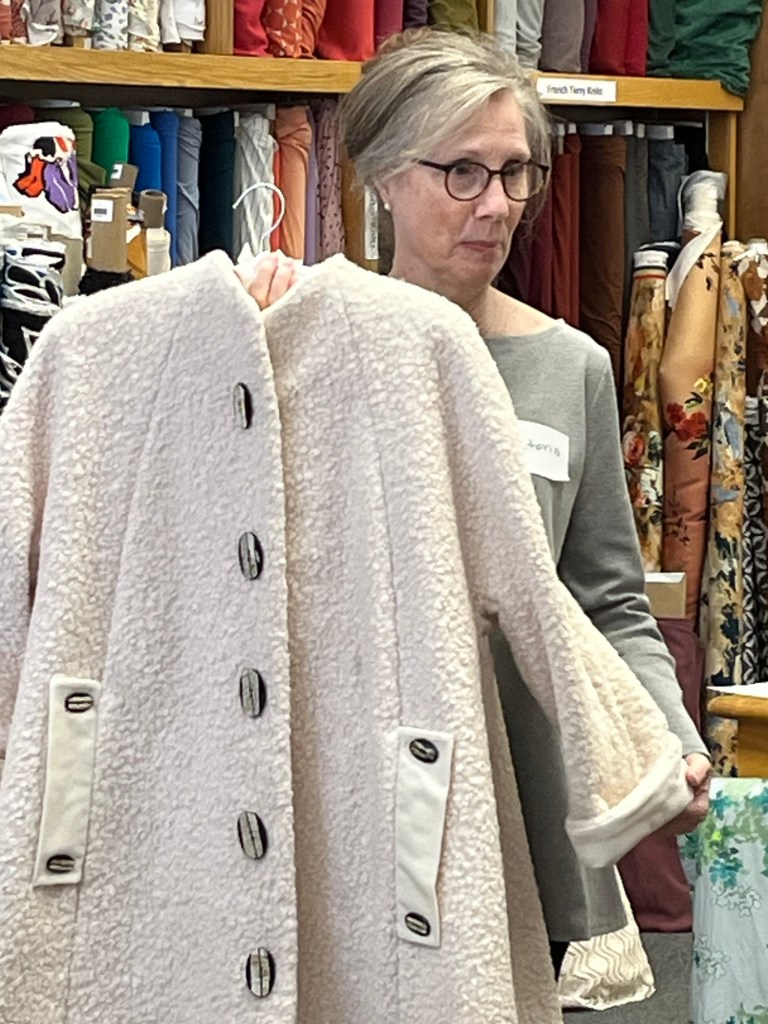
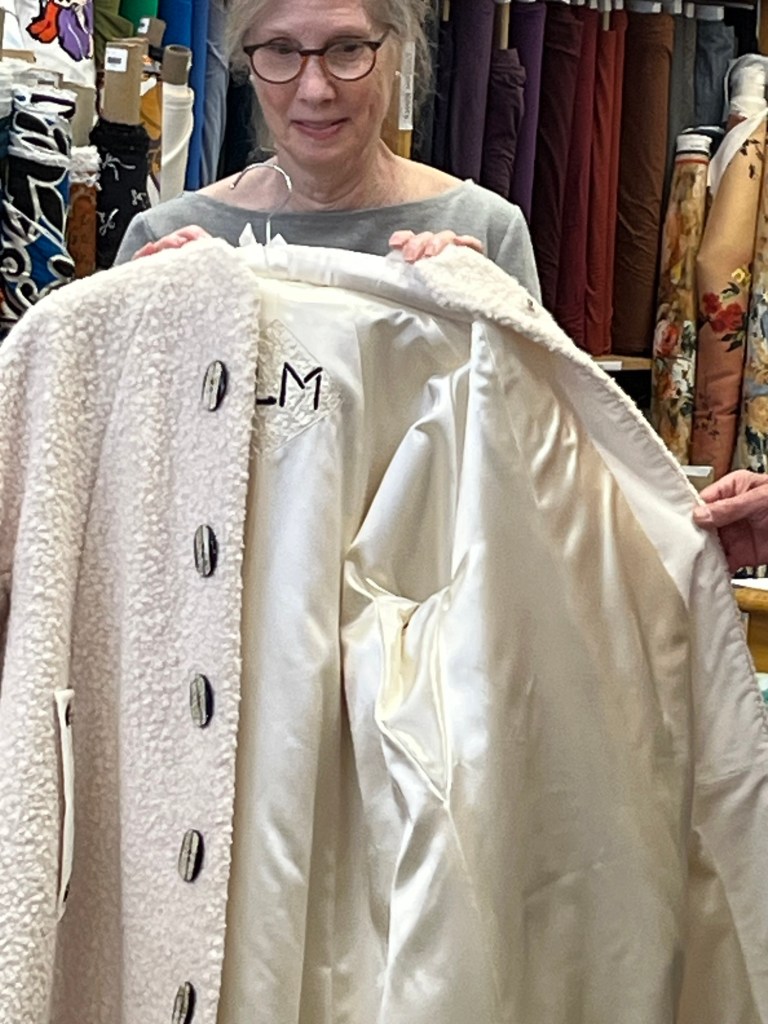
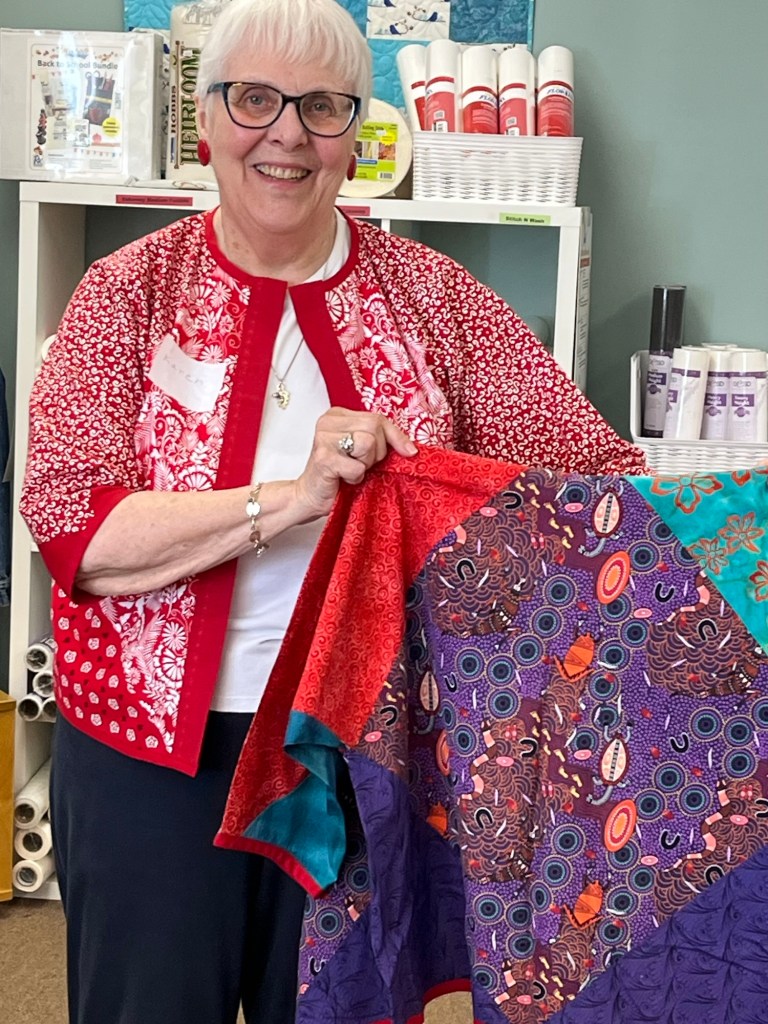
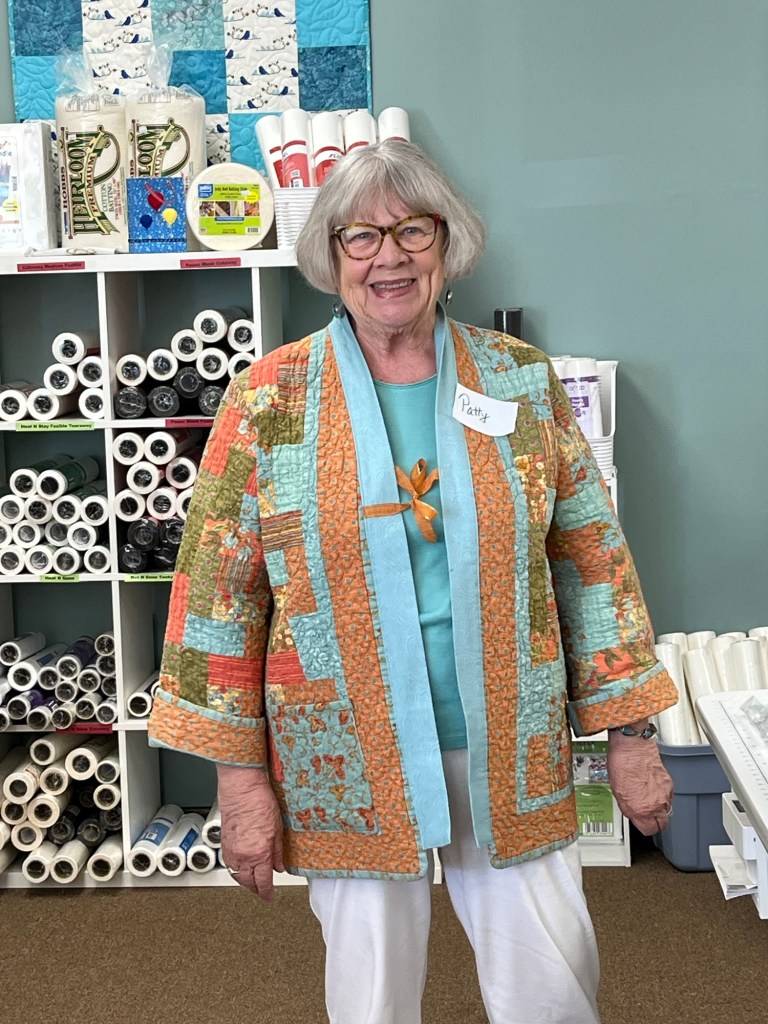
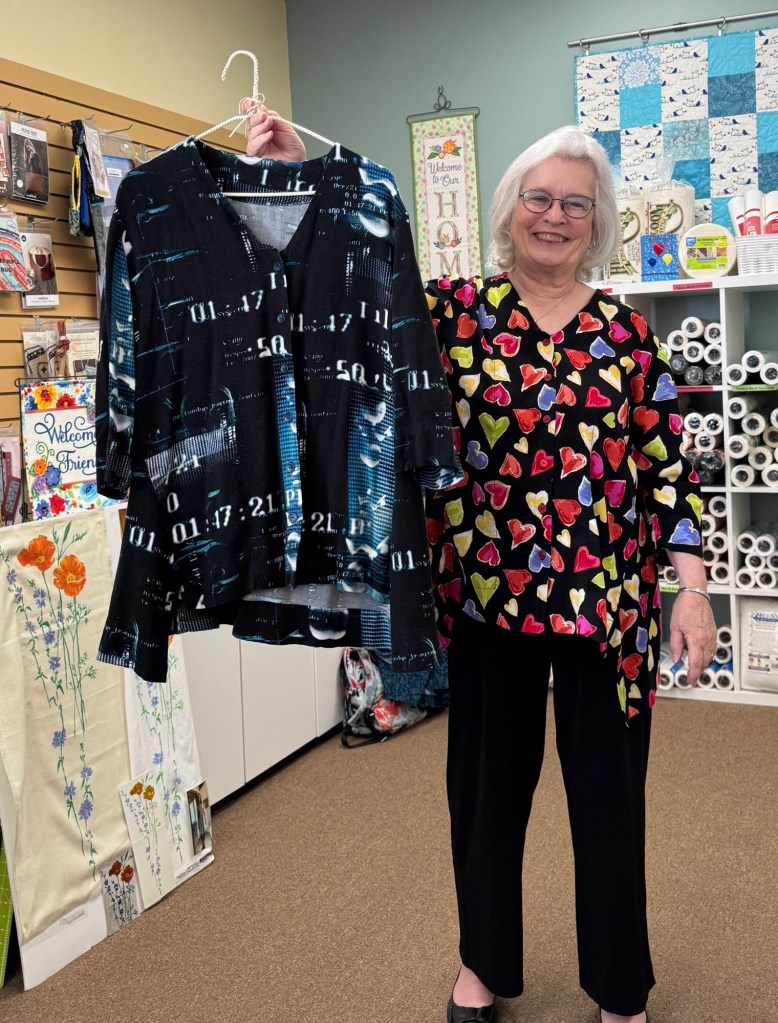
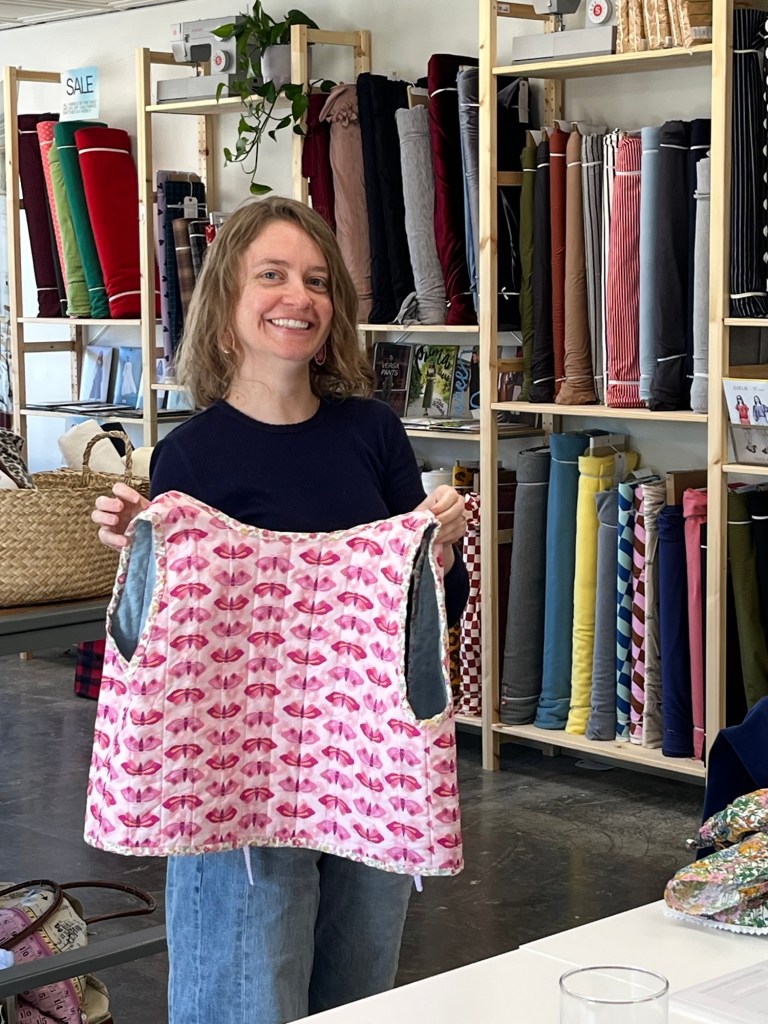
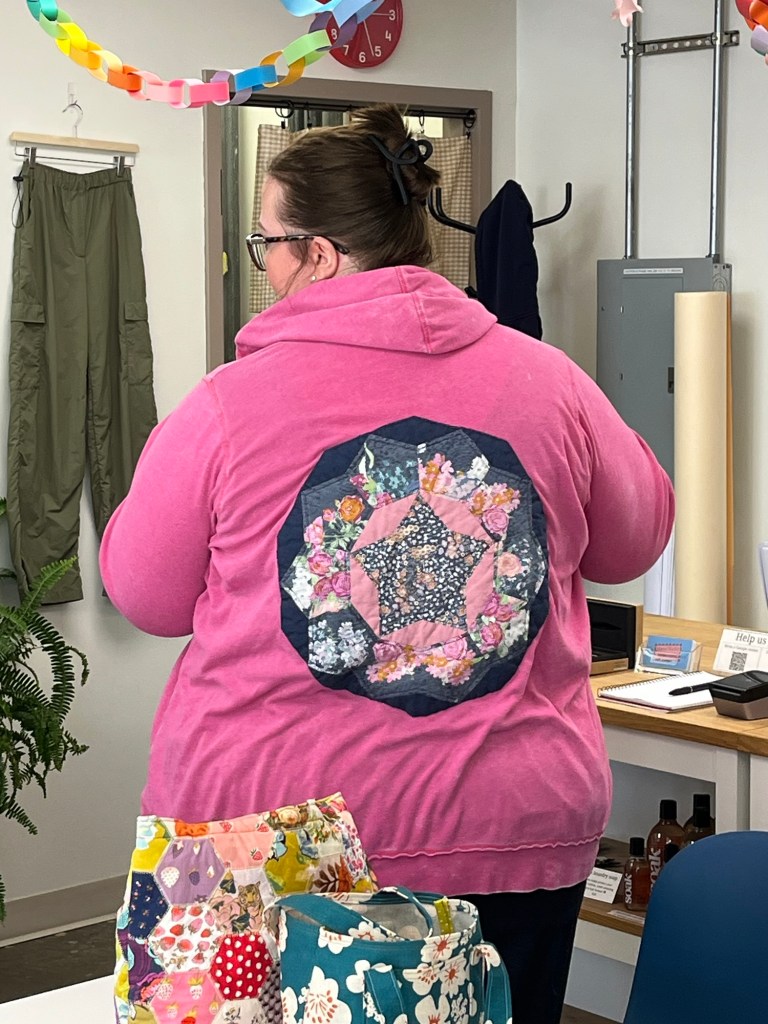
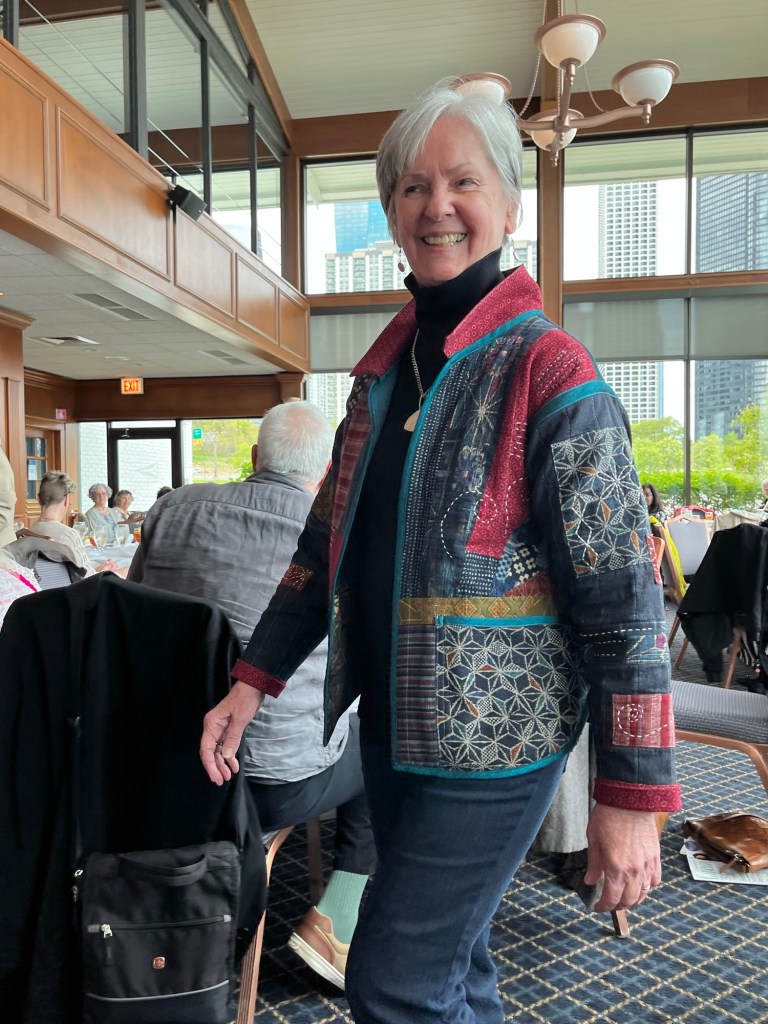
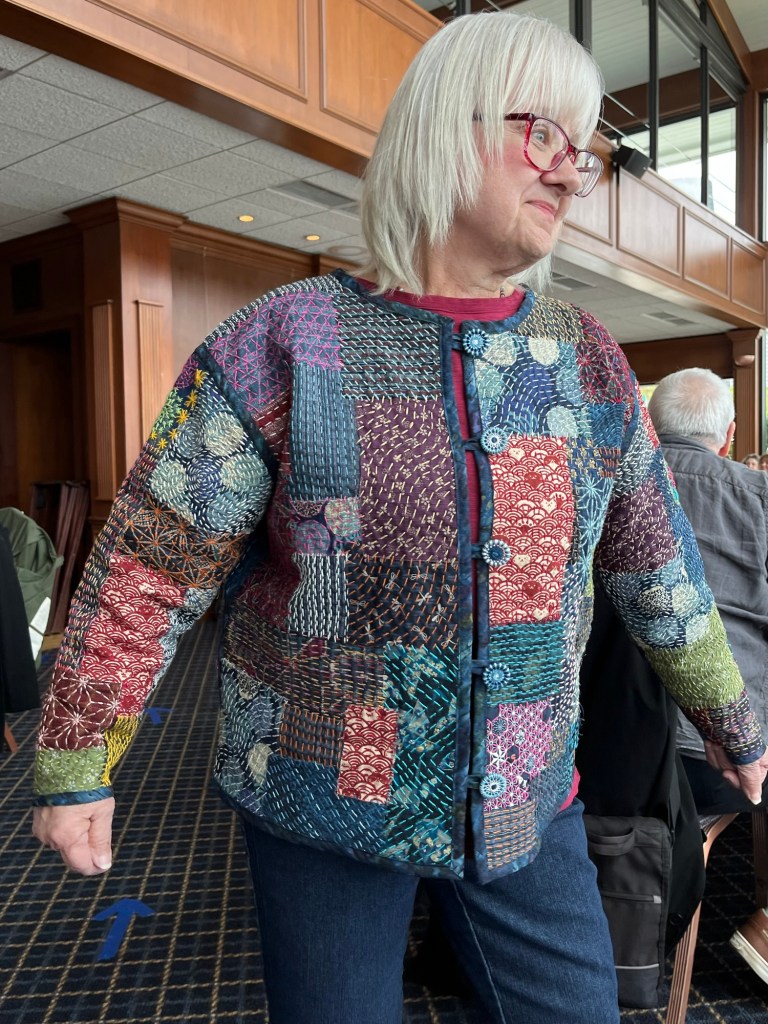
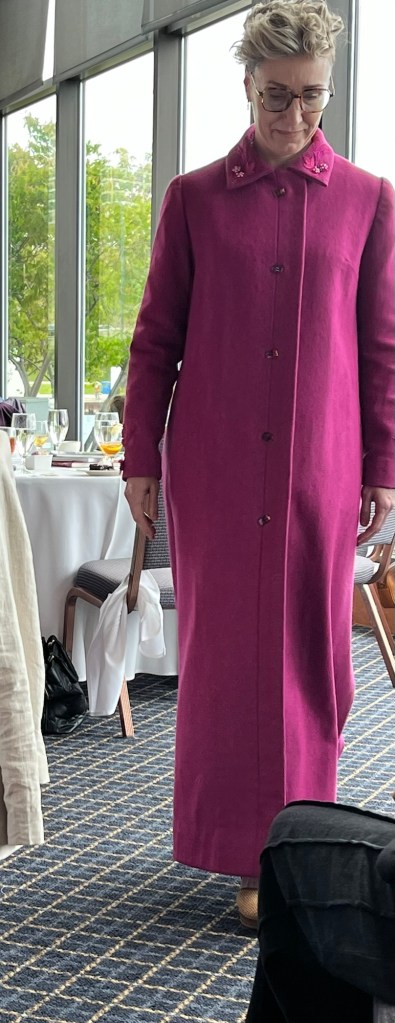
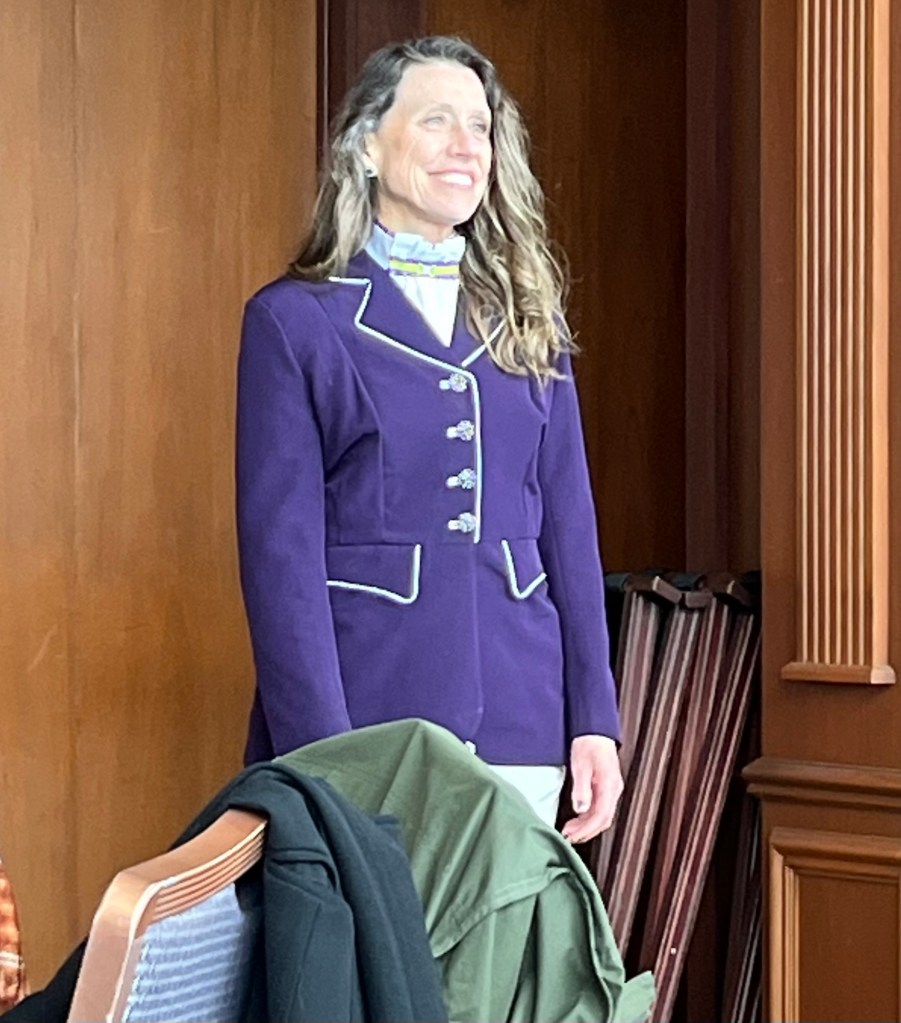
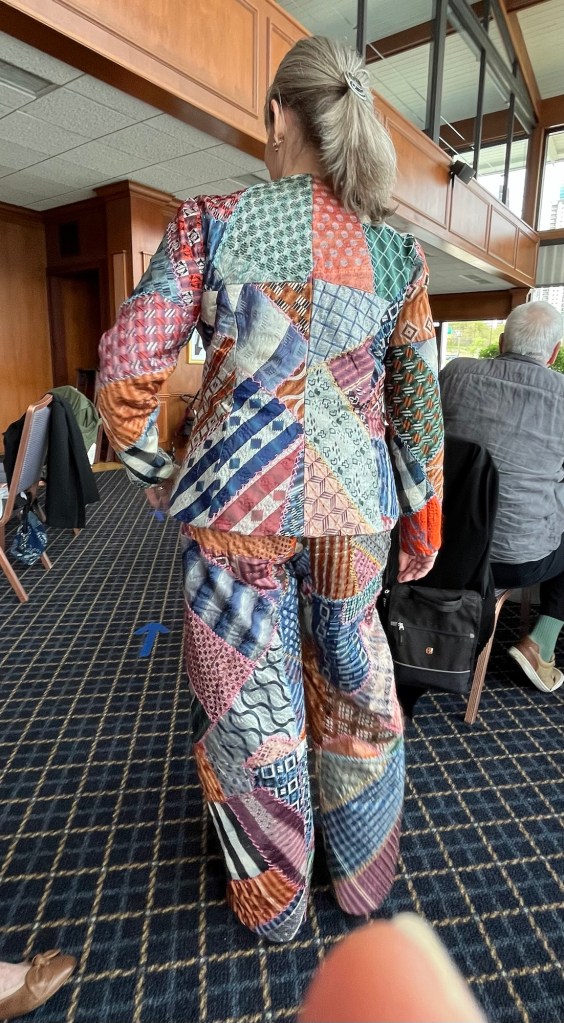
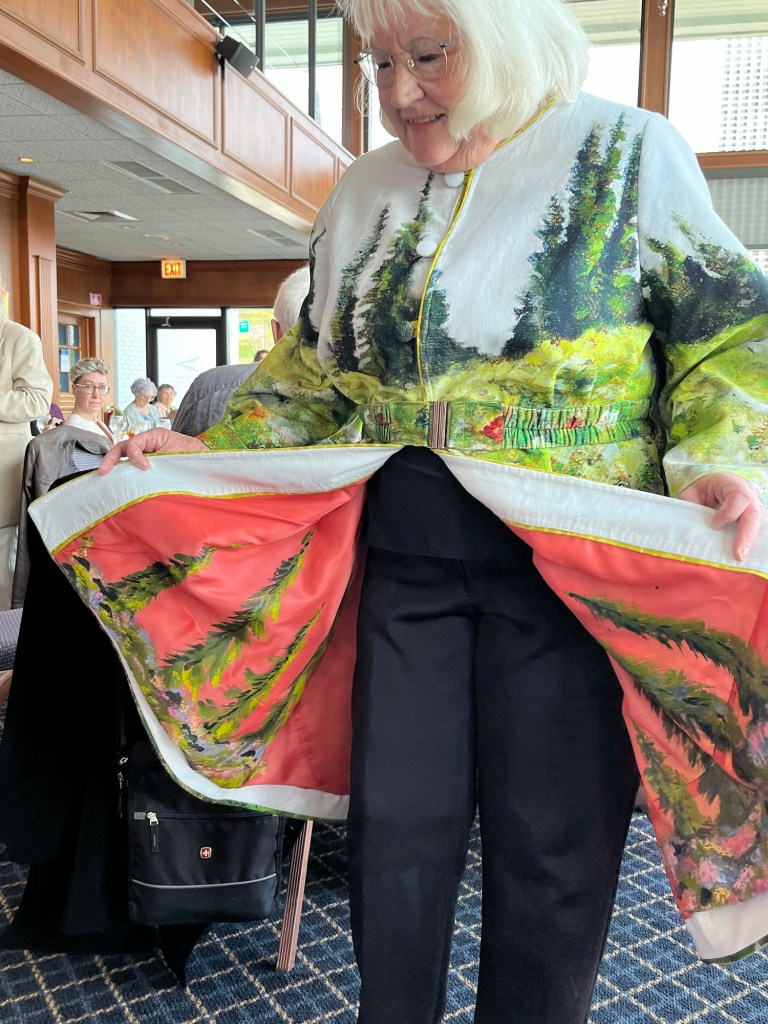
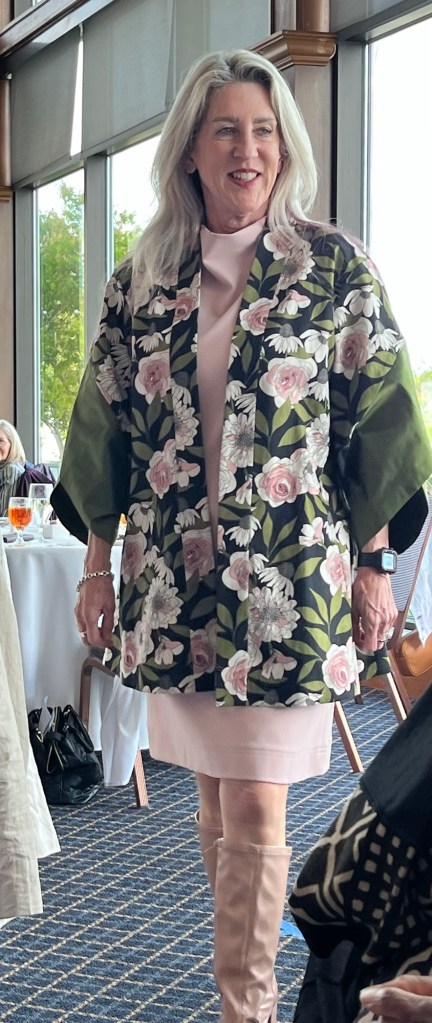
This was a 5-day workshop in New Orleans I participated in in March ‘25. There were 4 of us in this lovely well-appointed sewing studio. Leisa Stanton is owner, teacher, designer. We each did a muslin first for perfect fit and proceeded with quilting, even horsehair lining some for structure. The outside fabric is a Linton wool tweed, inside silk charmeuse. Many, many hours of hand sewing on inside lining to jacket. Later I purchased SusanKhalje.com French Jacket pattern and viewed online videos to help me understand the exact sewing of lining. There are no written instructions.
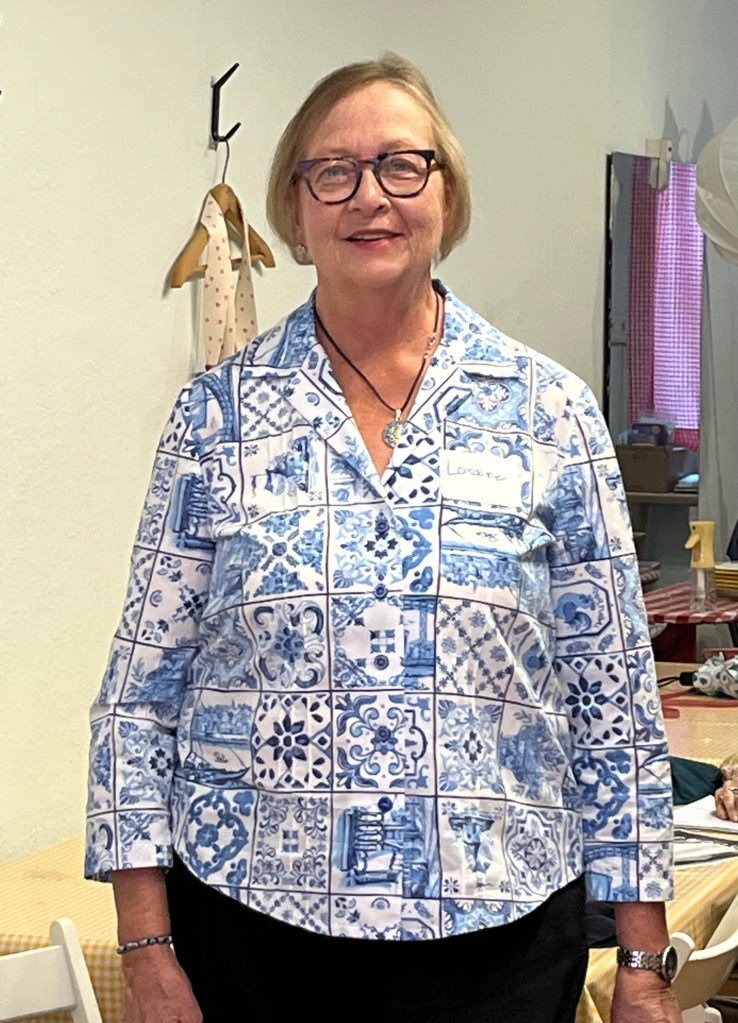
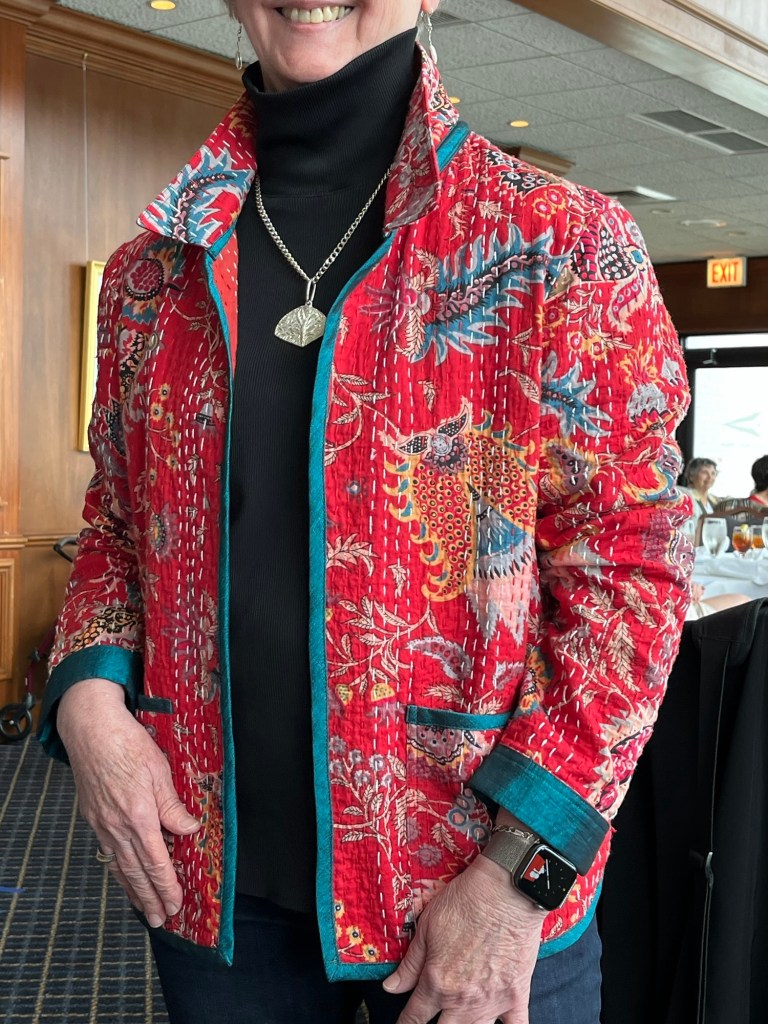
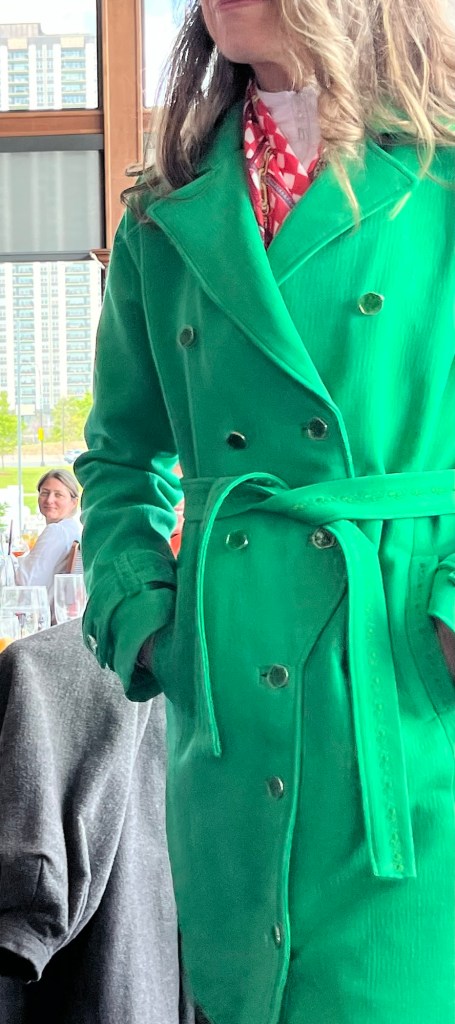
2. This is a casual jacket for casual wear, no buttons, a hook & eye designed to be worn over a T-shirt or camisole.(Ms. Stanton will be teaching a Trench Coat sewing class sometime this coming year with Chicago Haute Couture Club.)
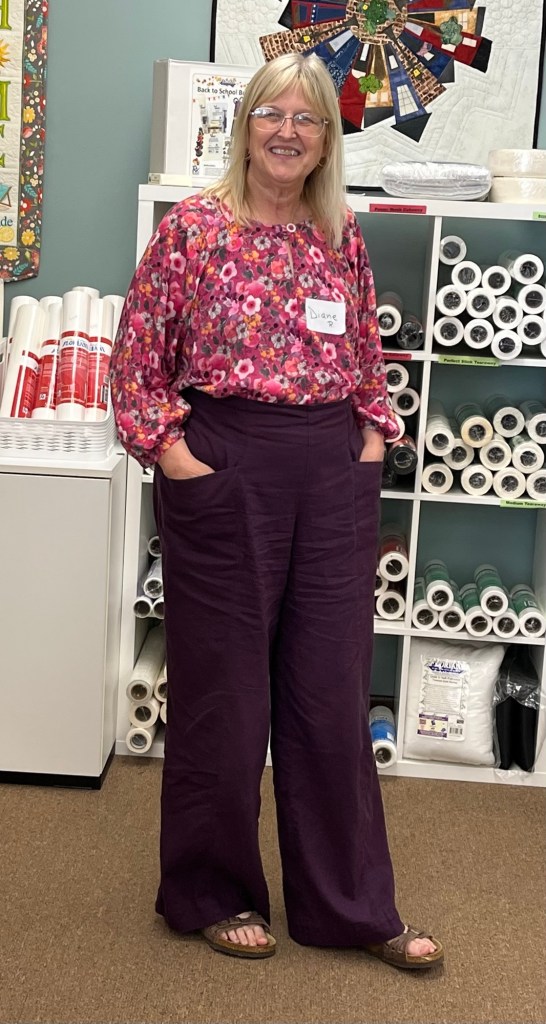
Kristin’s Garments:
Taslan-a modern, high-tech synthetic woven material—typically made from nylon or polyester—that undergoes an air-jet texturizing process to give it a soft, matte, cotton-like feel while retaining all the strength and durability of synthetic fibers. Developed originally by DuPont, it is highly prized in performance apparel because it eliminates the shiny, slippery plastic feel of traditional nylon.
FYI-Do Not Iron!!
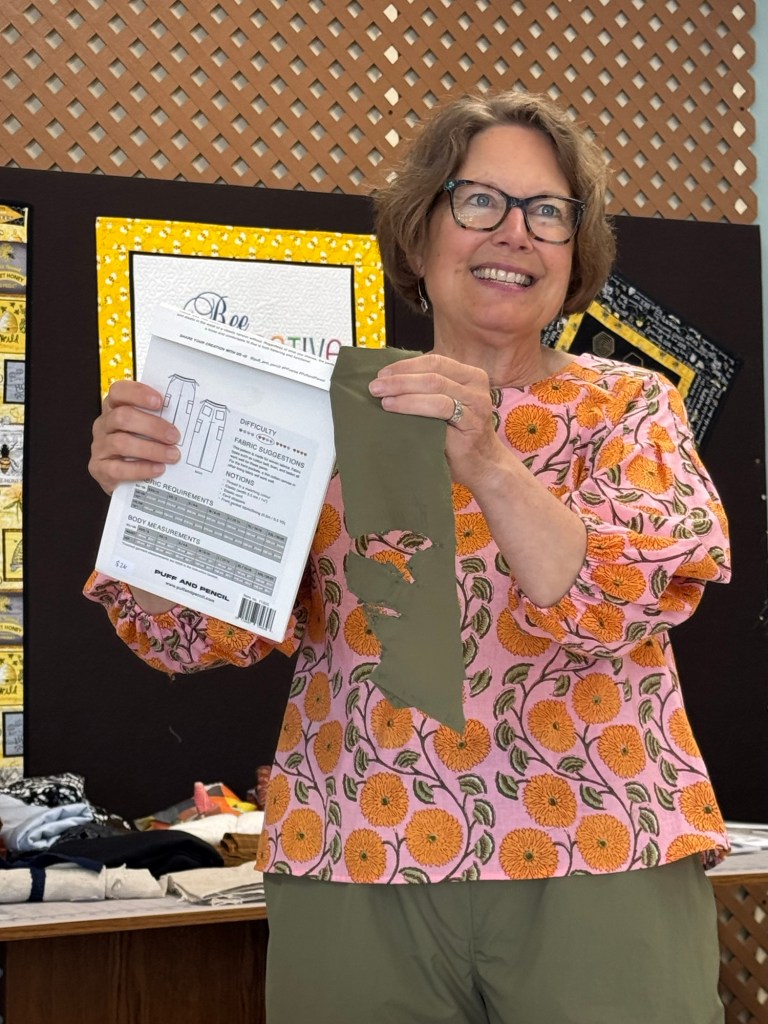
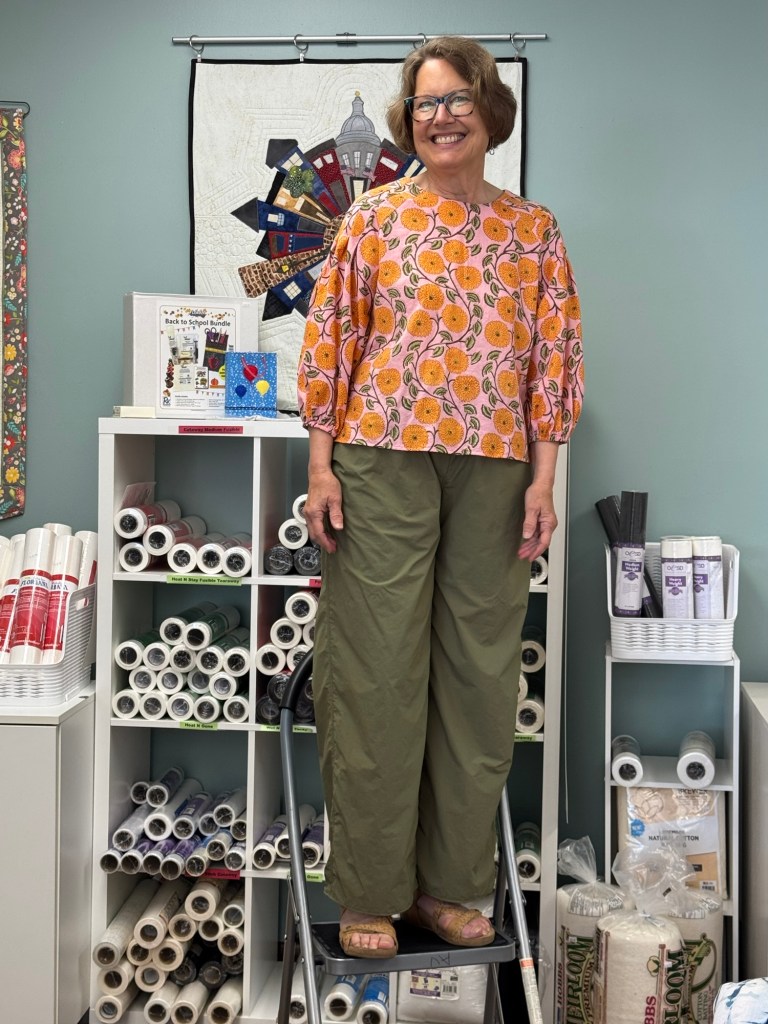
I saw a sample pair and grabbed the pattern-and fabric! In retrospect, I might have chosen a different pattern-the width at hem is 23” but I like loose pants for summer so all good. I was also in between two sizes and went with the larger one so maybe smaller next time?
Lowered the waistline 1” all around. Sewing machine stitches skipped unless I was topstitching on a serged seam allowance. Seams puckered and as mentioned, it is not an iron friendly fabric so I topstitched all seams. It still puckers some but I kind of like the look.
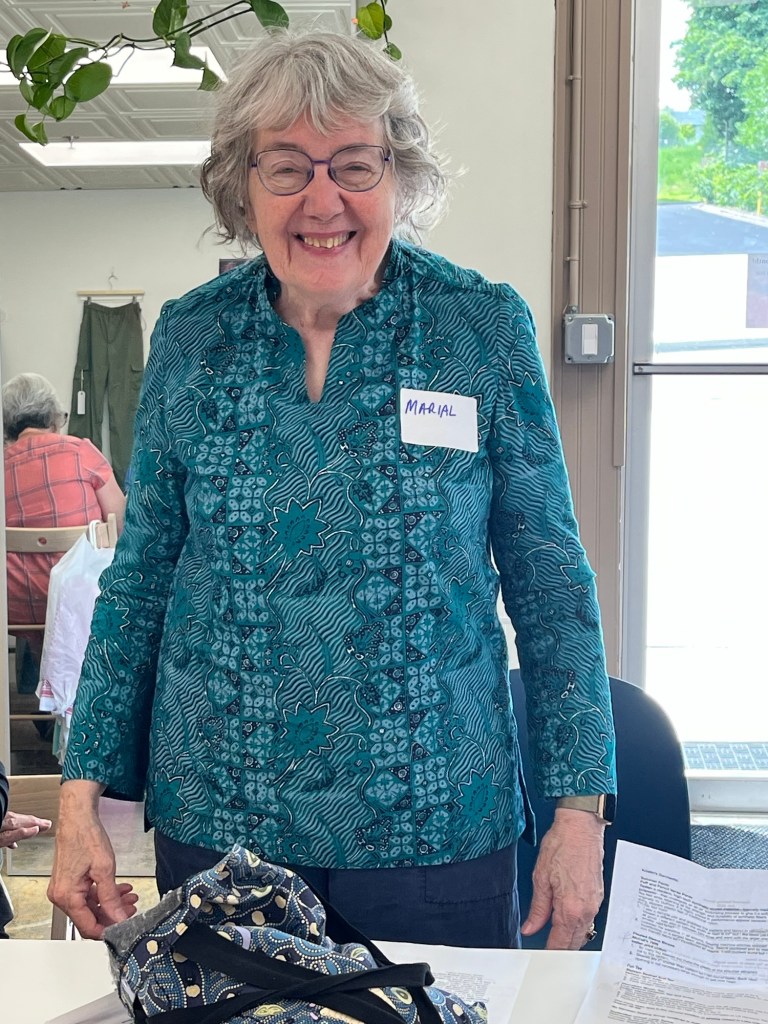
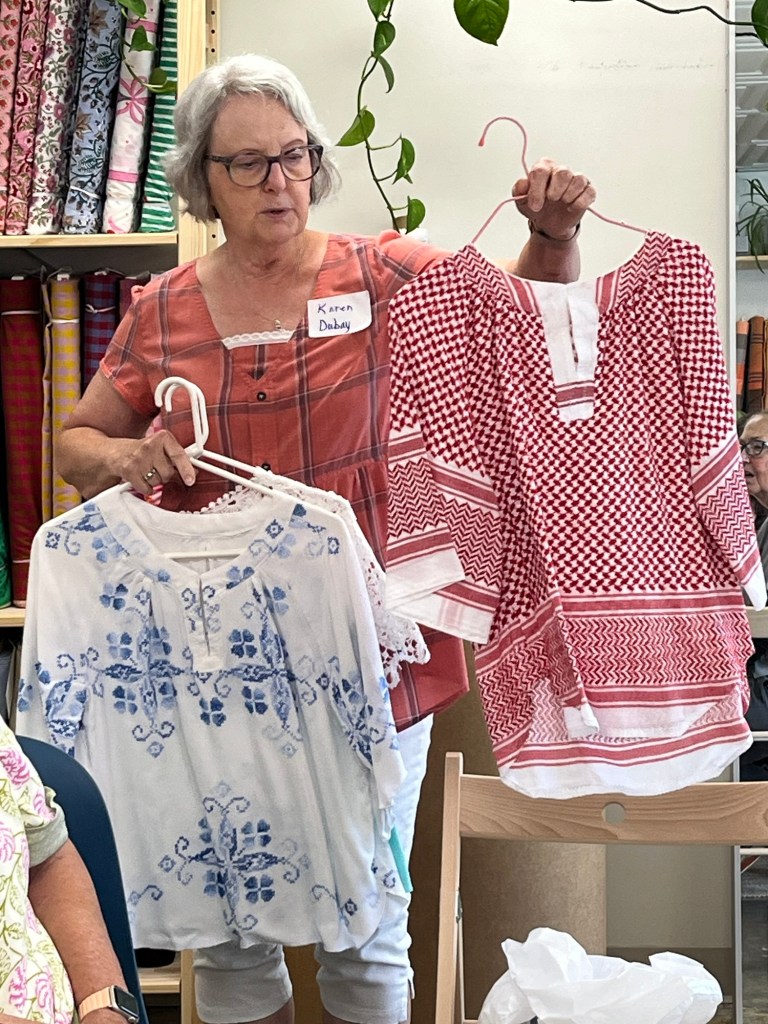
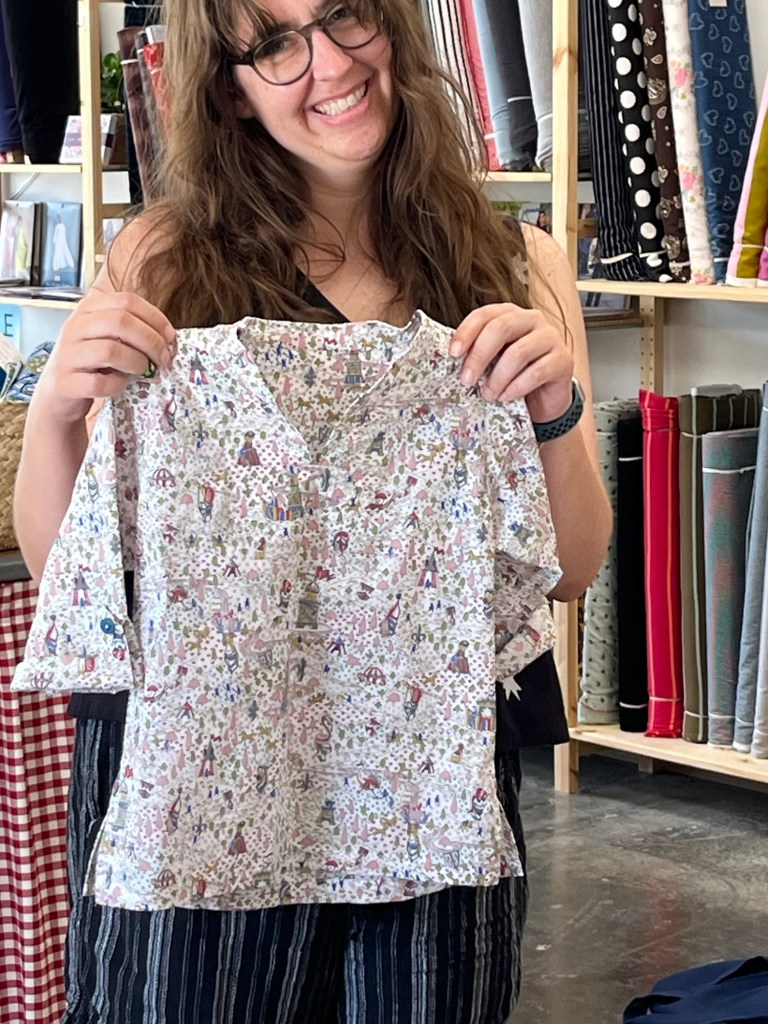
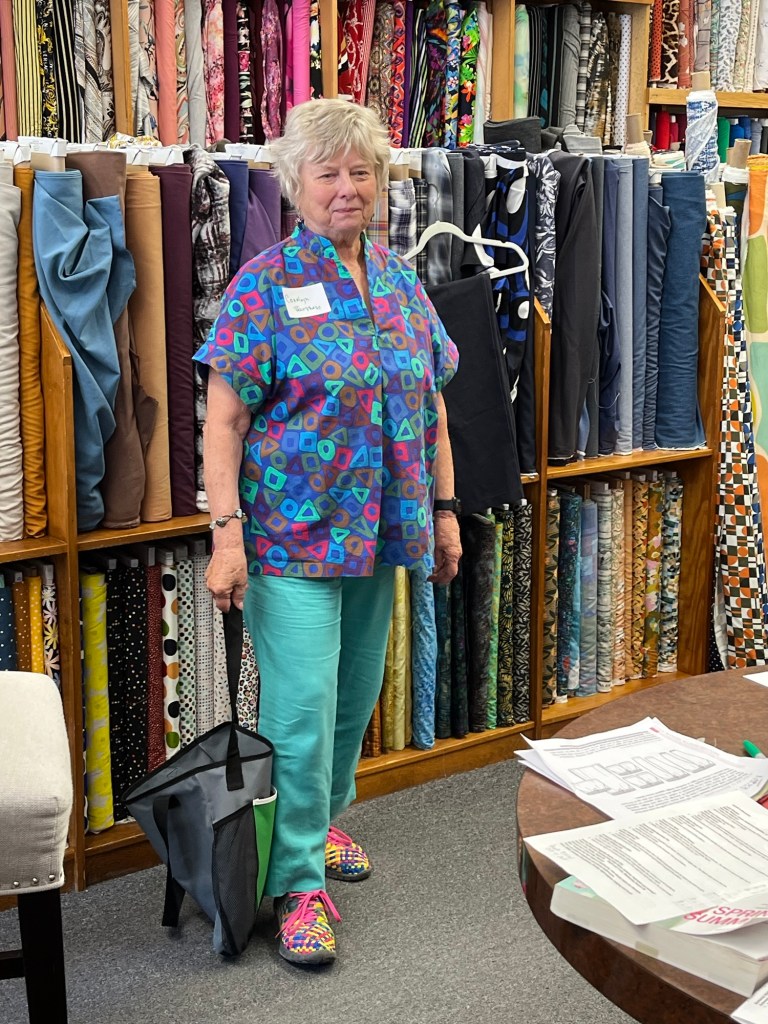
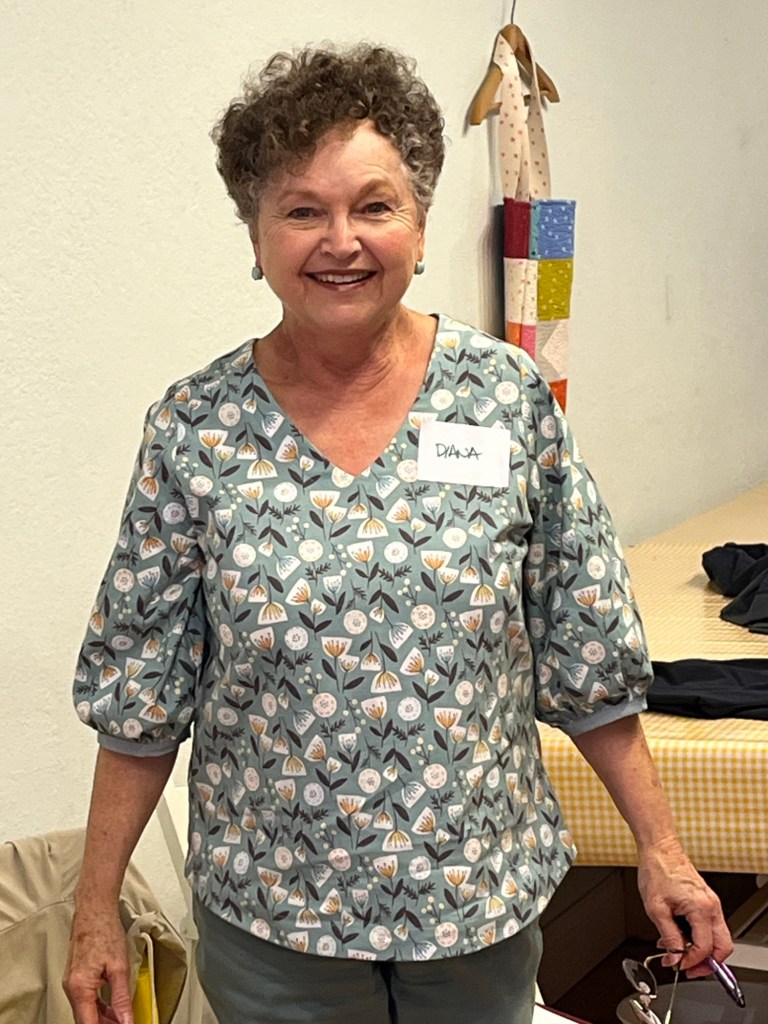
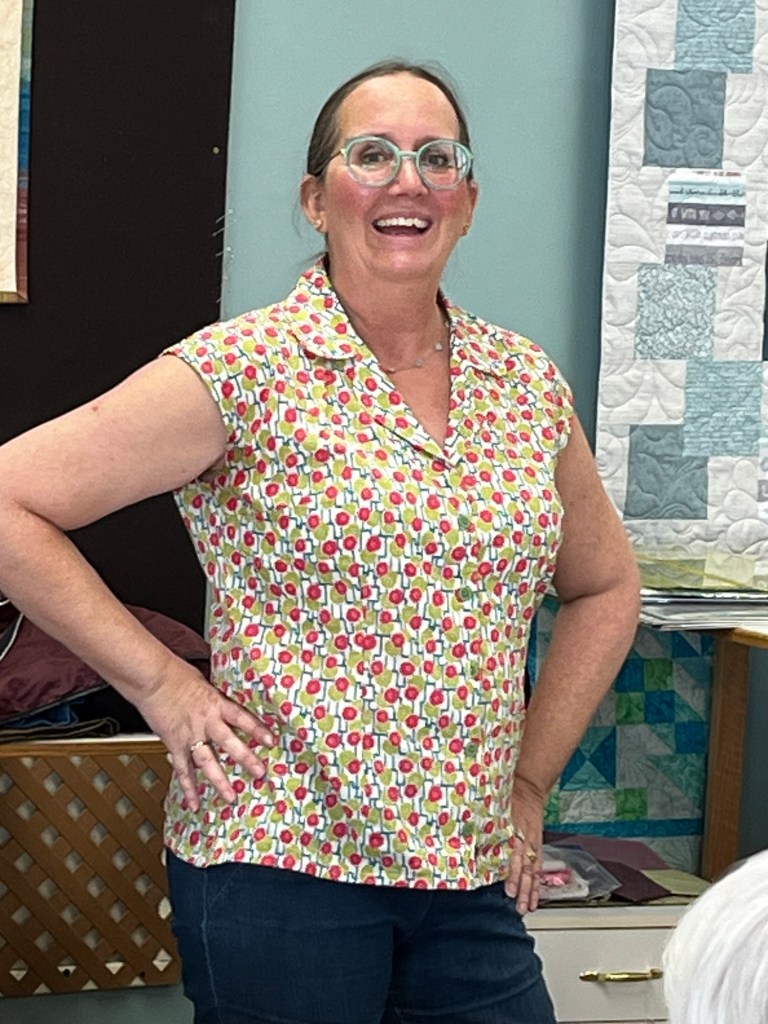
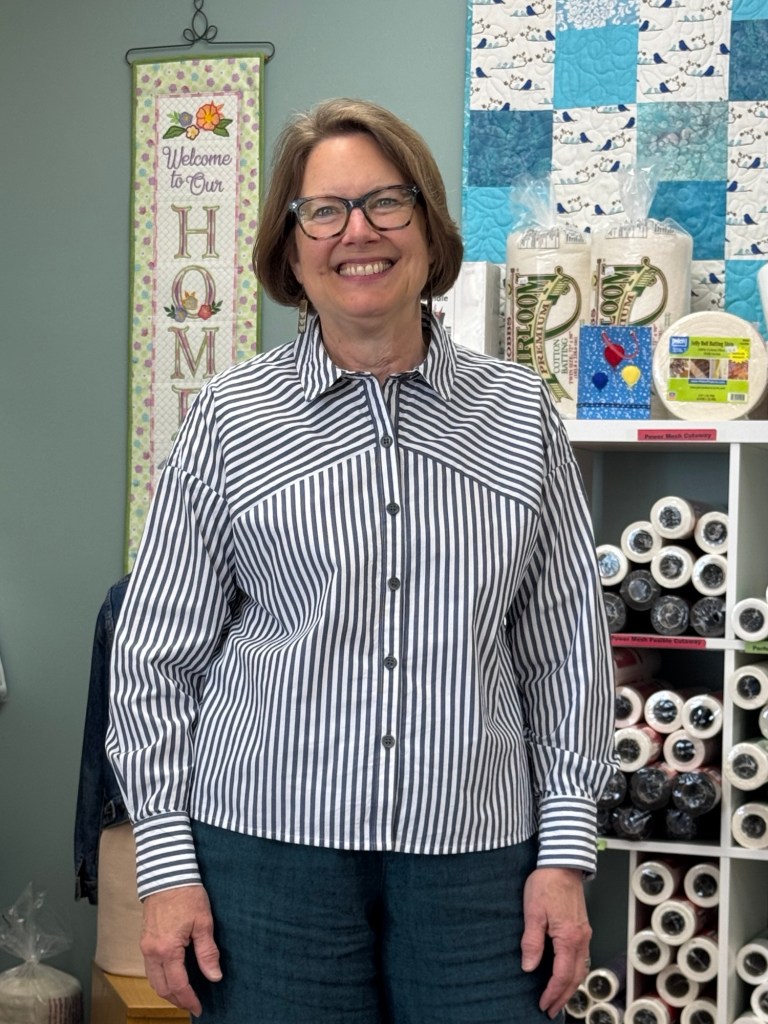
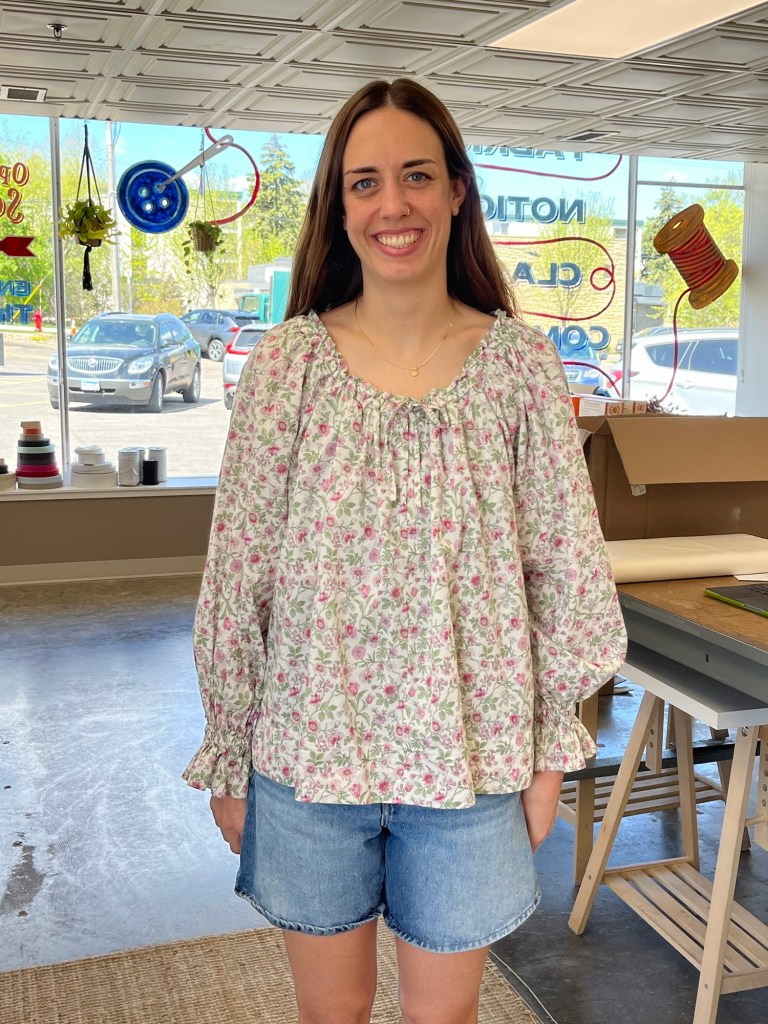
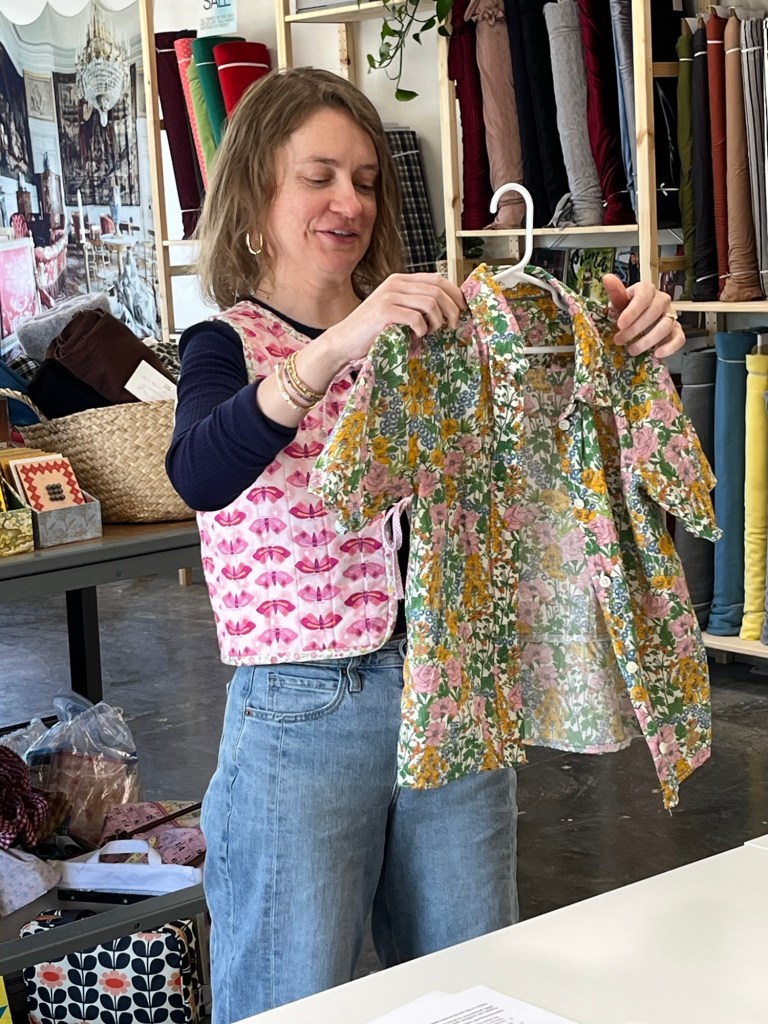
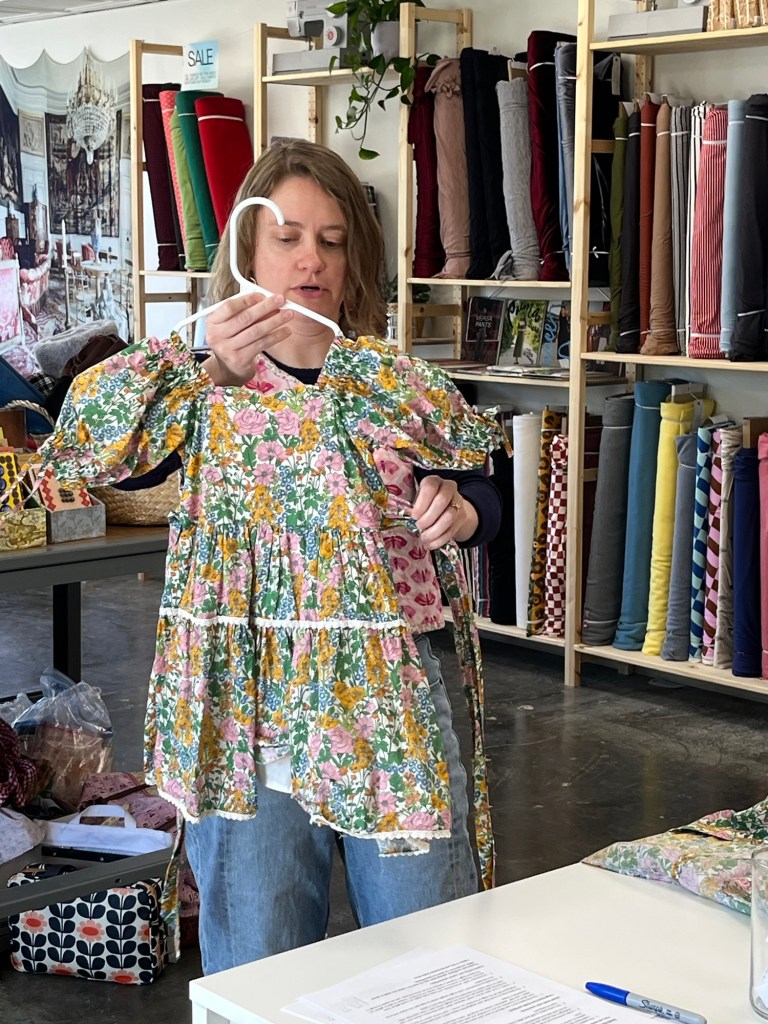
Pleated Sleeve Blouse, McCall’s 7899 in India print cotton
So many big sleeves out there-the pleats at the shoulder attracted me to this pattern.
Sleeves are 2” shorter than pattern as I ran out of fabric. Back neck opening is not necessary-large enough to get over head.
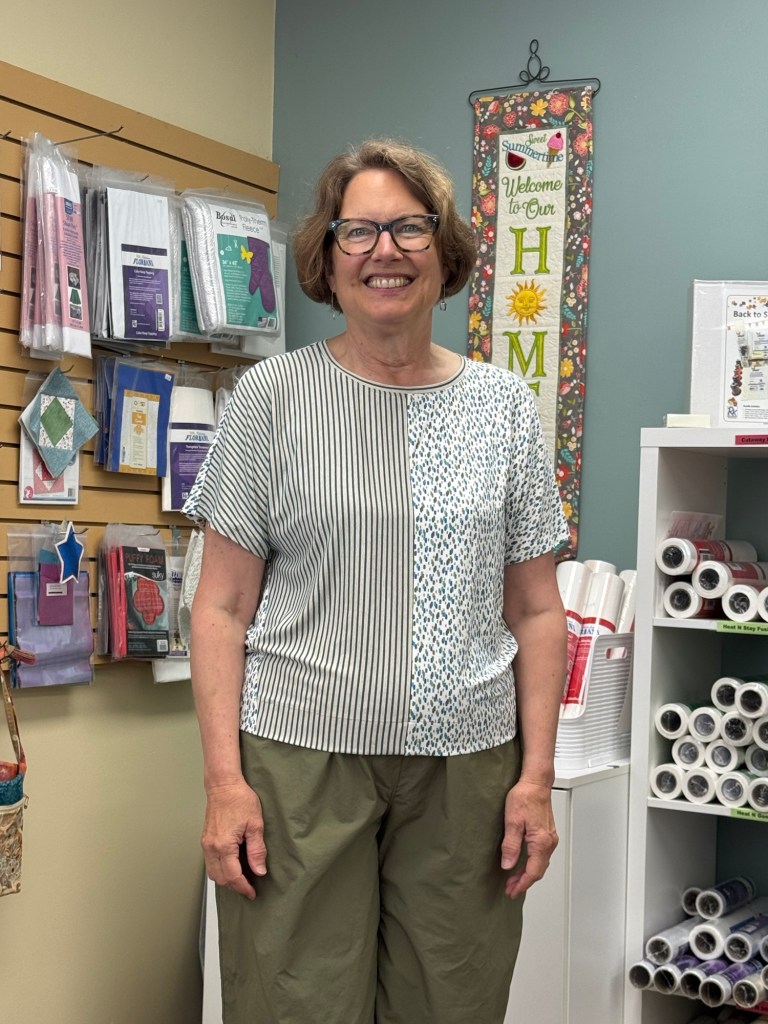
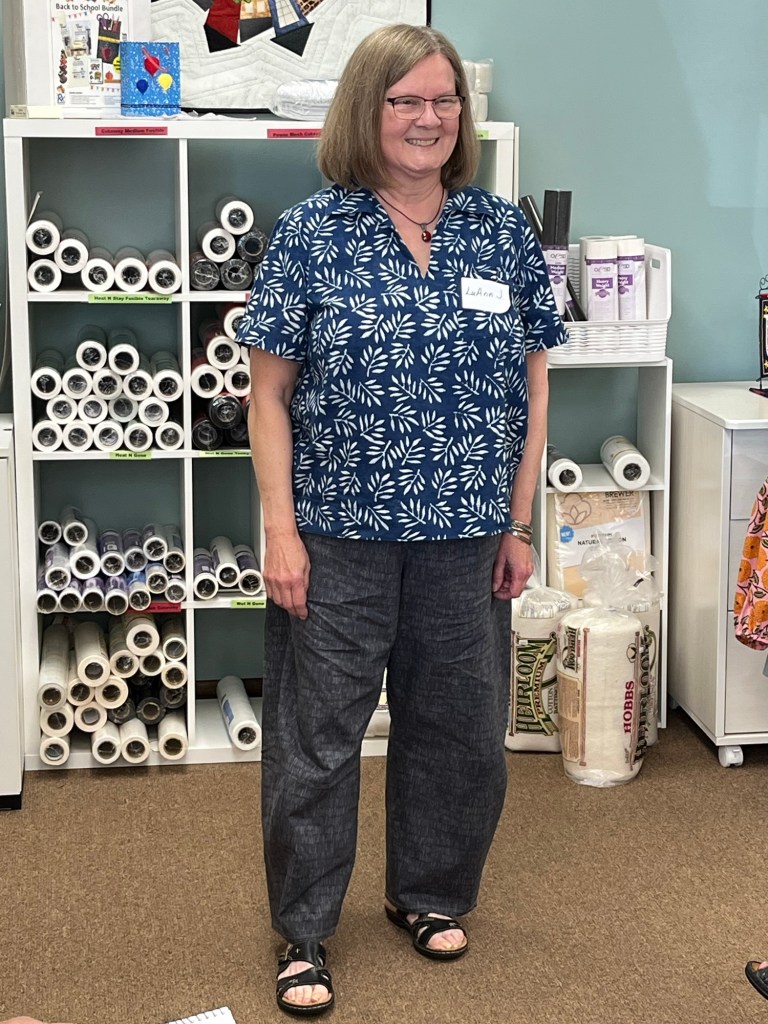
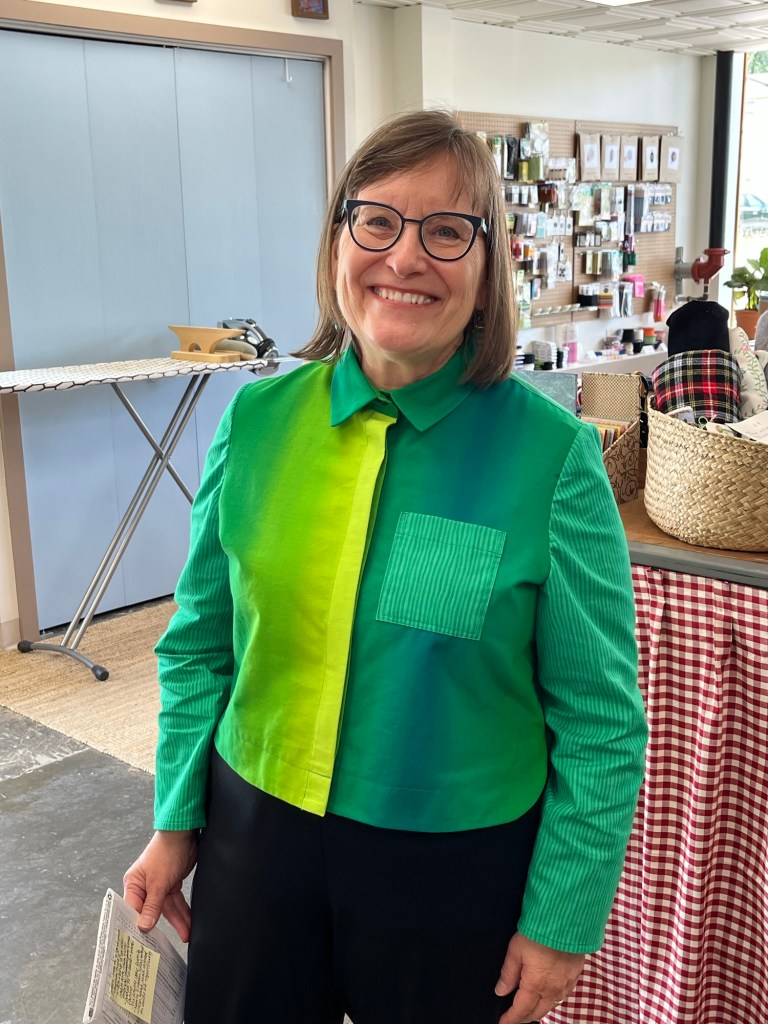
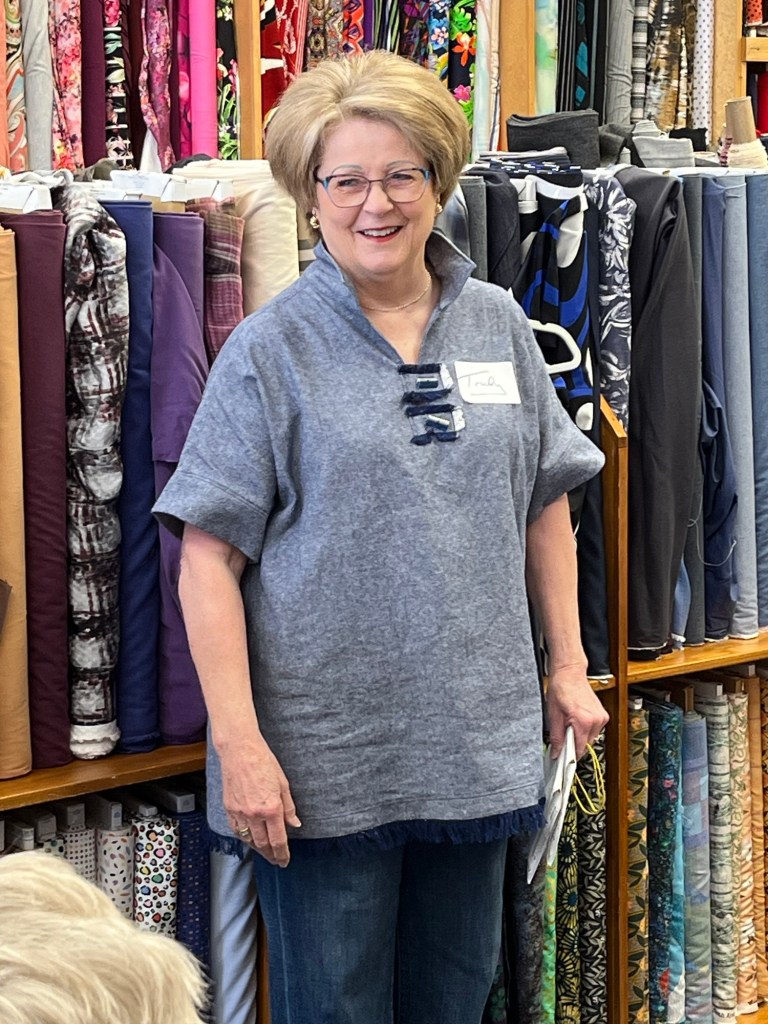
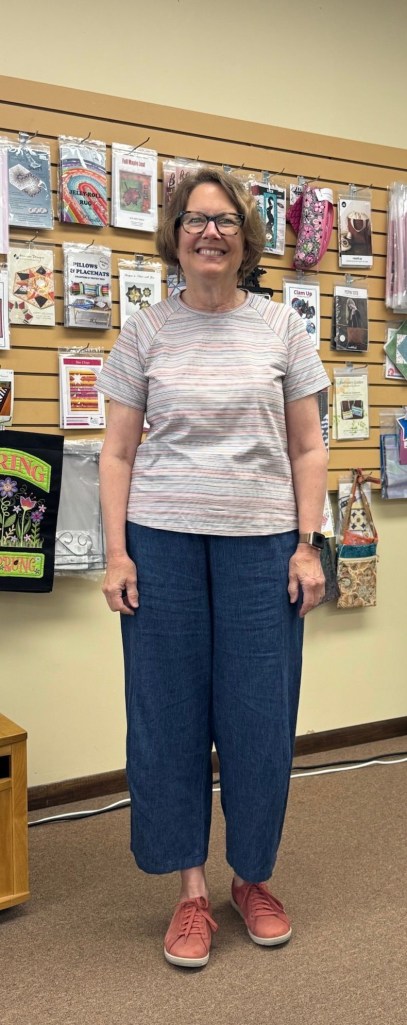
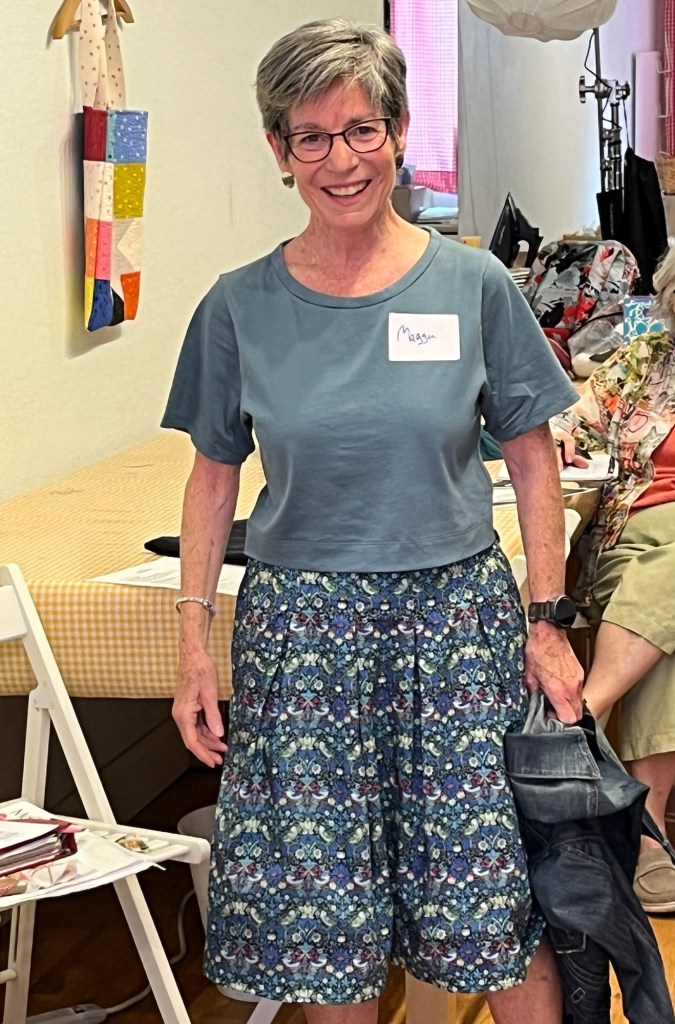
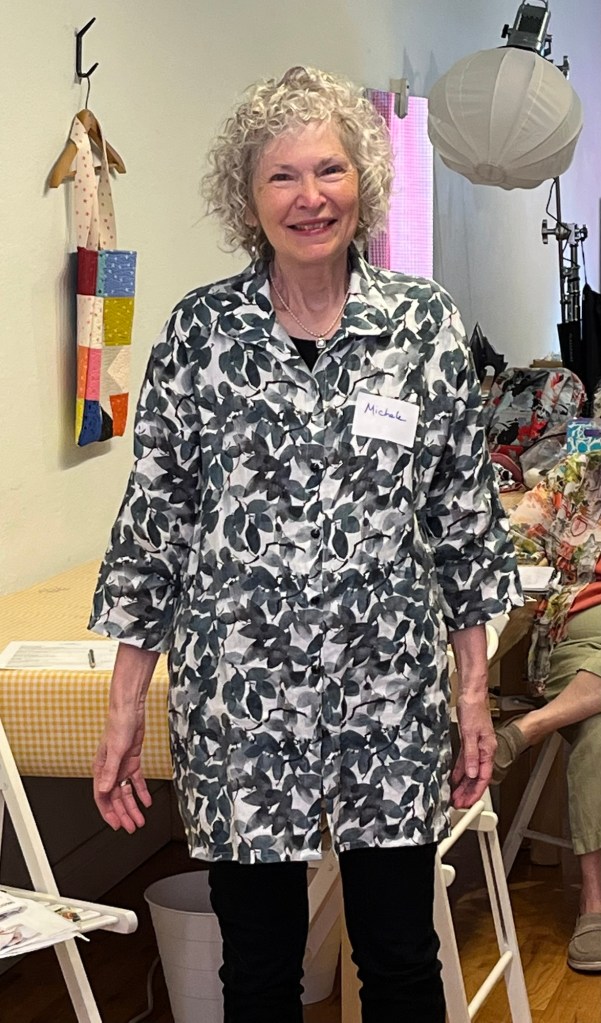
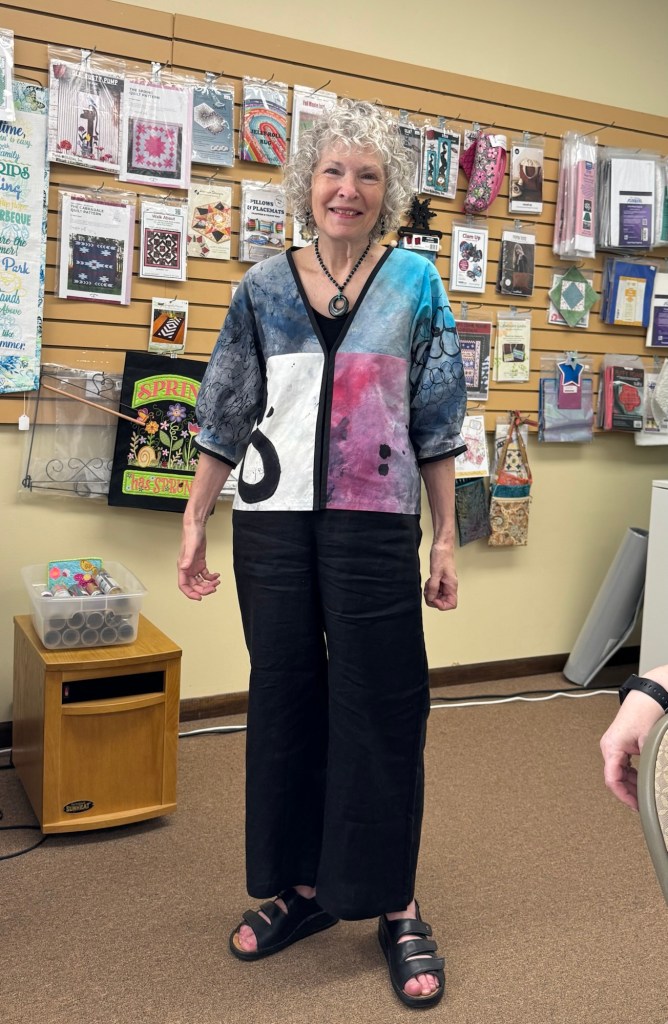
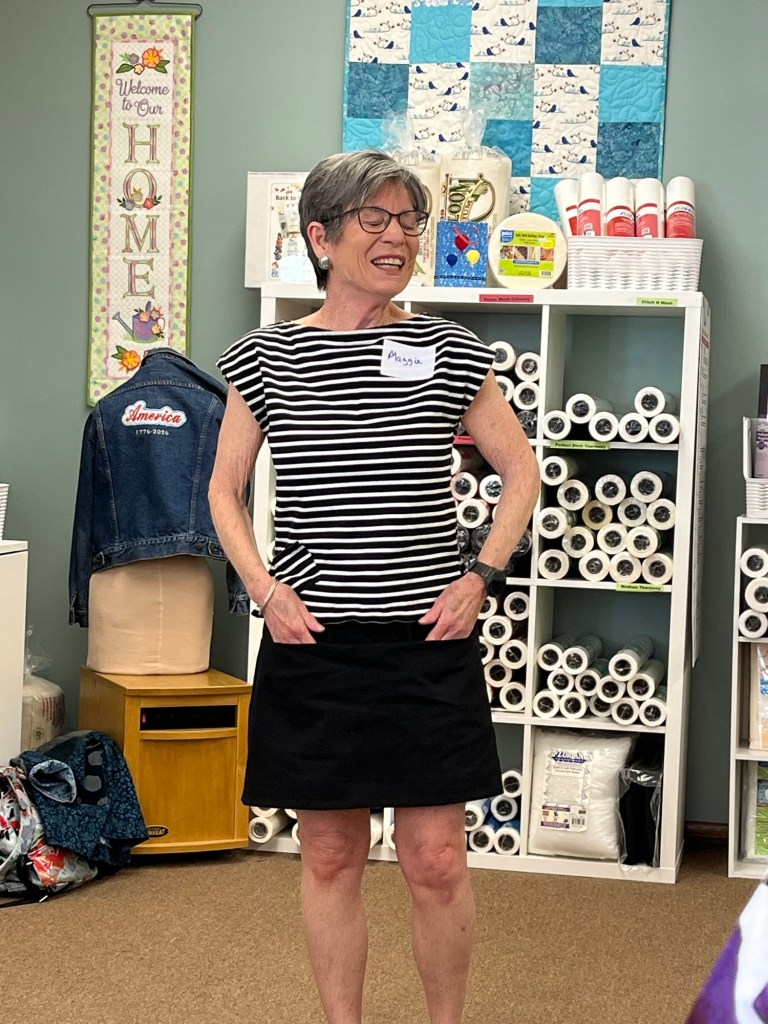
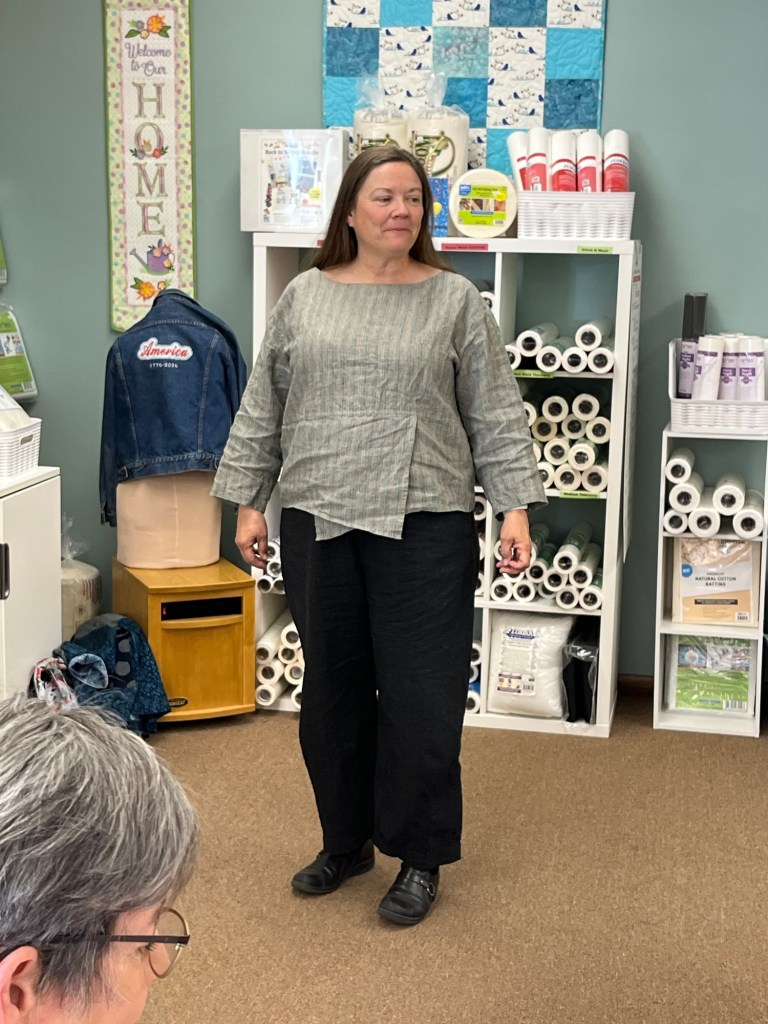
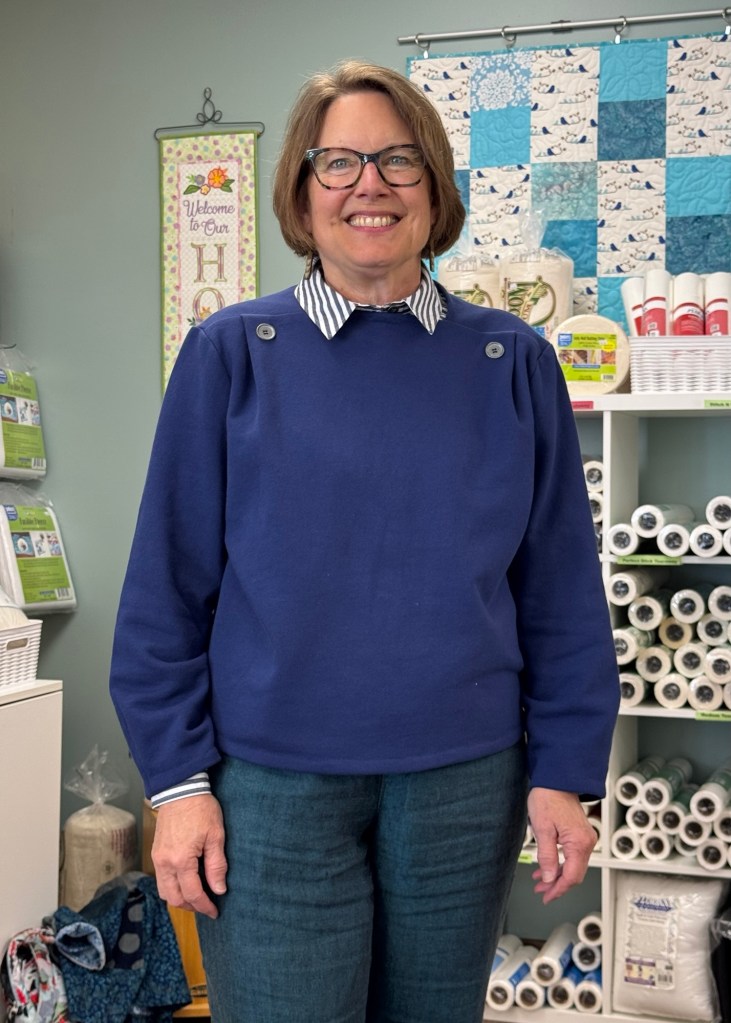
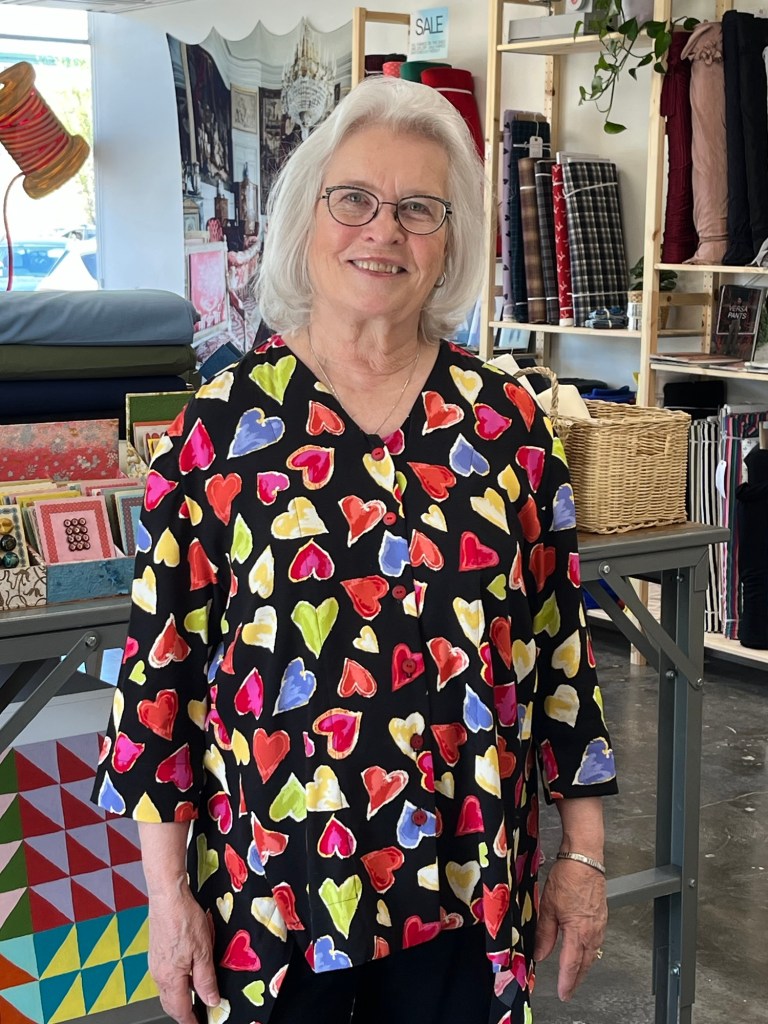
Linda M. wore this to Rochester meeting last month and I had to try it.
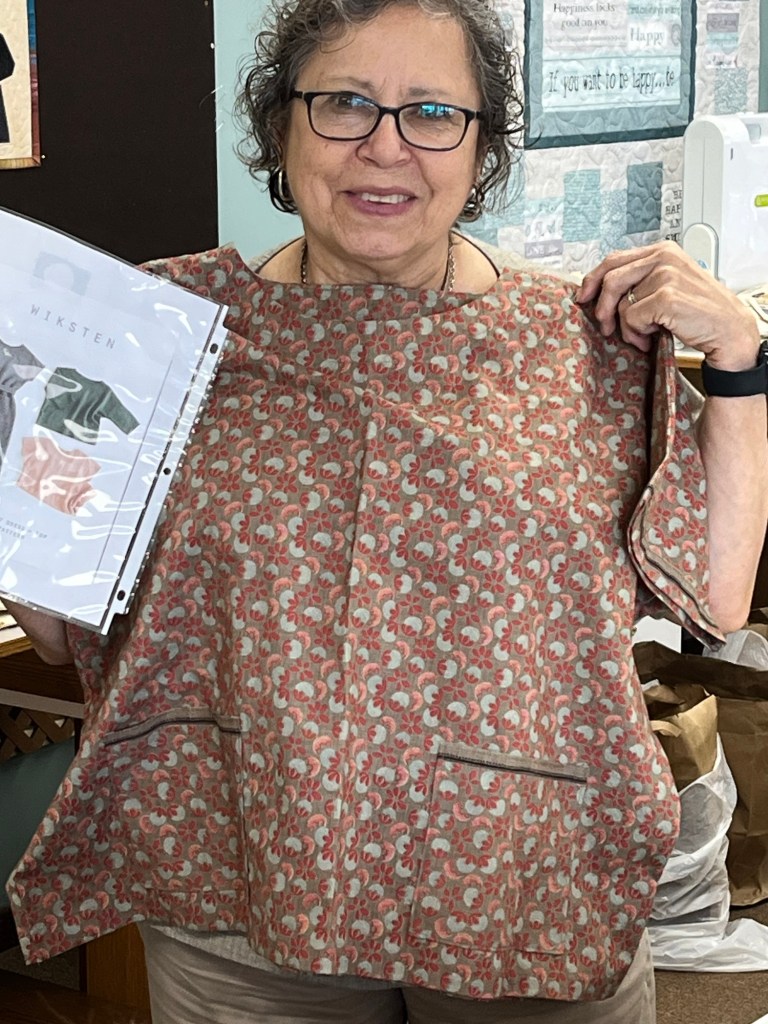
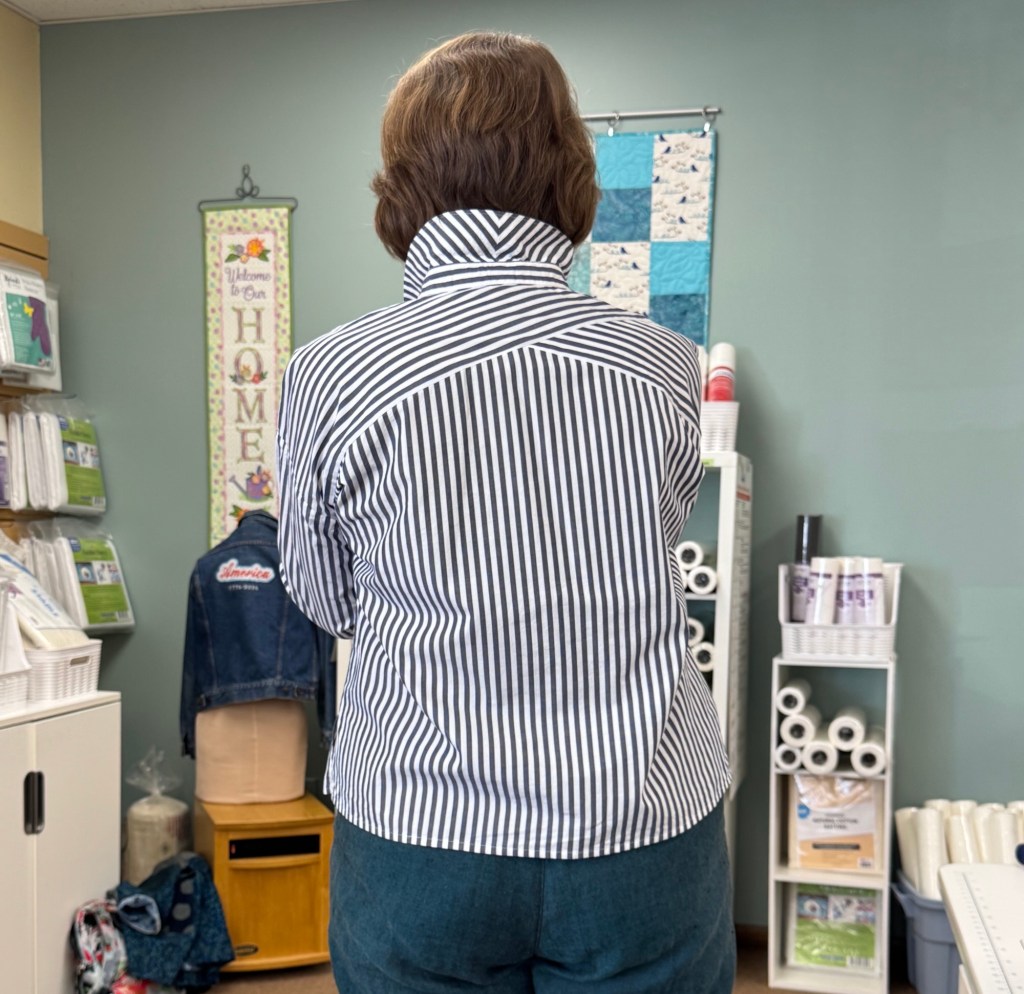
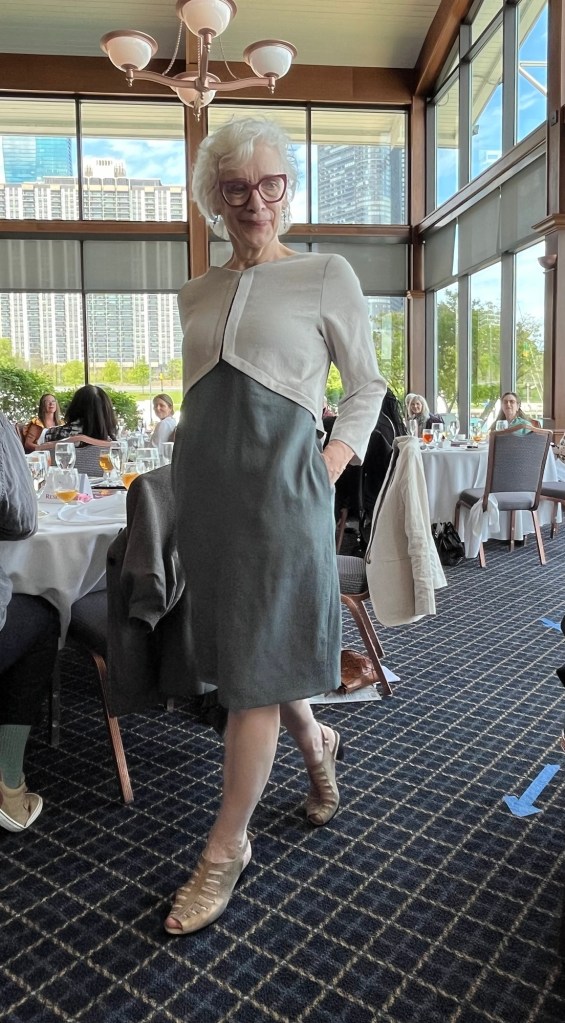
Easy cut on sleeves, forward side seam and back center strip allows for color blocking.
Fairly straight shape so may need to alter for pear shapes.

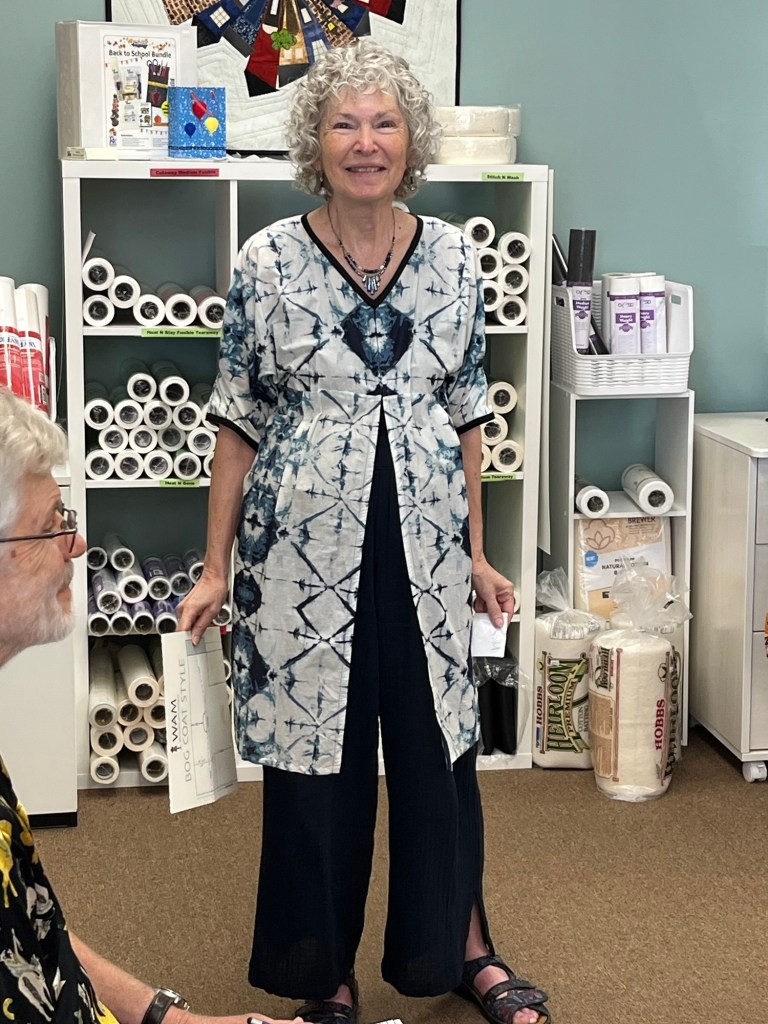
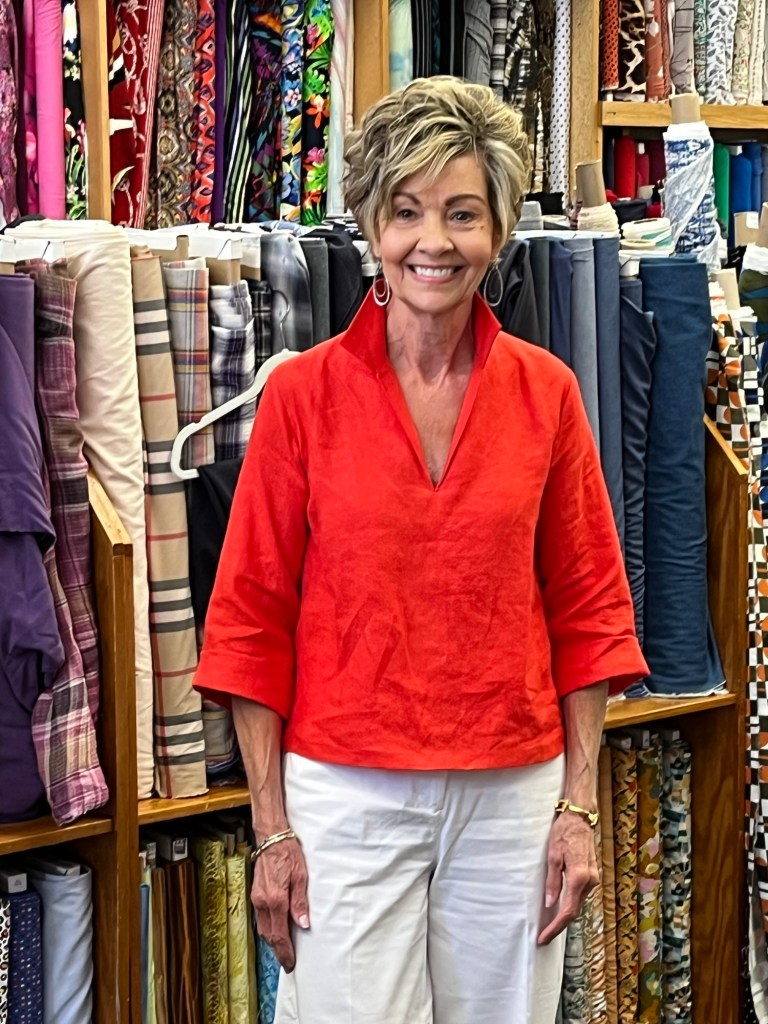
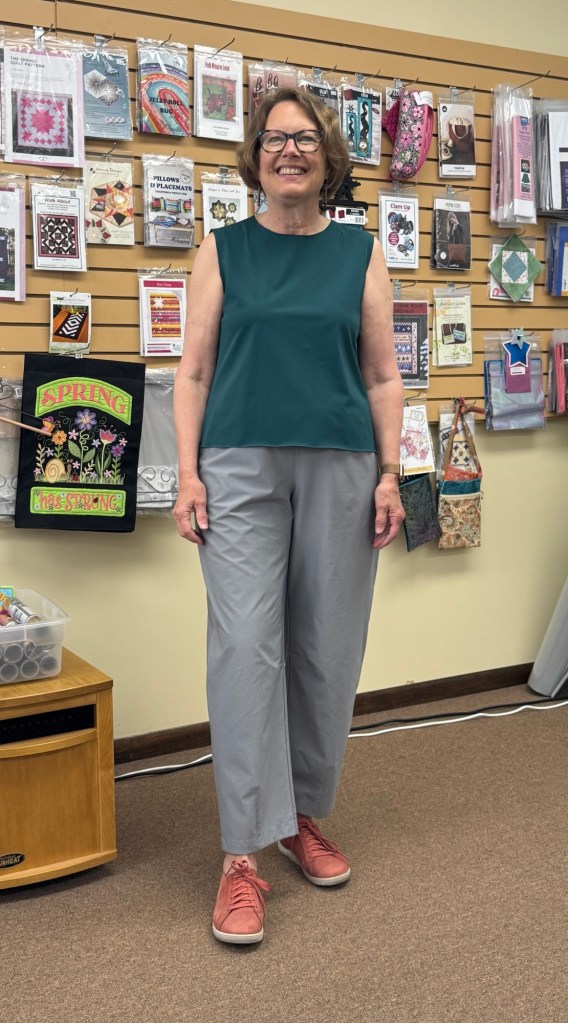
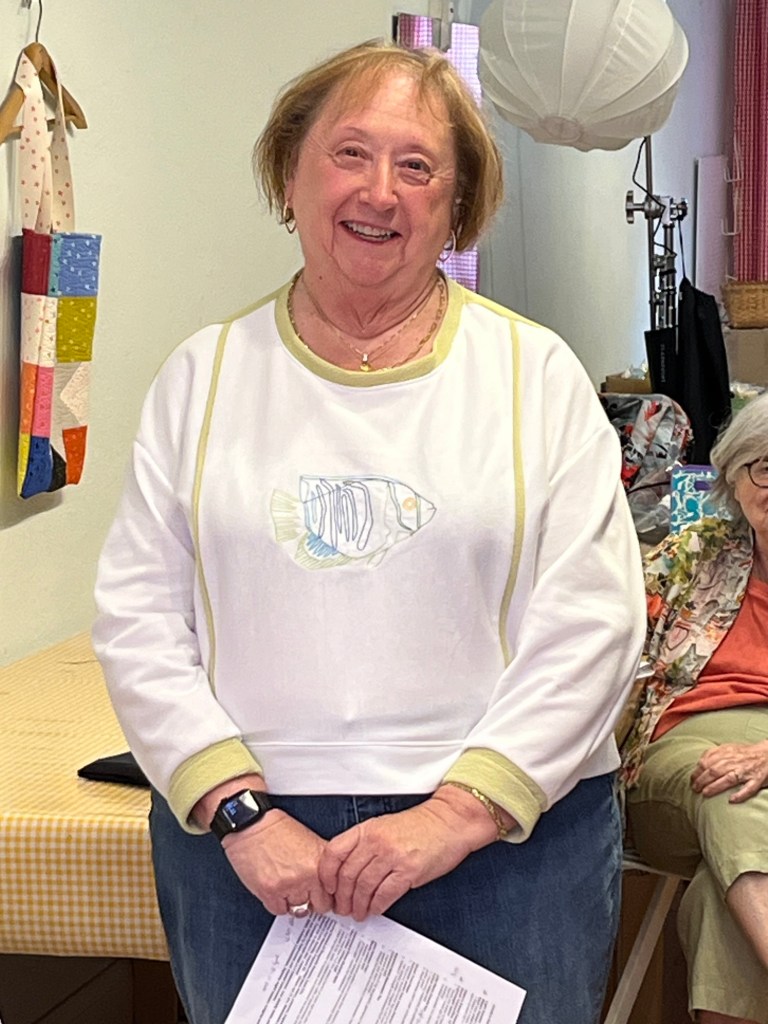
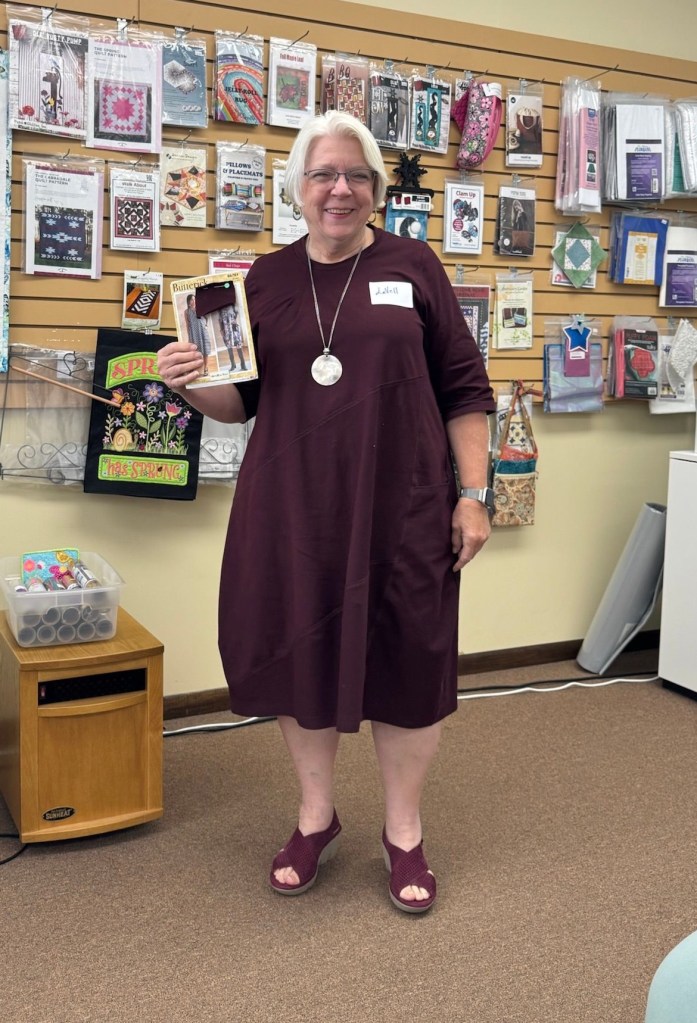
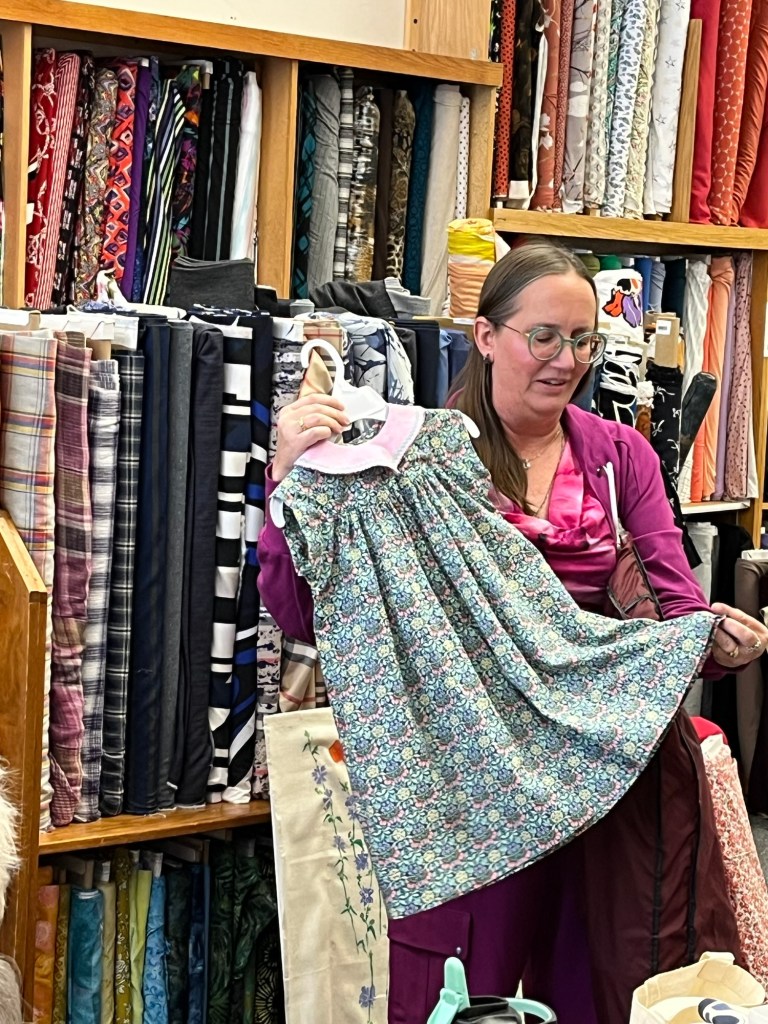
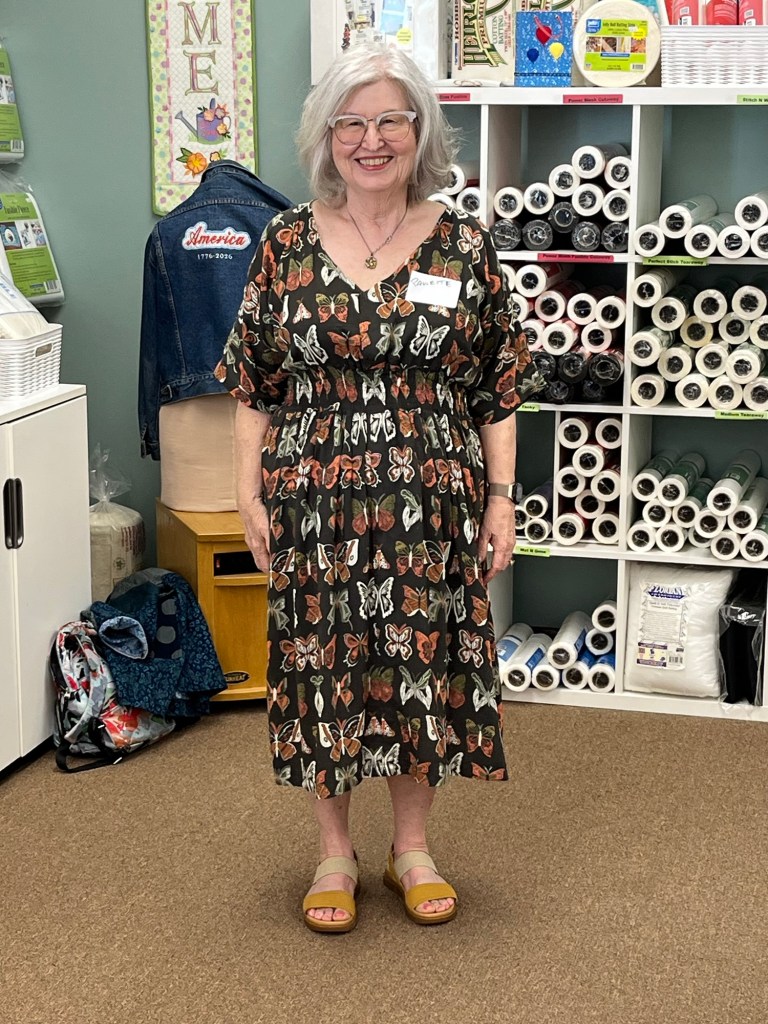
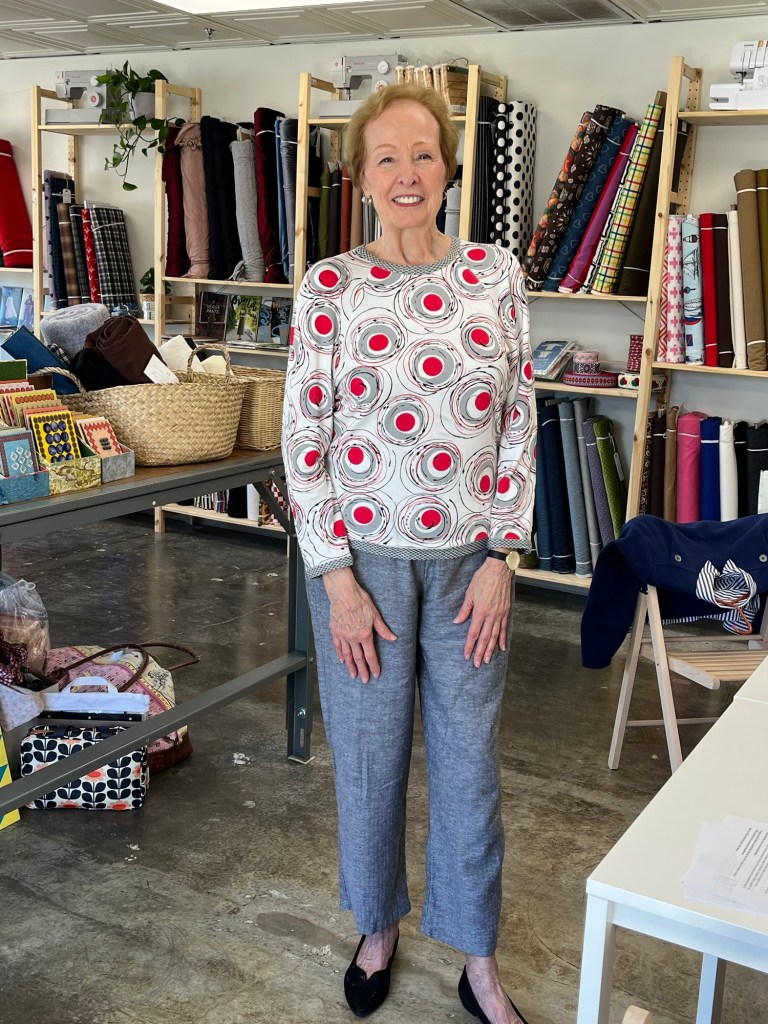
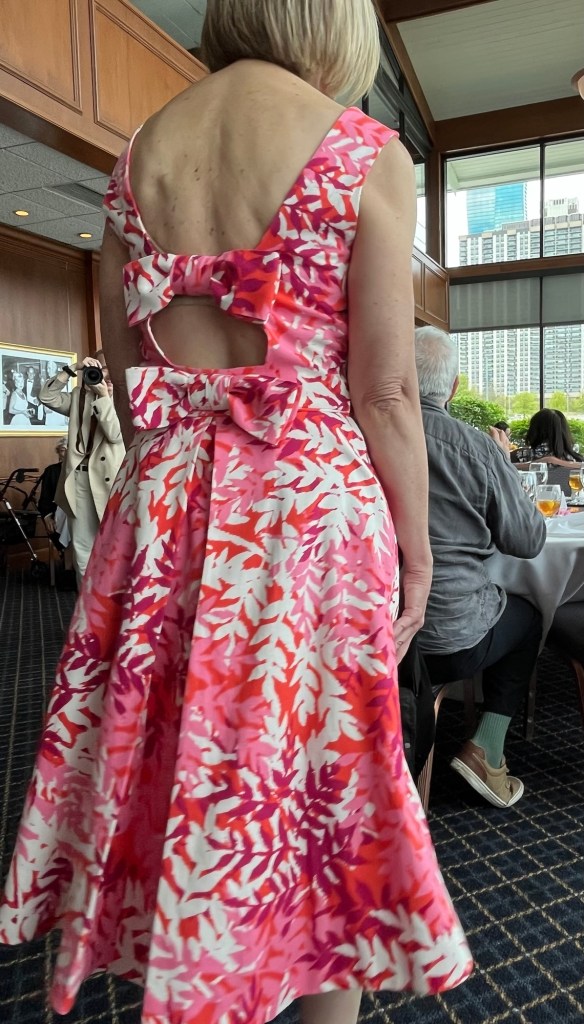
This pattern has a more narrow scoop neck with the slit option which was fun. Great directions for the burrito roll for connected neck and sleeve lining.
Widened at waist and hip but took in under arm.
3. Glad this fabric is gone! Must remember I don’t like it!
4. Paulette made this last month so I had to try it to compare to Love Notions Harmony Top.
No Garment Sewing Group meetings in August!!
September-cohost Lucia Turner
Wednesday, September 9, Ginny’s, Rochester
Thursday, September 10, Creative Sewing, Apple Valley
Saturday, September 12, Sewing Lounge, St. Paul