This is how my day in Rochester (at Mezza9) began…

And then (at Ginny’s Fine Fabrics) the day only got better…


On to Thursday at Creative Sewing…


See you Saturday at Sewing Lounge!!

This is how my day in Rochester (at Mezza9) began…
And then (at Ginny’s Fine Fabrics) the day only got better…
On to Thursday at Creative Sewing…
See you Saturday at Sewing Lounge!!
Lots of inspiration and it all starts again next week!
May Garment Sewing Group meetings-first time free! Bring what you’ve been sewing-
Wednesday, May 8, Ginny’s Fine Fabrics, Rochester-carpool anyone??
Thursday, May 9, Creative Sewing, Apple Valley-and fabric swap!
Saturday, May 11, Sewing Lounge, St. Paul


May meetings start next week-
Wednesday, May 8, Ginny’s Fine Fabrics, Rochester-carpool??
Thursday, May 9, Creative Sewing, Apple Valley
Saturday, May 11, Sewing Lounge, St. Paul
April 2024 Garment Sewing Group
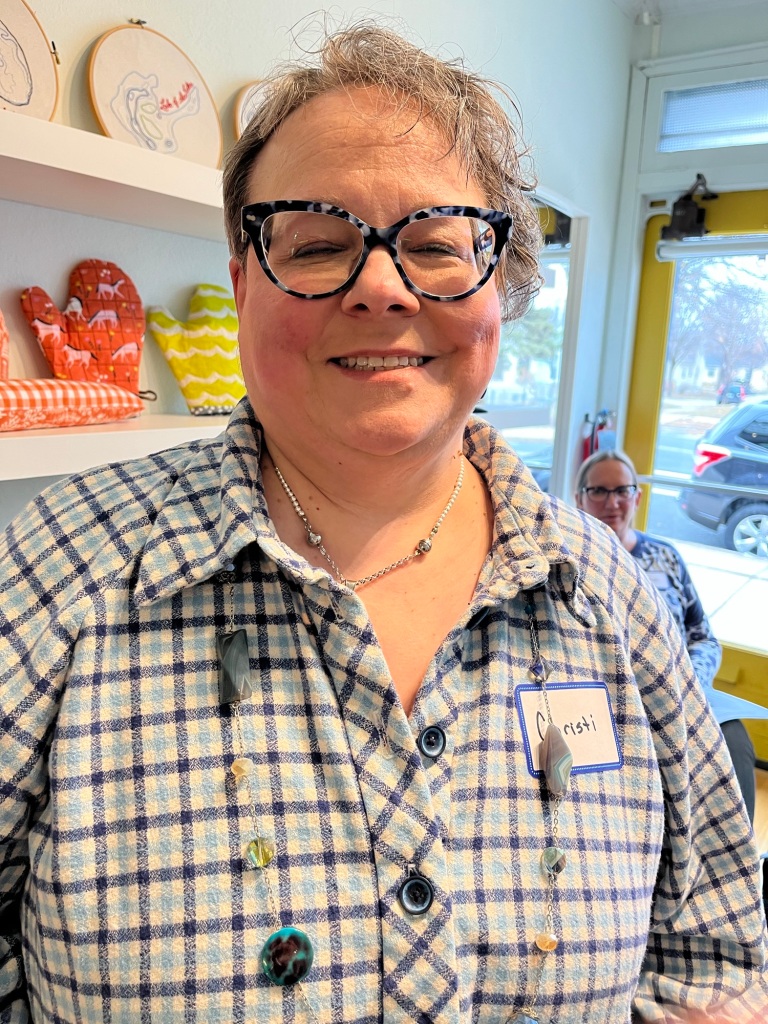
Debbie’s Garments:

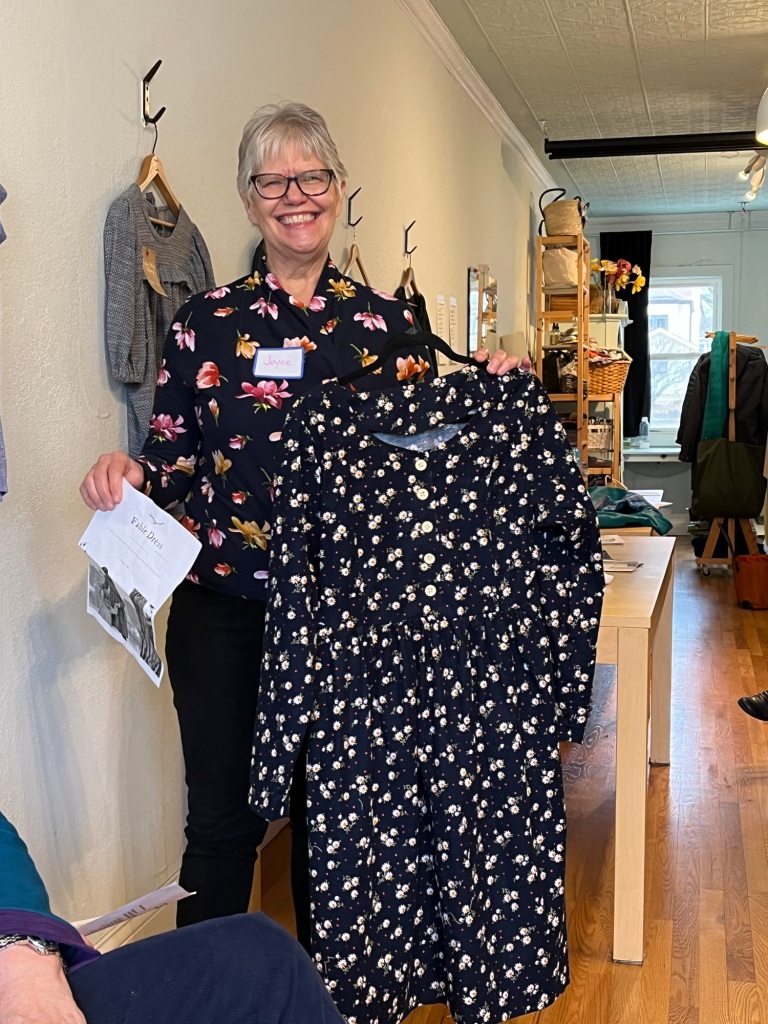
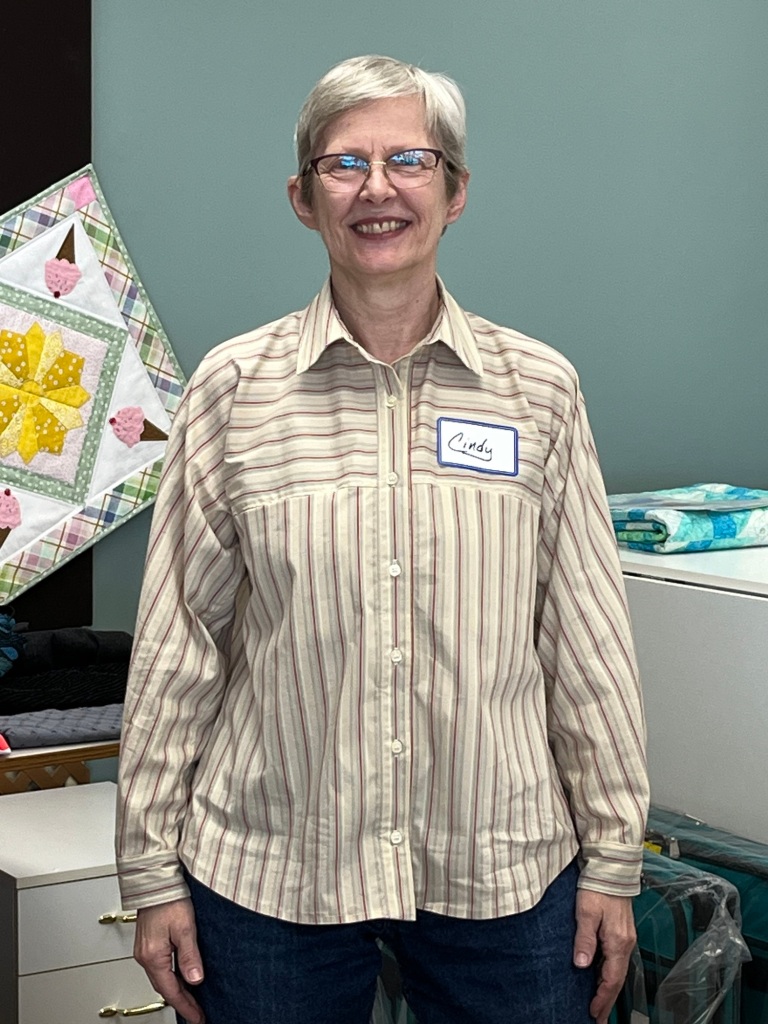
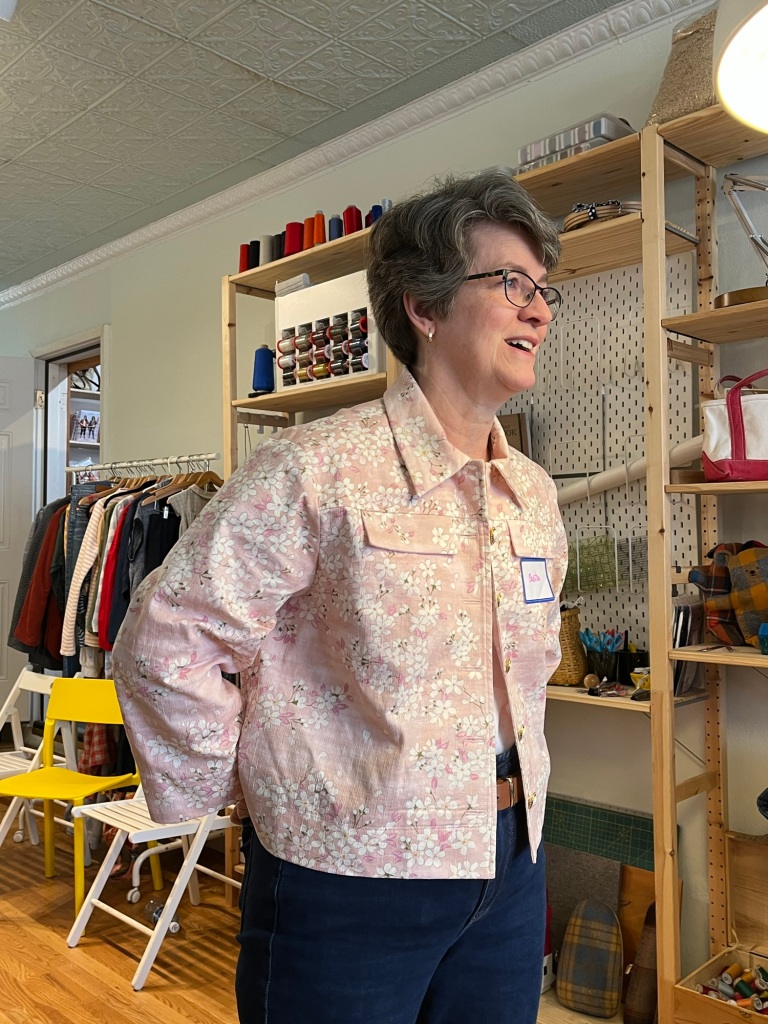
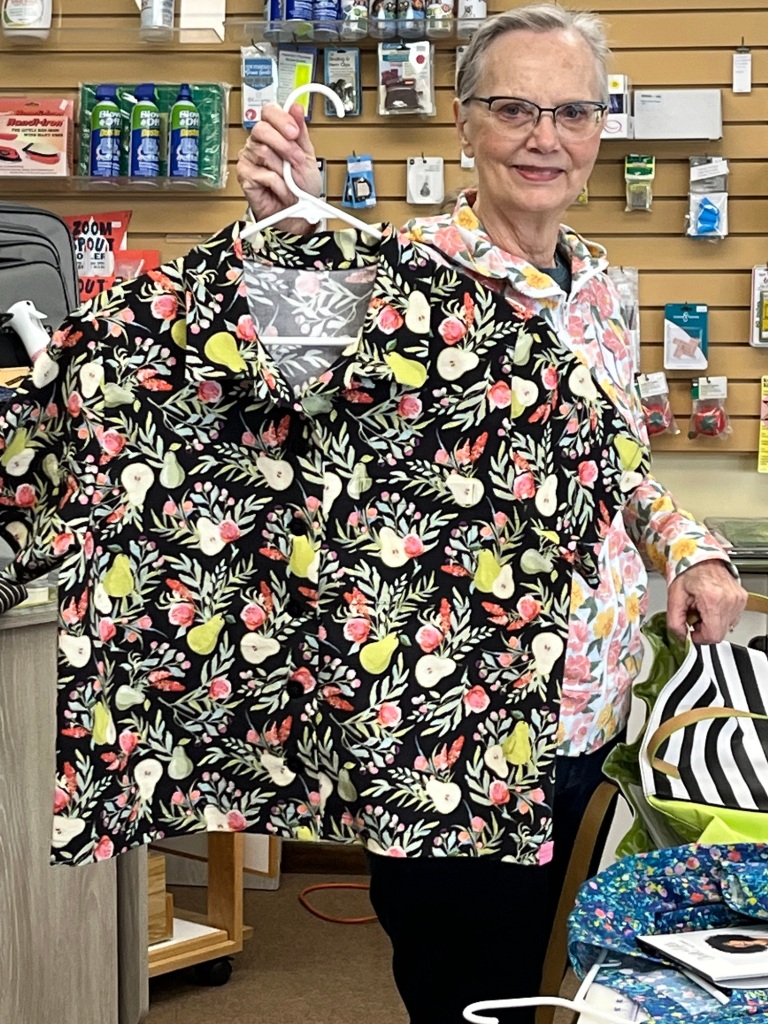
1. I have made this shirt before and knew that I needed to make some fitting adjustments this time including shortening between the shoulder and bust, waist and hip and the hem length. I also shortened the length of the sleeves.
2. I eliminated shoulder gathers and did a narrow shoulder adjustment.
3. The placket is wider than a traditional shirt and the neck opening for the collar is also wide.
4. I used larger buttons for the placket and the same style but smaller buttons for the narrow cuffs.
5. I find the Itch To Stitch patterns excellent in fit, construction details and instructions. However this is an older pattern from their collection so I probably will not make it again due to wide placket and neck opening.

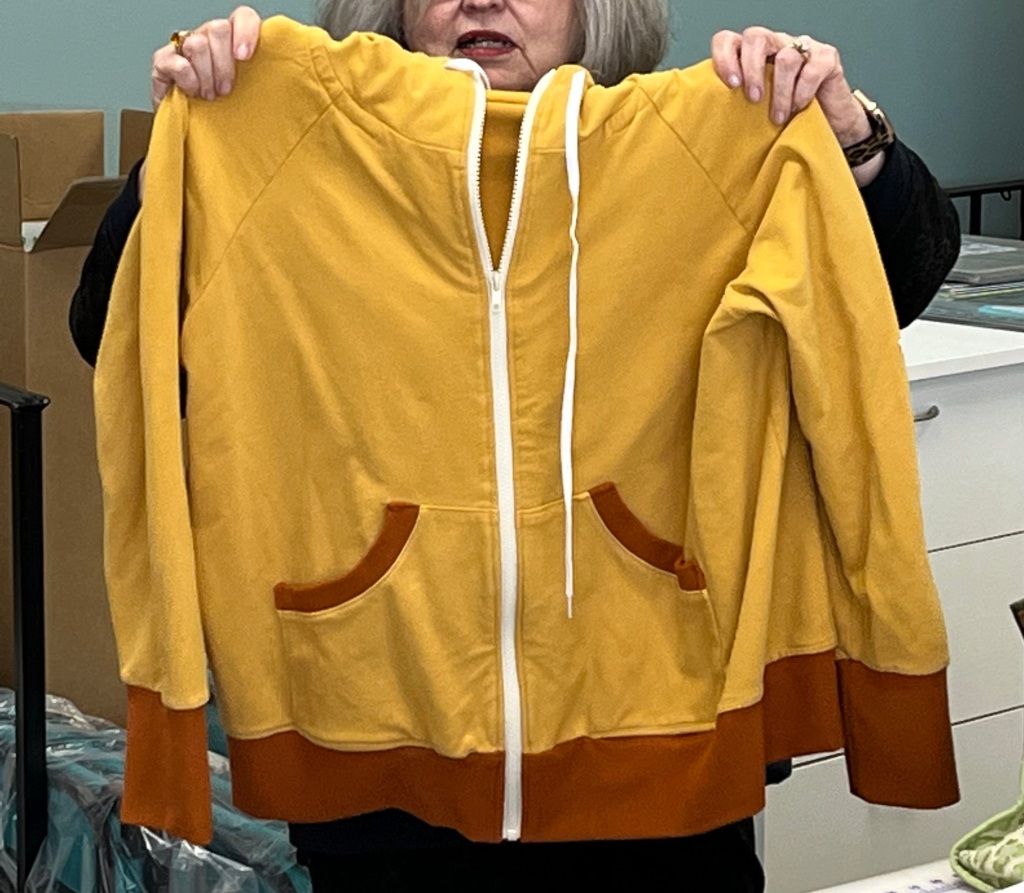
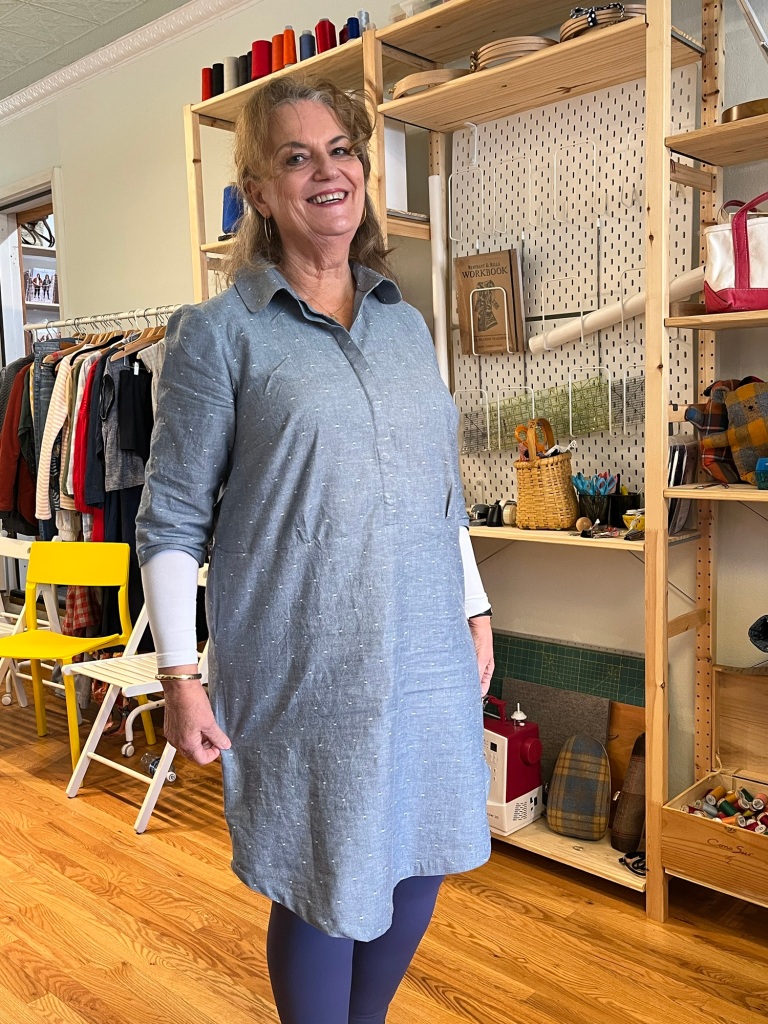
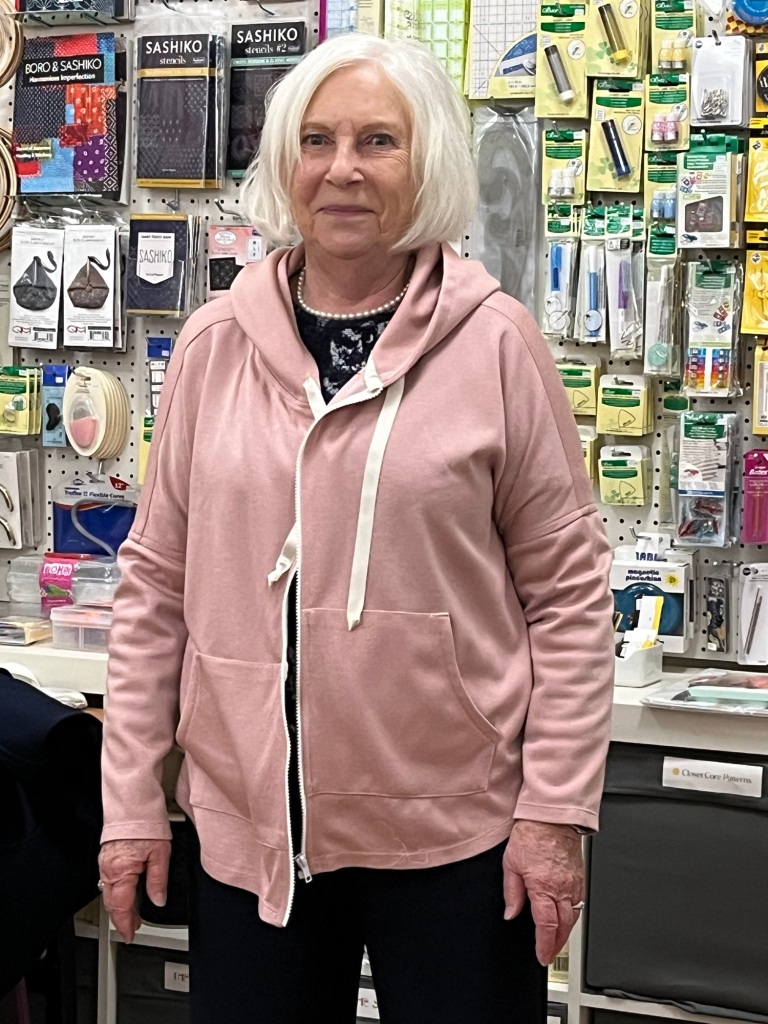
1. I did my standard fit adjustments for Itch To Stitch patterns.
2. This was a slow but enjoyable make. There are 70 construction steps!
3. Precise pocket placement, stitching and zipper insertion was a challenge for me only because it was difficult to see due to the dark color. I did find the fabric and color forgiving though.
4. I am not sure about the drawstring feature. It seems like the buttonholes for the drawstring should be further from zipper edge and I am not a fan of the toggles.
5. It was a fun and very satisfying project. I would make it again but not for awhile!

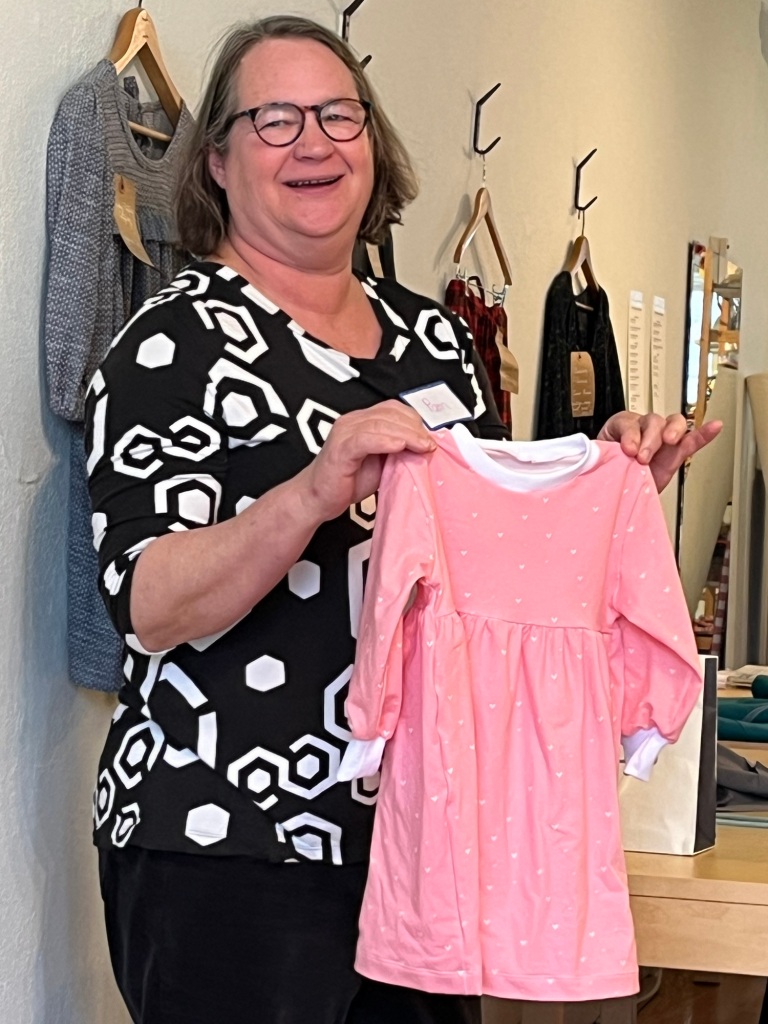
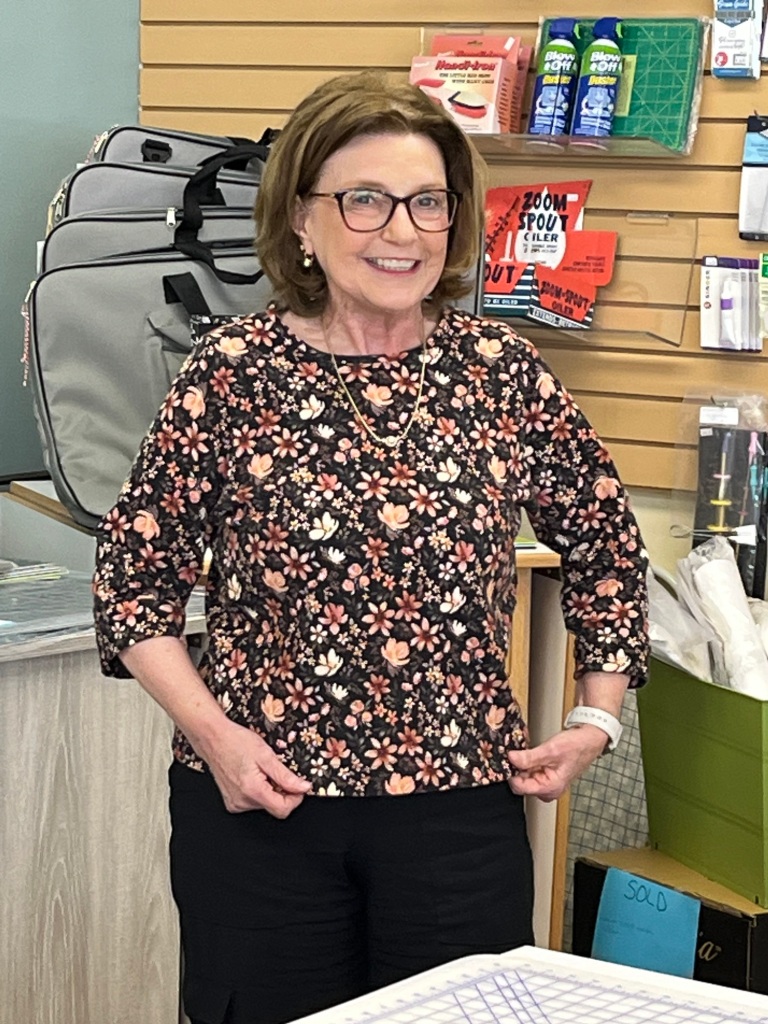
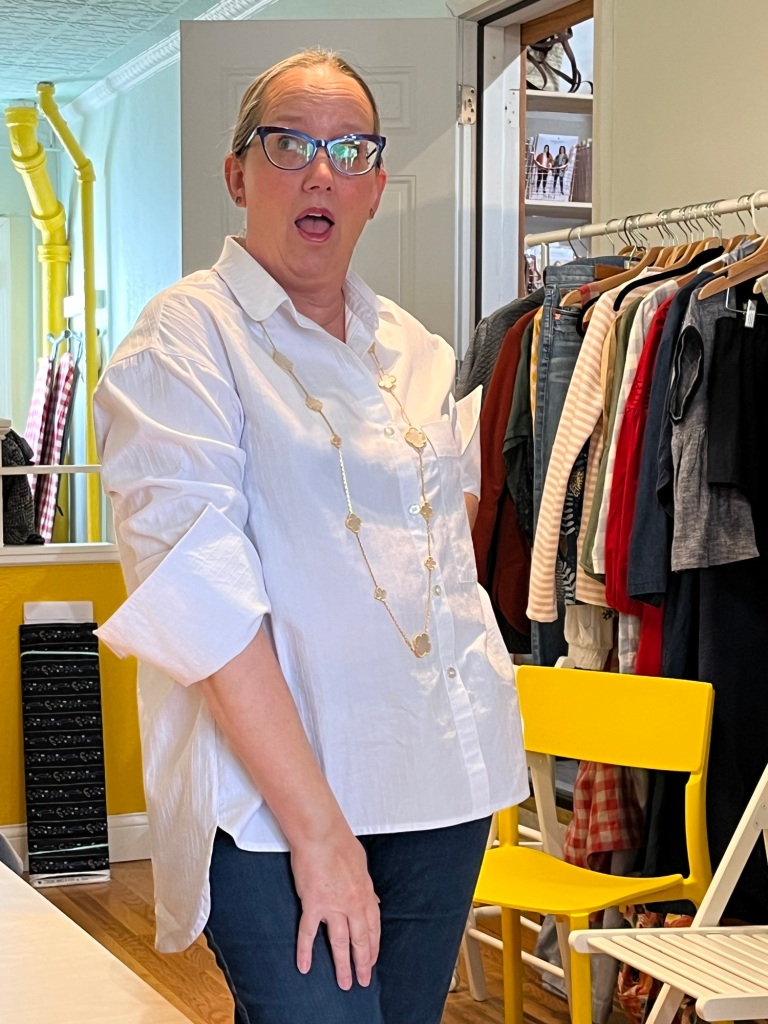
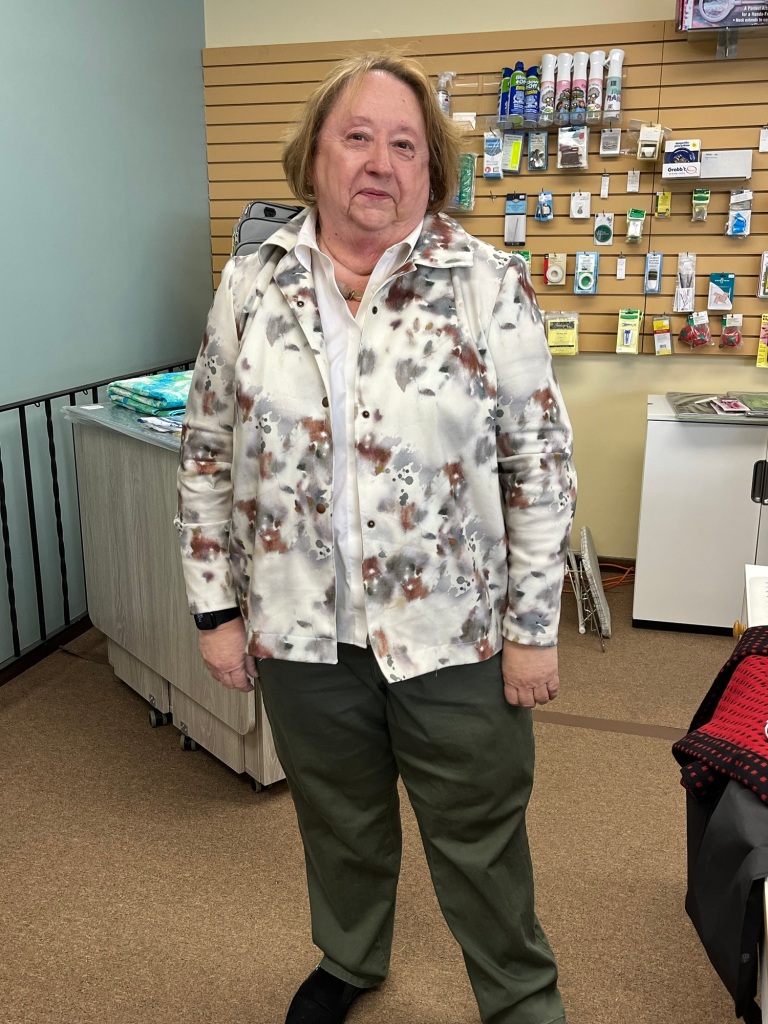
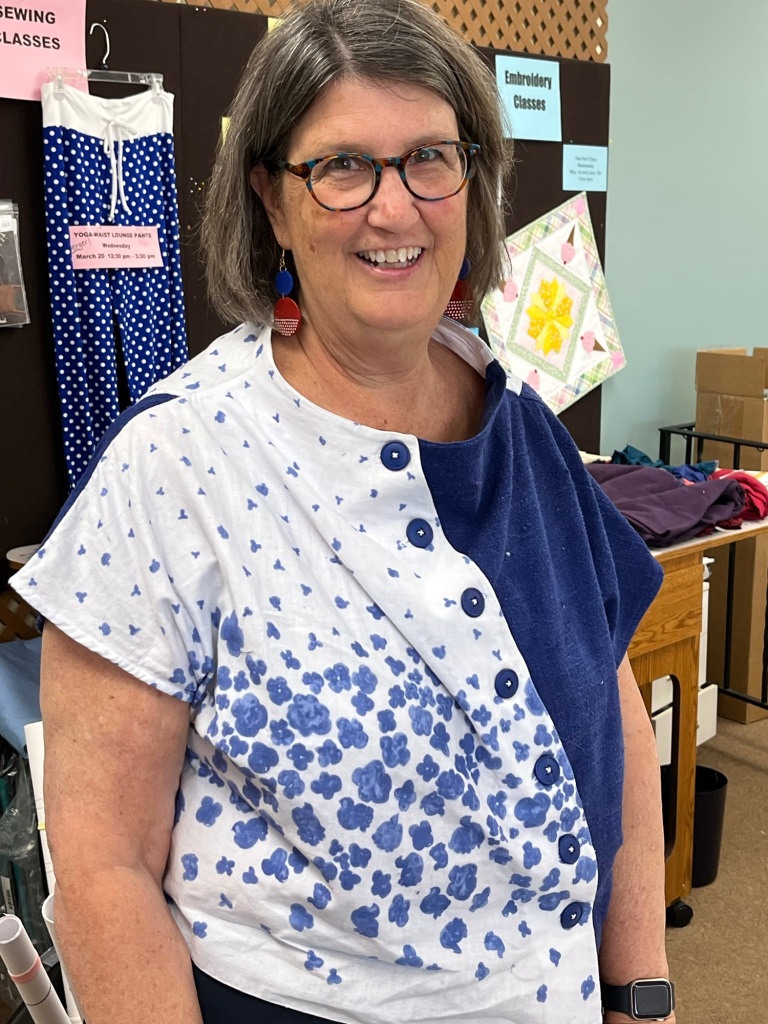
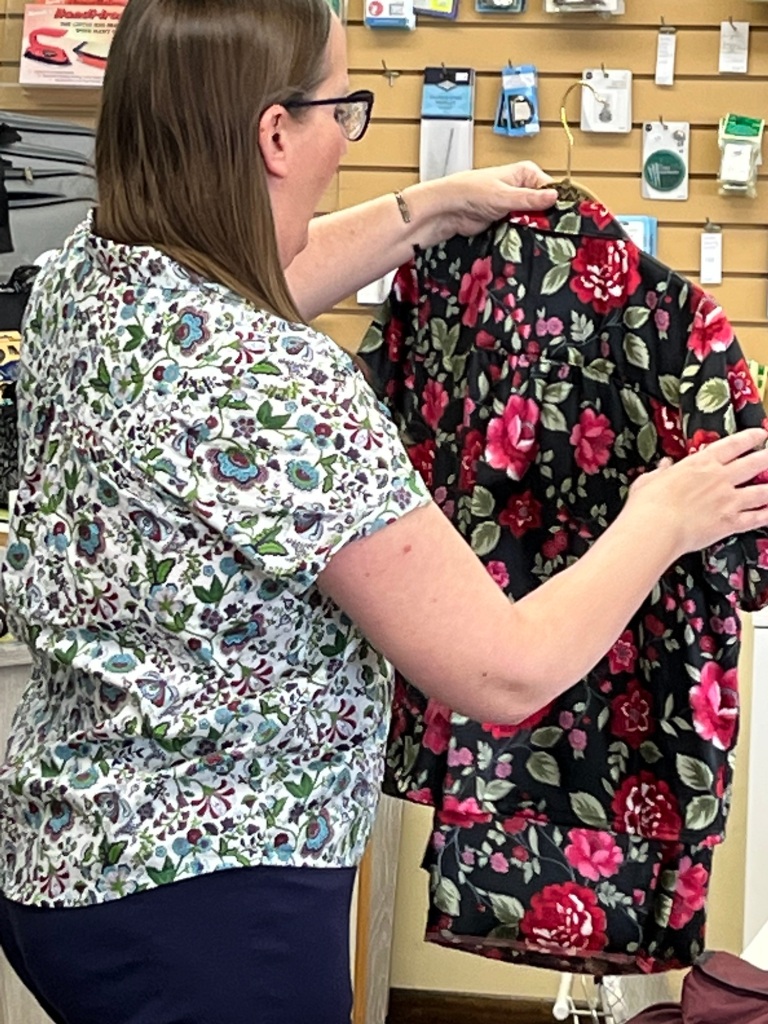
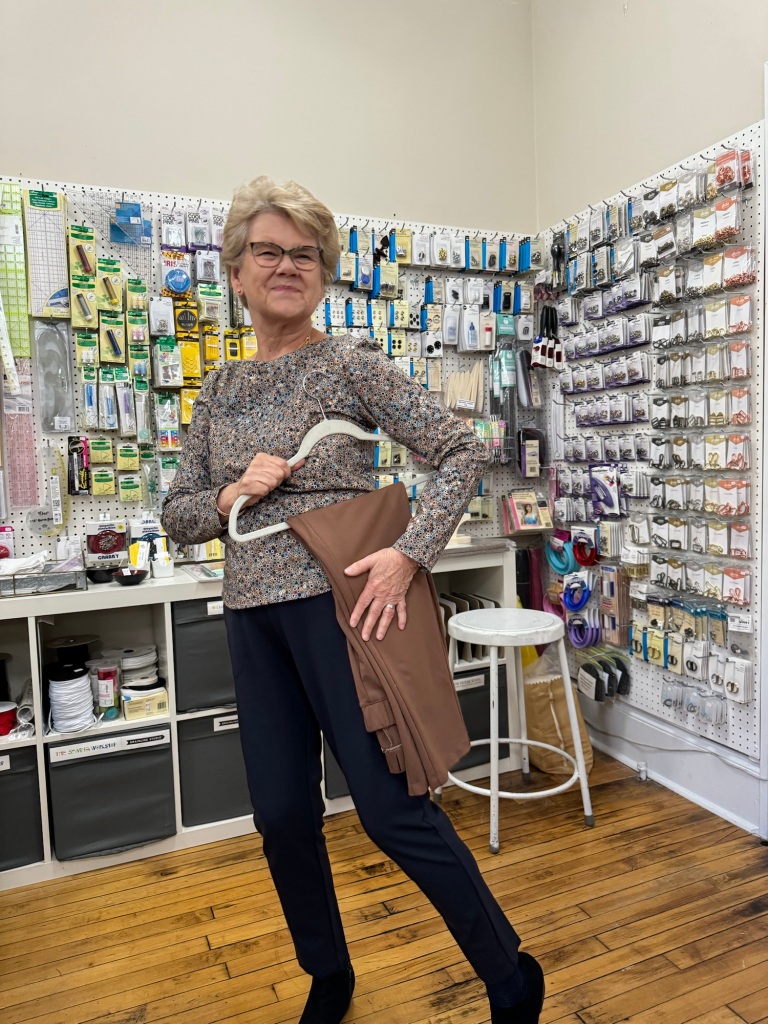
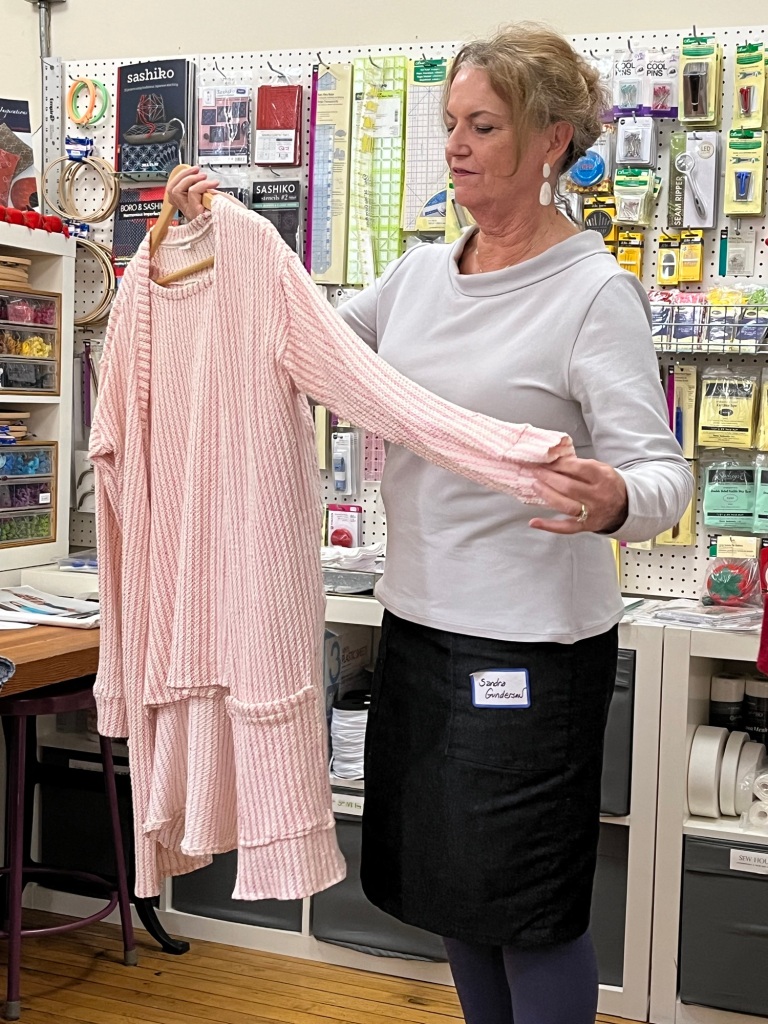
1. I used the original blouse back for the new front.

2. I used the front of the original blouse for bottom back section of new blouse.
3. To complete a full blouse back I made a yoke from a linen scrap for the upper portion of the new blouse back.
4. The sleeves are from the original with minor adjustments.
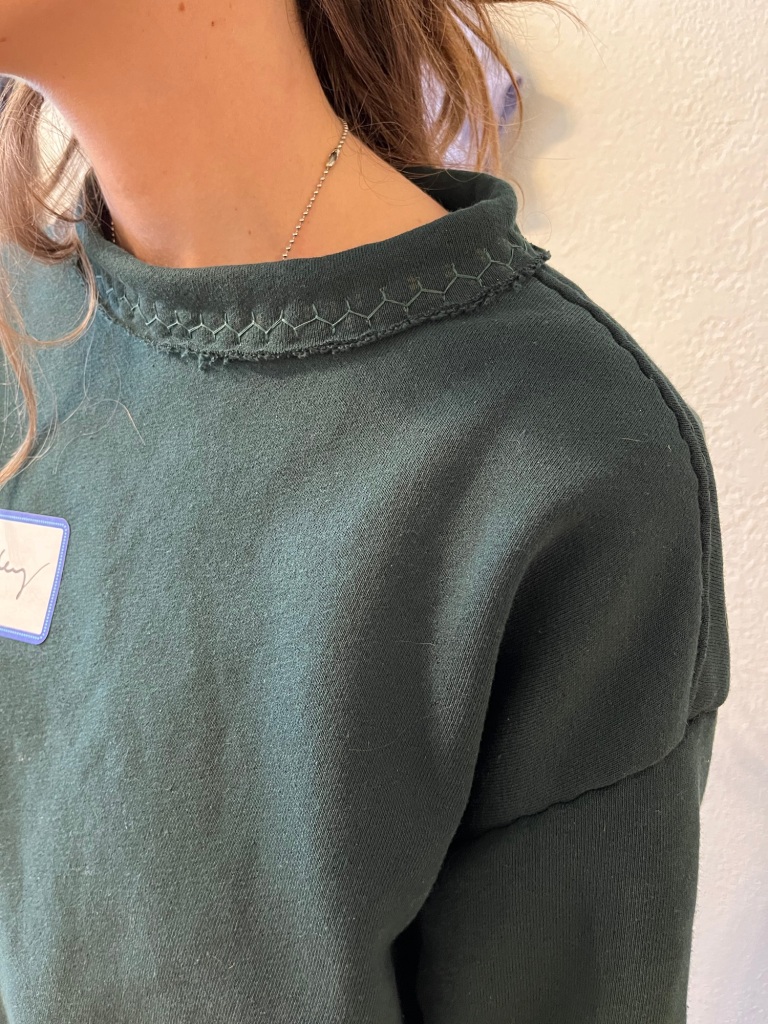
5. I used a serged bias edge for neckline finish.
6. I love the rayon twill. Even though I may just wear this around the house the refashion was worth it.

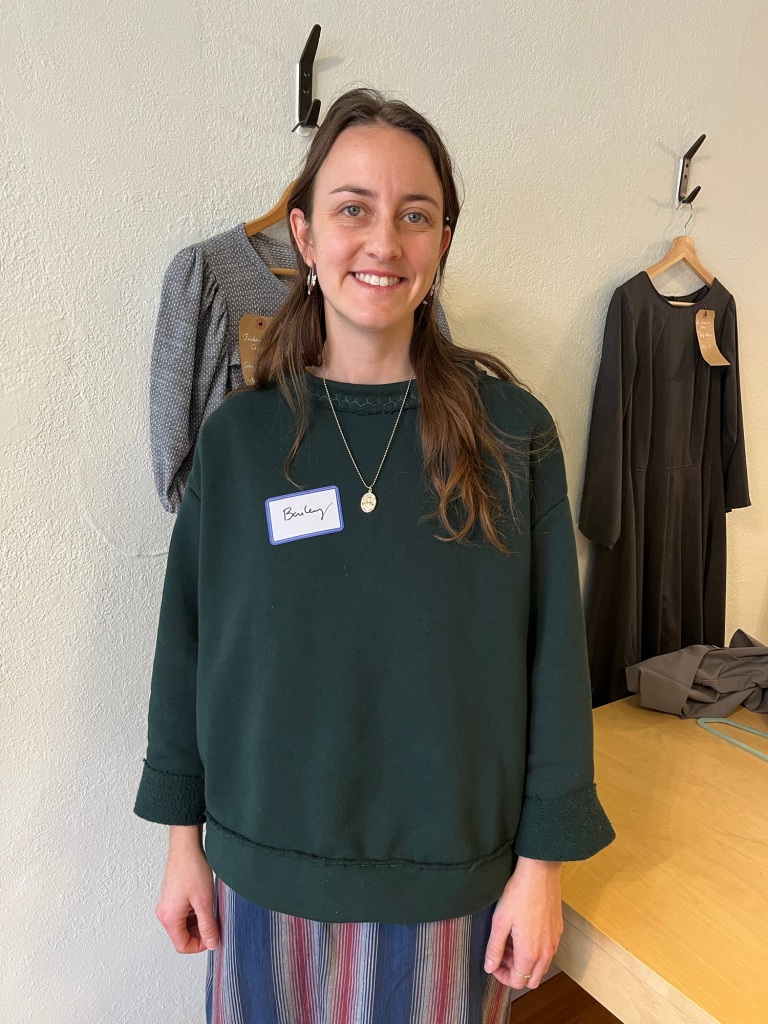
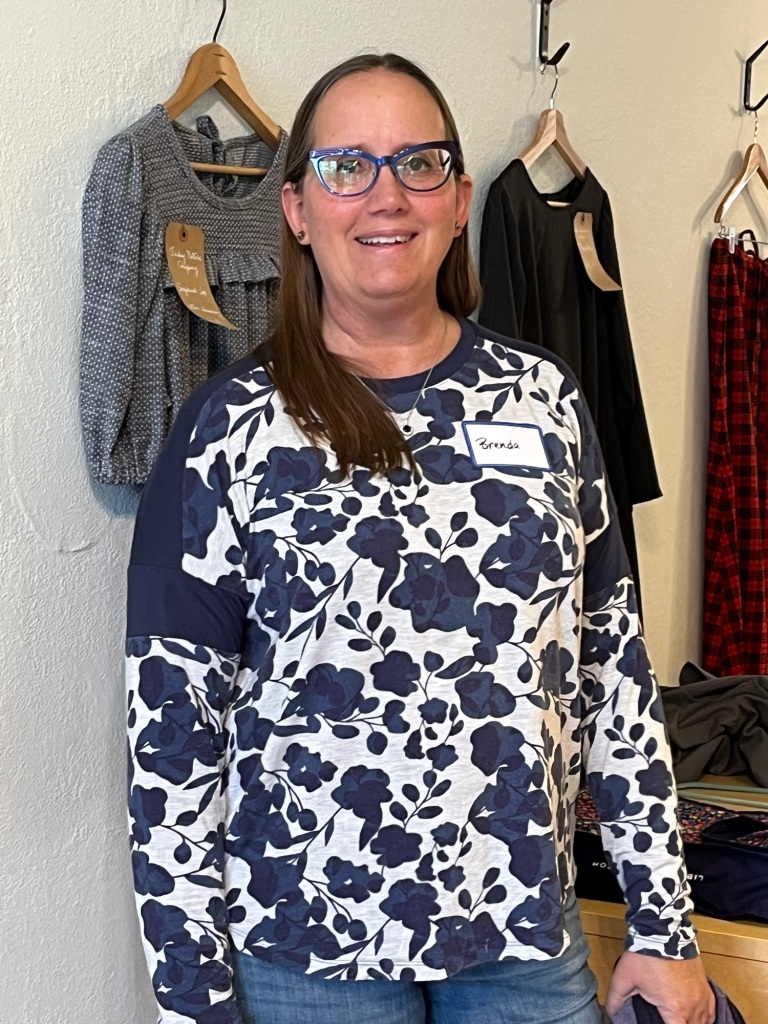
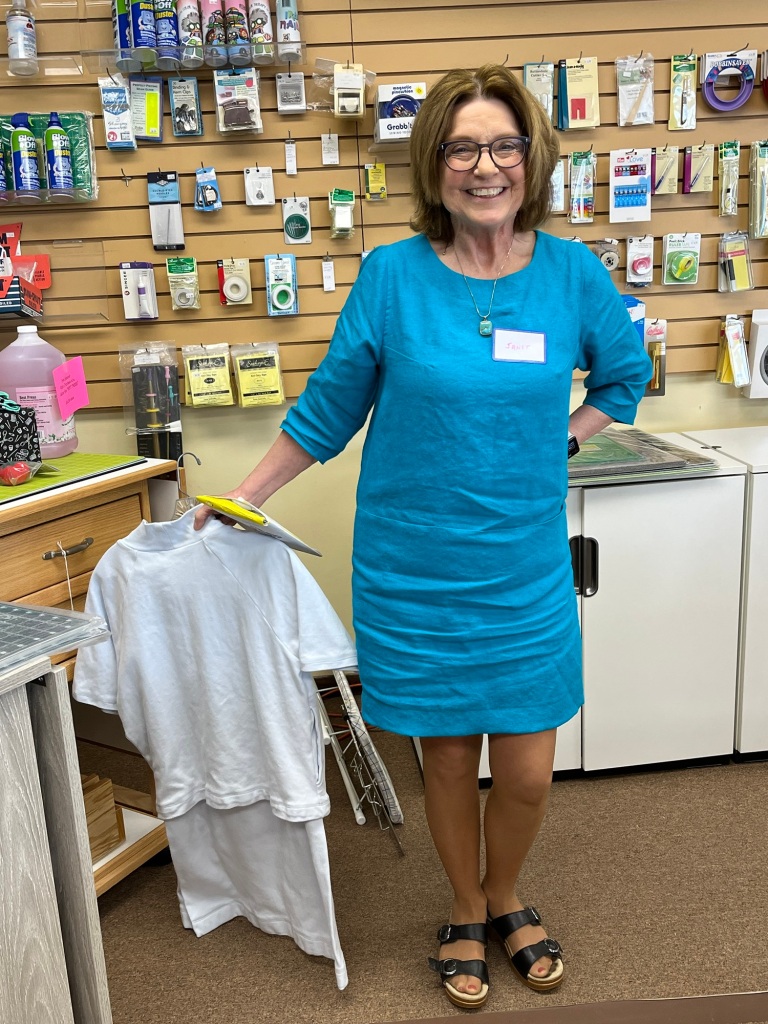
1. This pattern is a TNT for me. I find it easy to use as a base to copy ready-to-wear tees or other tee patterns.
2. It was a fun, easy and quick make with great fabric.
Kristin’s Garments:

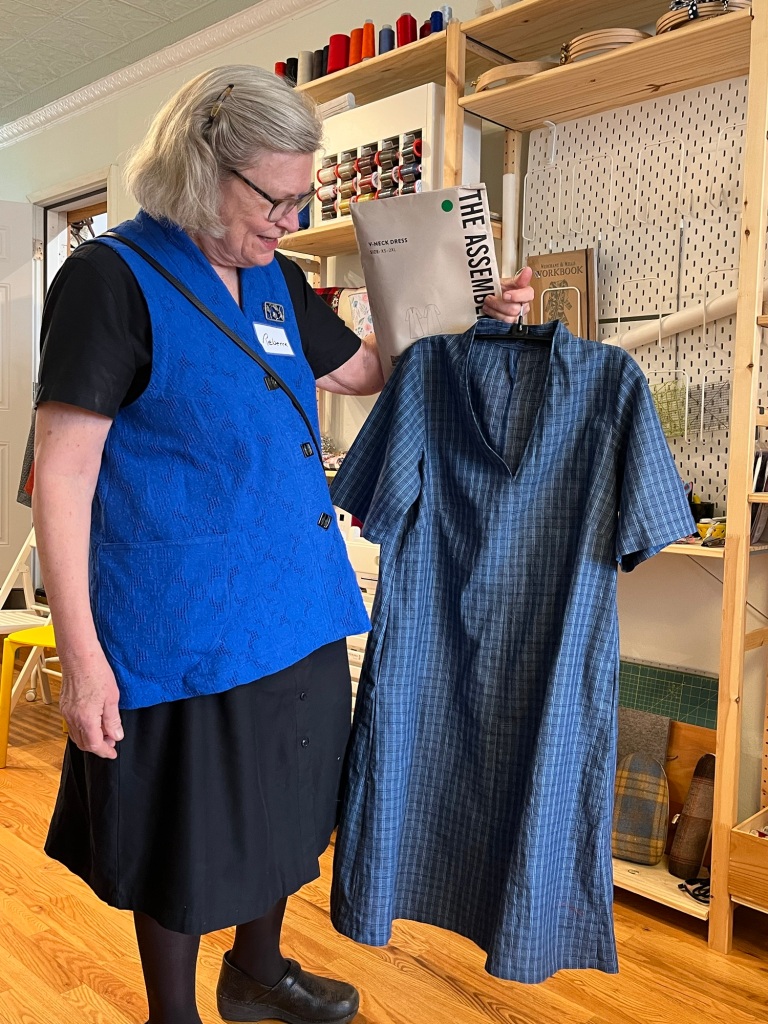
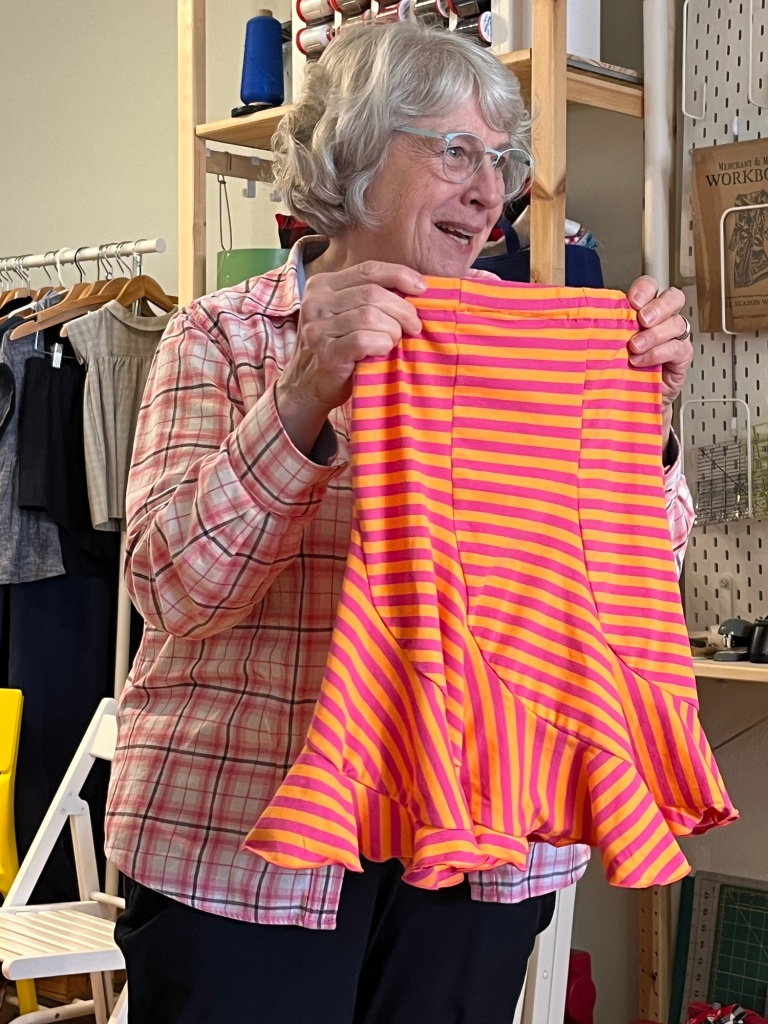
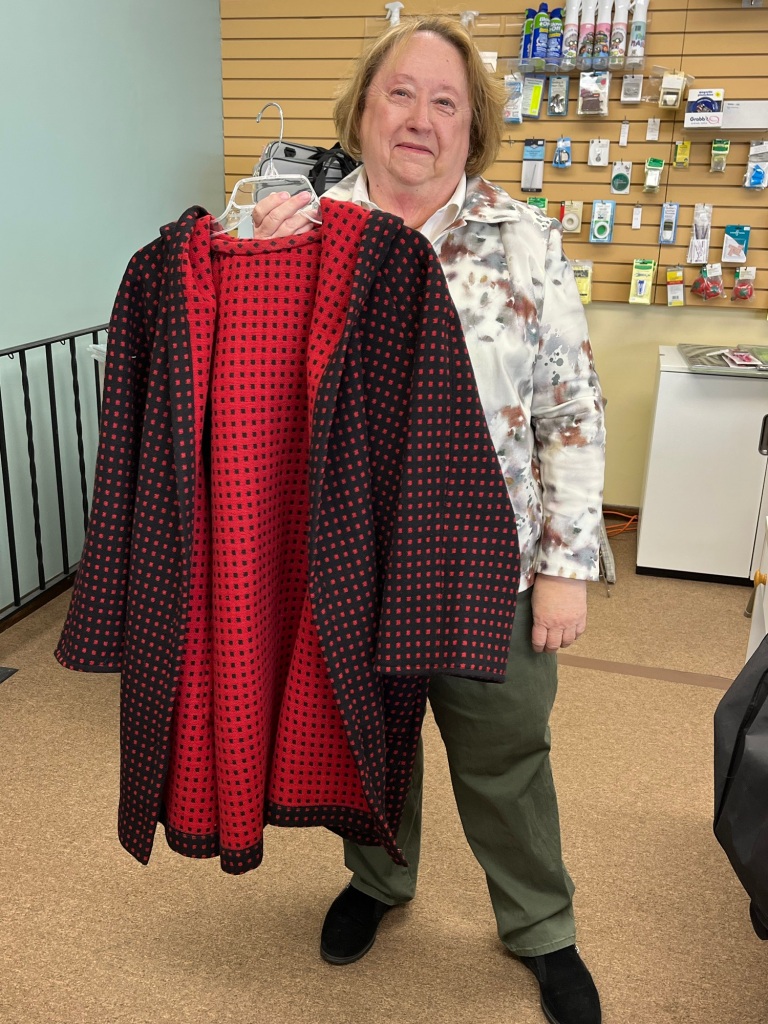
1. This fabric wanted me to make it into a garment! The colors are perfect for spring/summer.
2. I made a trial garment in the other color way that I didn’t like so I’d know how the fabric behaved.
3. Ponte was used for the back piece and bands to give the handwoven fabric some stability. The weight was similar and it stabilized the seams where it was used.
4. The fabric didn’t have much stretch at all but tended to ravel. Serging or zigzagging was helpful.
5. I had to use both sides as I couldn’t choose a favorite.
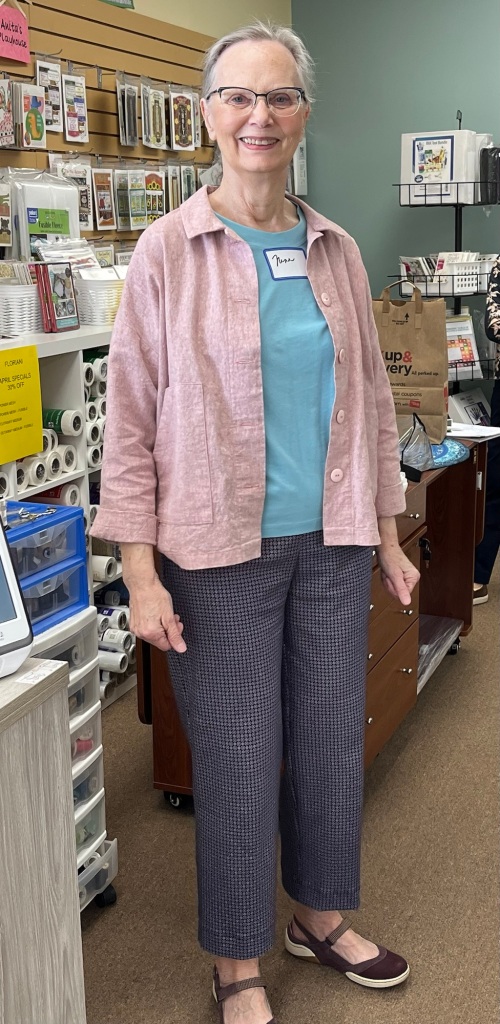
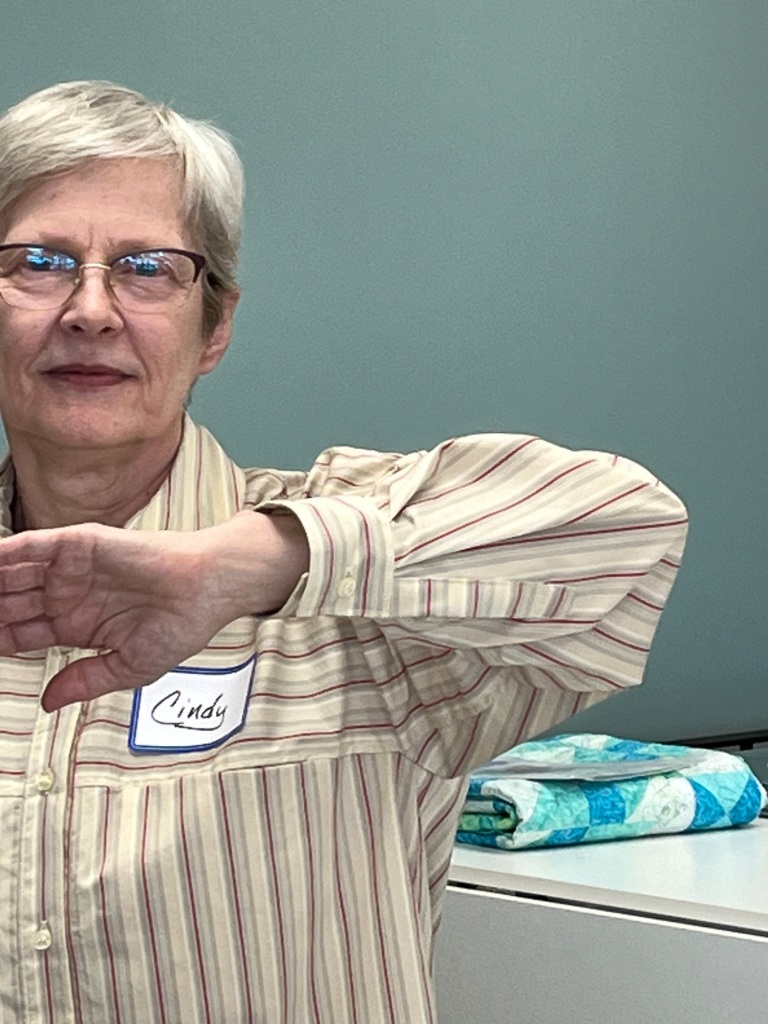
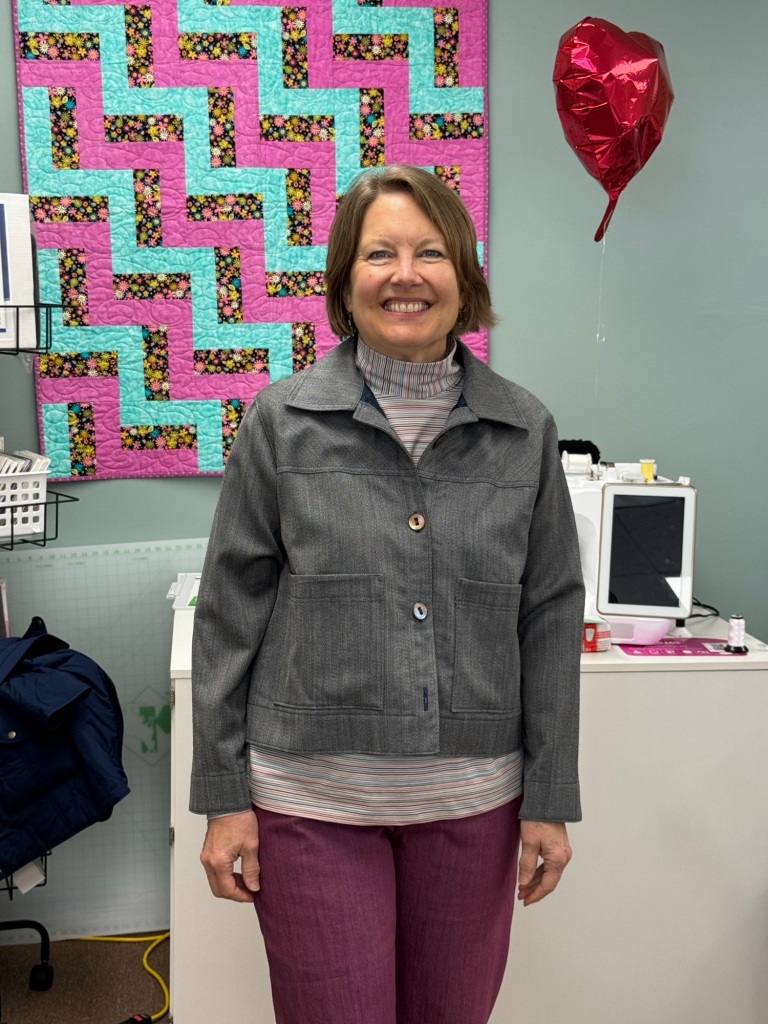
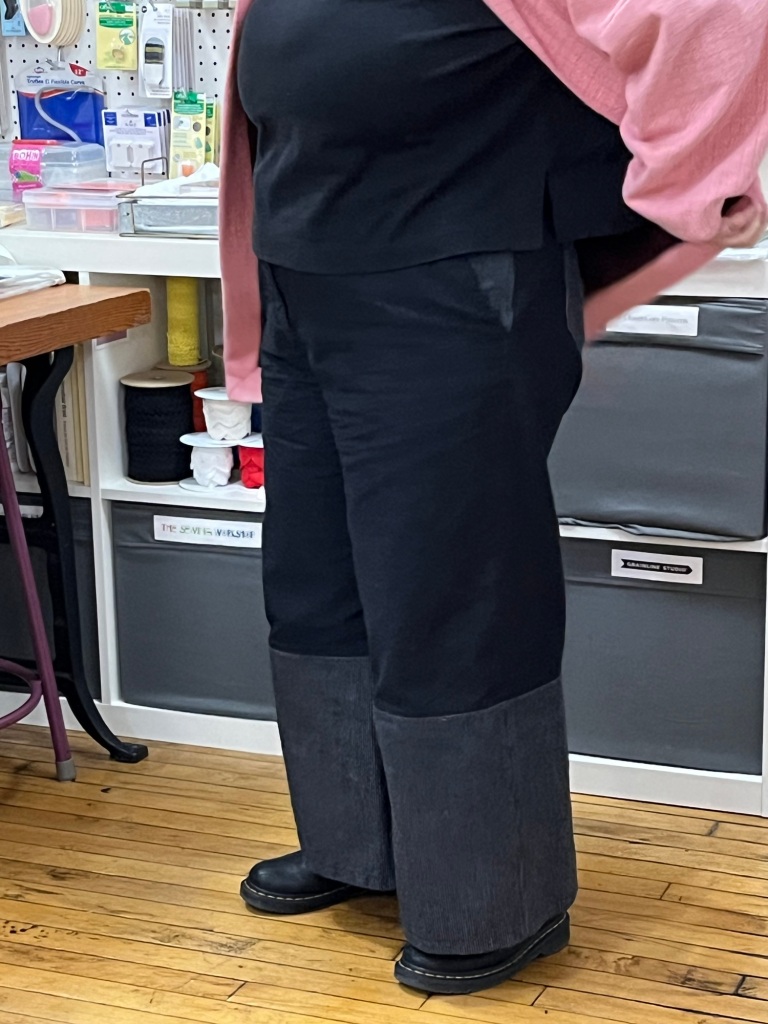
Delta Cargo Pants/StyleArc Patterns/12 oz. Denim-pictured above)
1. Compared to my favorite Barry Pants (also a Stylearc pattern) they have more ease through hips and waist.
2. I didn’t add pockets as elastic waists don’t support my phone to say nothing of tools!!

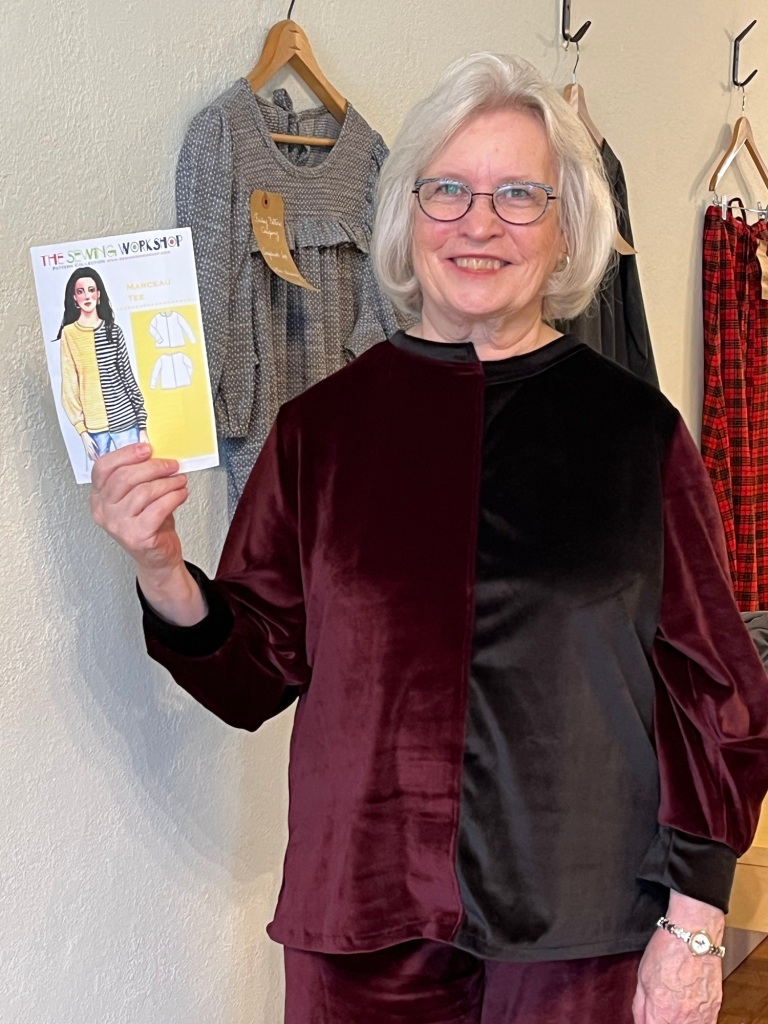
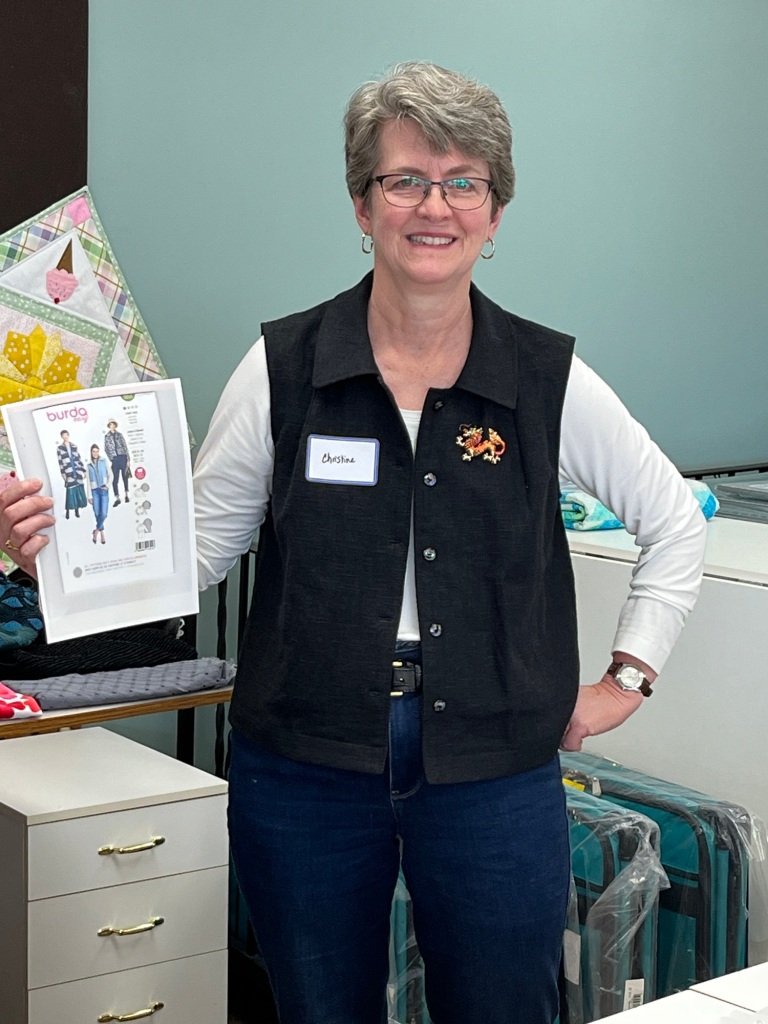
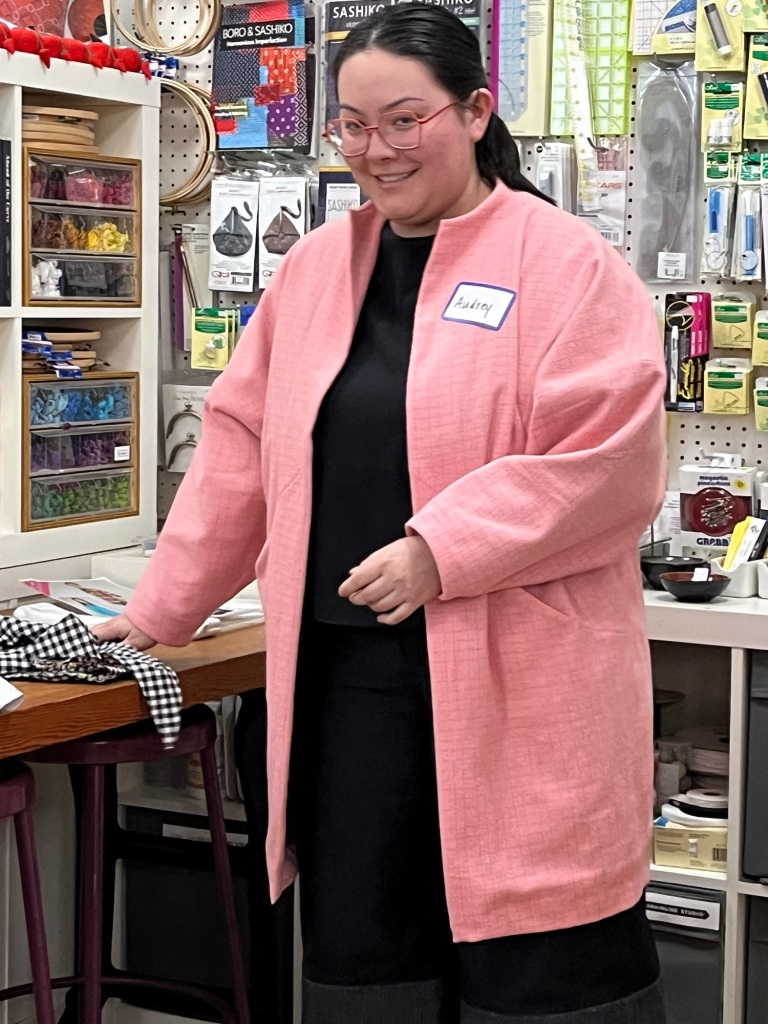
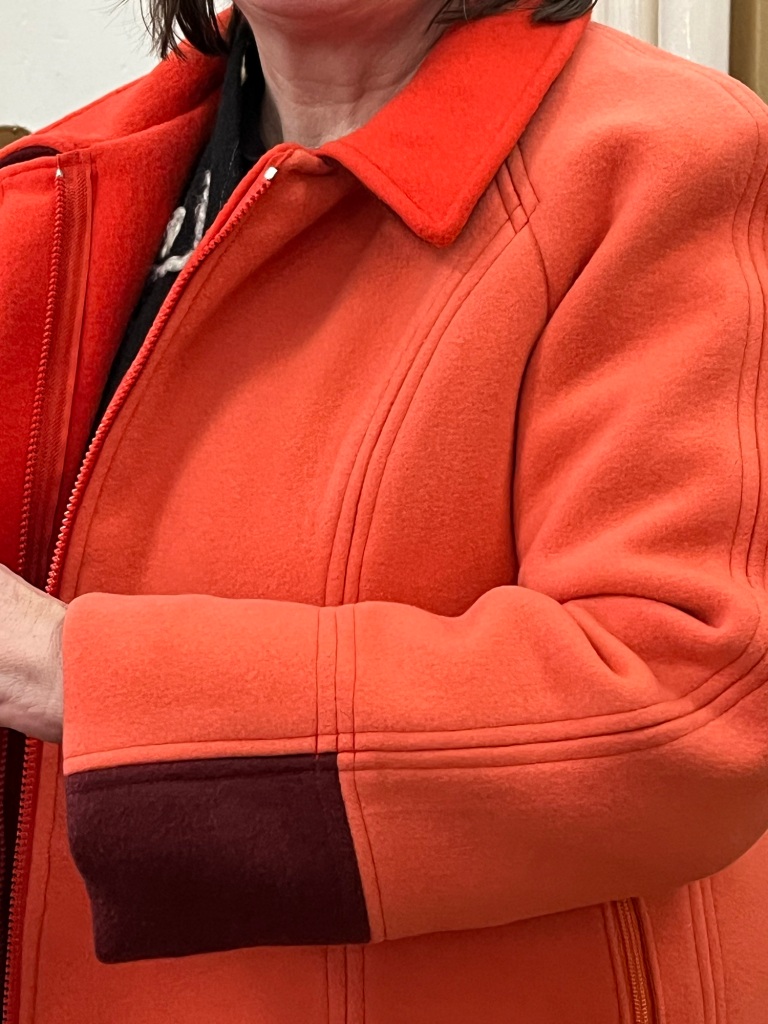
1. Fun pattern-instructions well done-drafting well done, markings, etc.
2. I made it to pattern and this wouldn’t be anything I could wear “over’ much more than a tank top 🙂 But the fit is very good-I went up 2 sizes for my hip and everything was great-except the narrowness of sleeves and the shoulders/back is a close fit. All good-just need to go up a size.
3. Denim was heavy and thick so I would do more seam allowance trimming on pockets-anything to decrease bulk.
4. Zipper chest pocket was cool but just too bulky and my cell didn’t fit after making it bigger so just left it off.

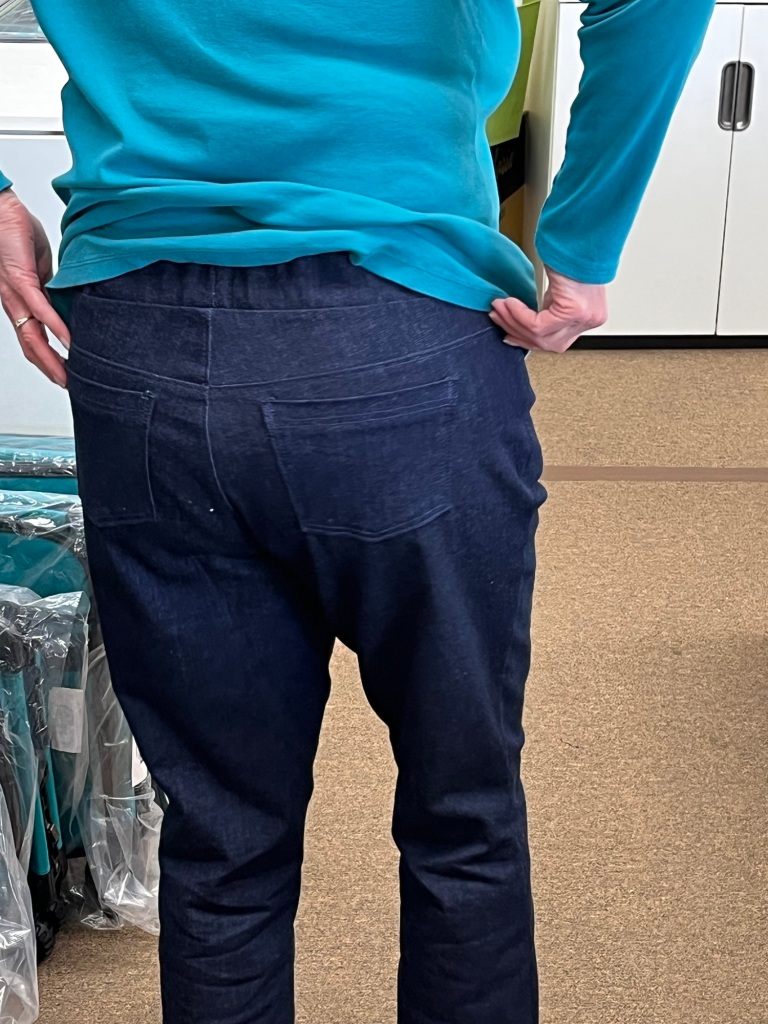
1. Same as jacket above for quality of pattern. Fit was much better for the garment.
2. Fly instructions were a bit of a head scratcher but that might just be me.
3. Love all the technical pockets and used the ones I thought would be most helpful for me.
4. Nice to remember that denim is a stretchier woven fabric.
May Garment Sewing Group
Wednesday, May 8, 10:30, Ginny’s Fine Fabrics, Rochester
Thursday, May 9, 10:30, Creative Sewing, Apple Valley
Saturday, May 11, 10:30, Sewing Lounge, St. Paul
Just catching up on April Garment Sewing Group pics-before next week when our May meetings begin at Ginny’s!!! Saturday’s meeting is at Sewing Lounge-not Lakes as we told you at April meetings!
Wednesday, May 8, Ginny’s Fine Fabrics, Rochester (let me know if you want to carpool)
Thursday, May 9, Creative Sewing, Apple Valley
Saturday, May 11, Sewing Lounge, St. Paul (this is a change from GSG sheet!!)


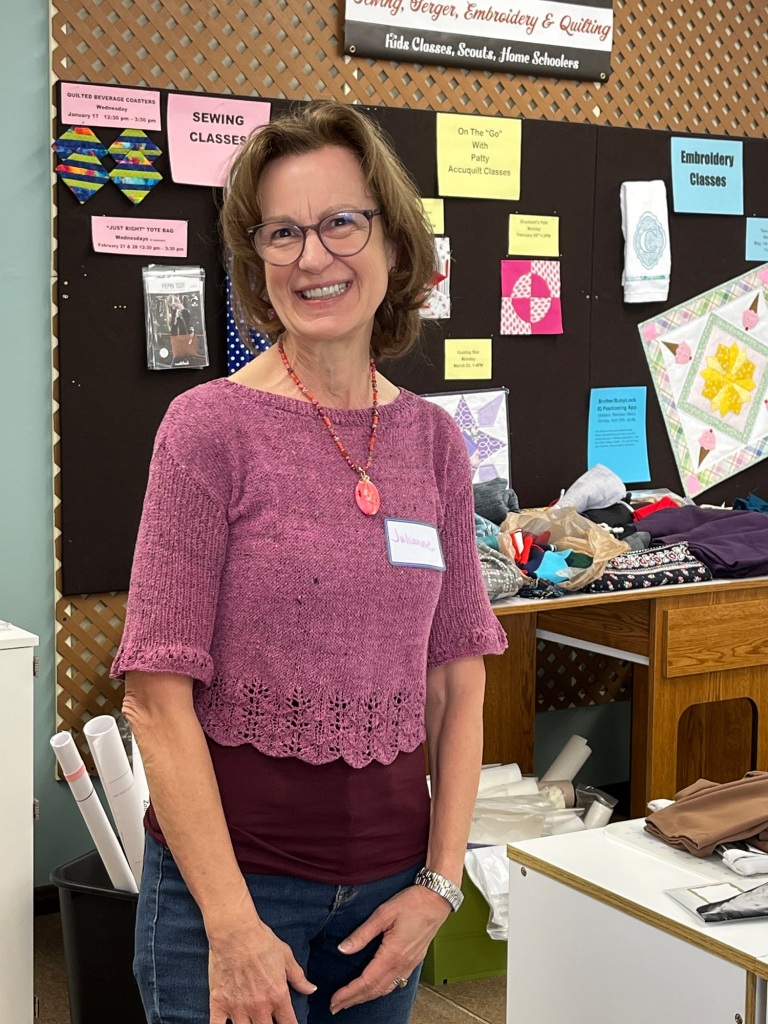
And some beautiful knitting!


April meetings for Garment Sewing Group have begun-Thursday’s meeting was at Creative Sewing. Saturday we meet at Lakes Makerie and Wednesday at Sewing Lounge. Hope you can come!!
Sewing Lounge’s sale runs through Saturday, April 13!
Hoping to chase away the clouds with some sunny sewing-meetings are at 10:30 am.
Thurs., April 11, Creative Sewing, Apple Valley (and Fabric Swap!)
Saturday, April 13, Lakes Makerie, Mpls.
Wednesday, April 17, Sewing Lounge, St. Paul

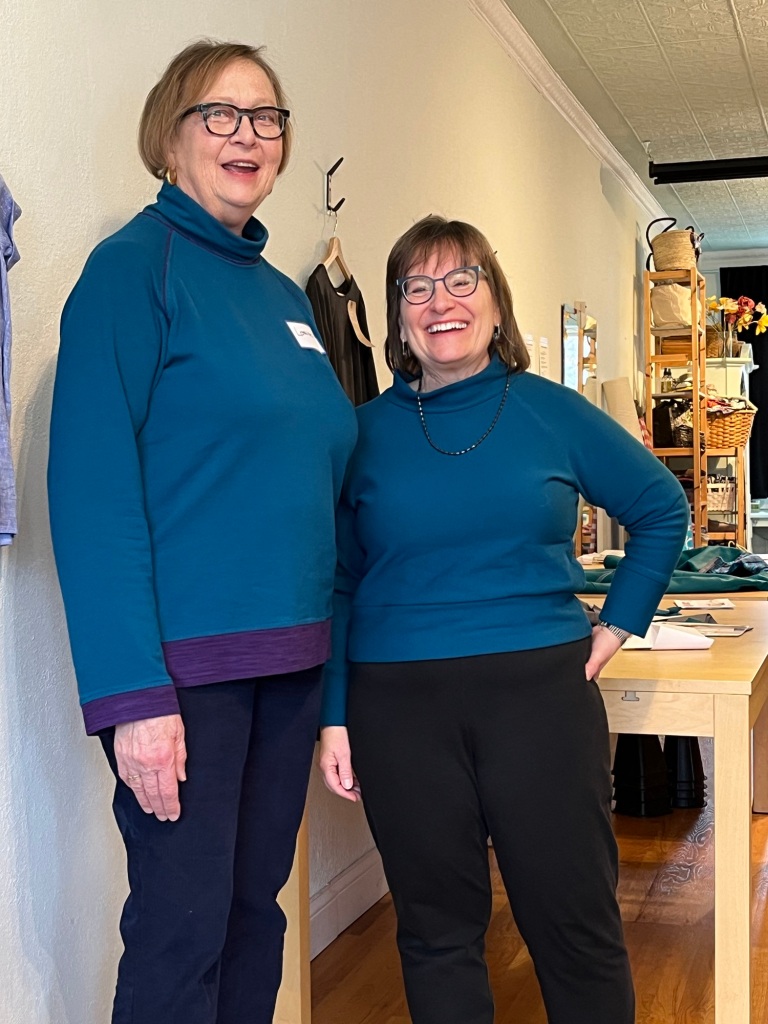
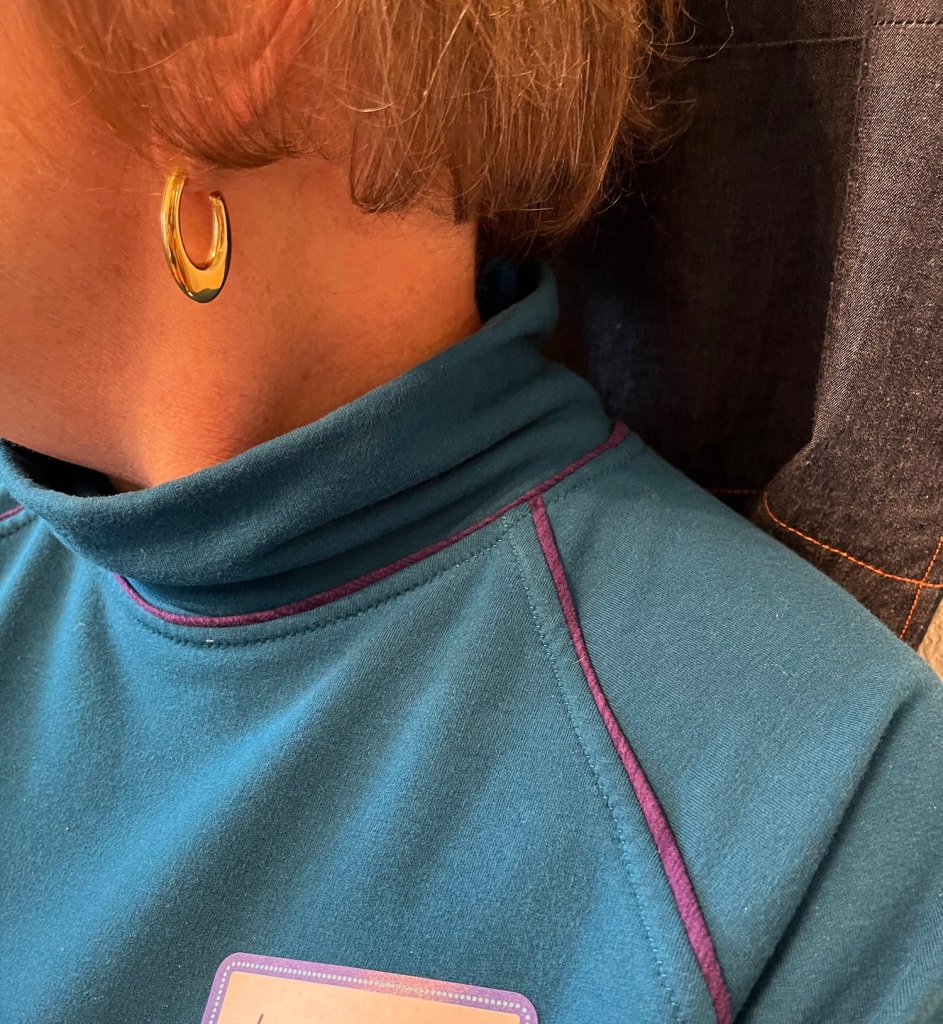
Debbie’s Garments:

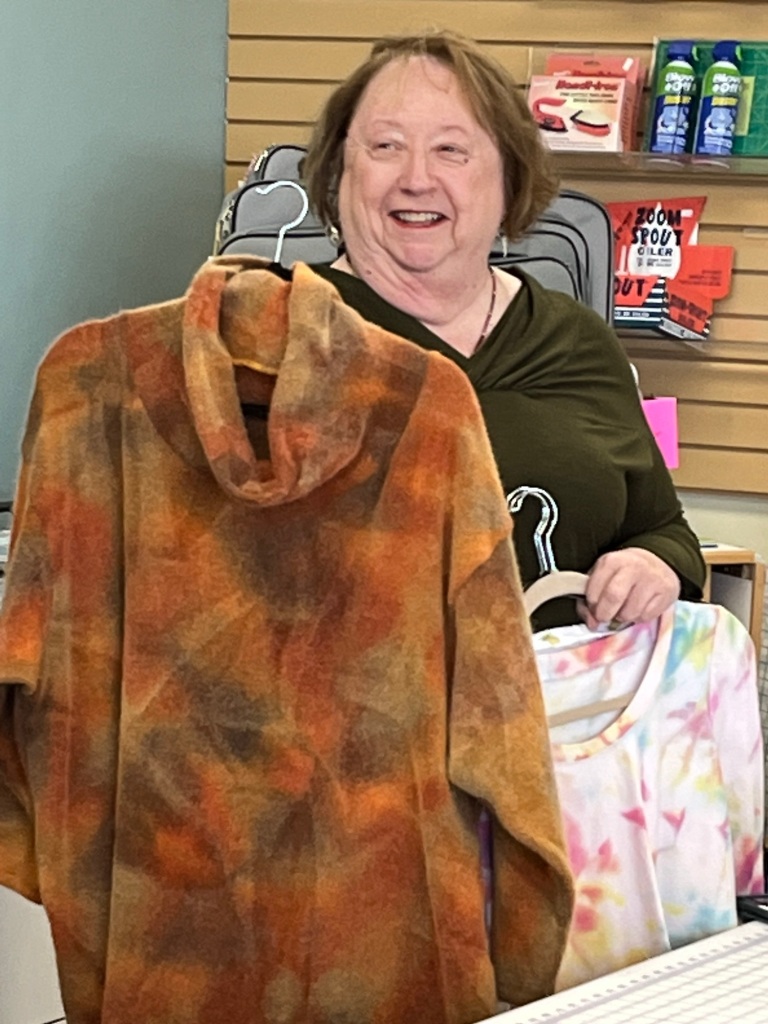
1. To get the Monroe Turtleneck look I combined the neckline of the turtleneck with the body and sleeves of the Dolman. It was an easy hack, quick and fun to sew. A win-win.
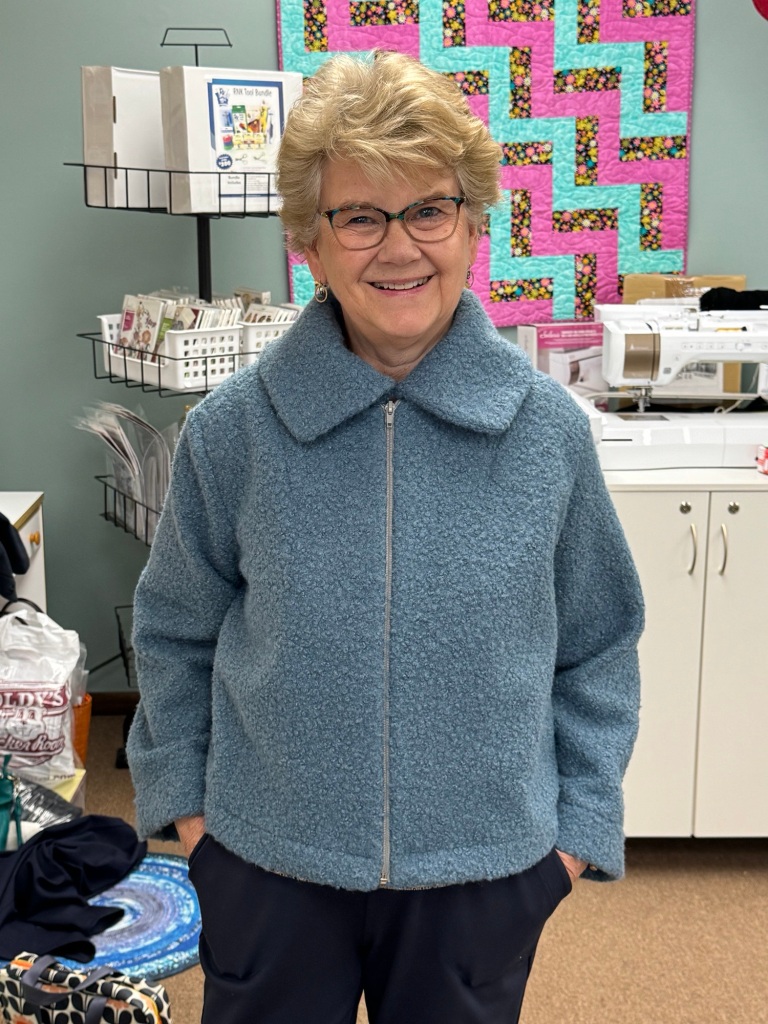
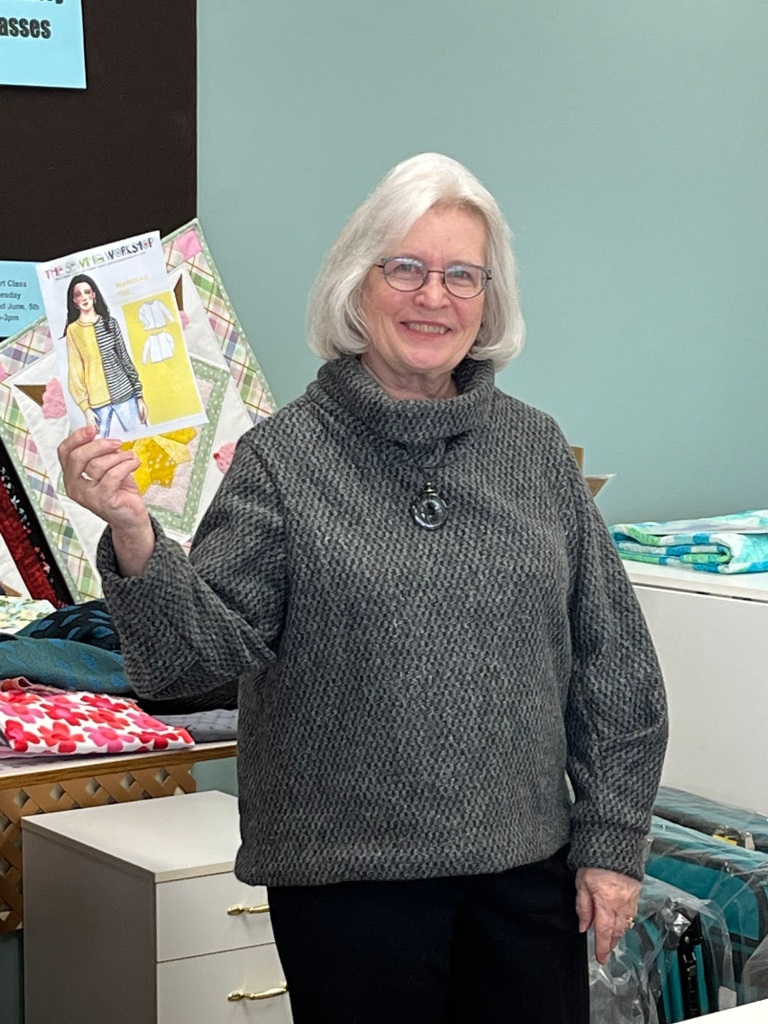
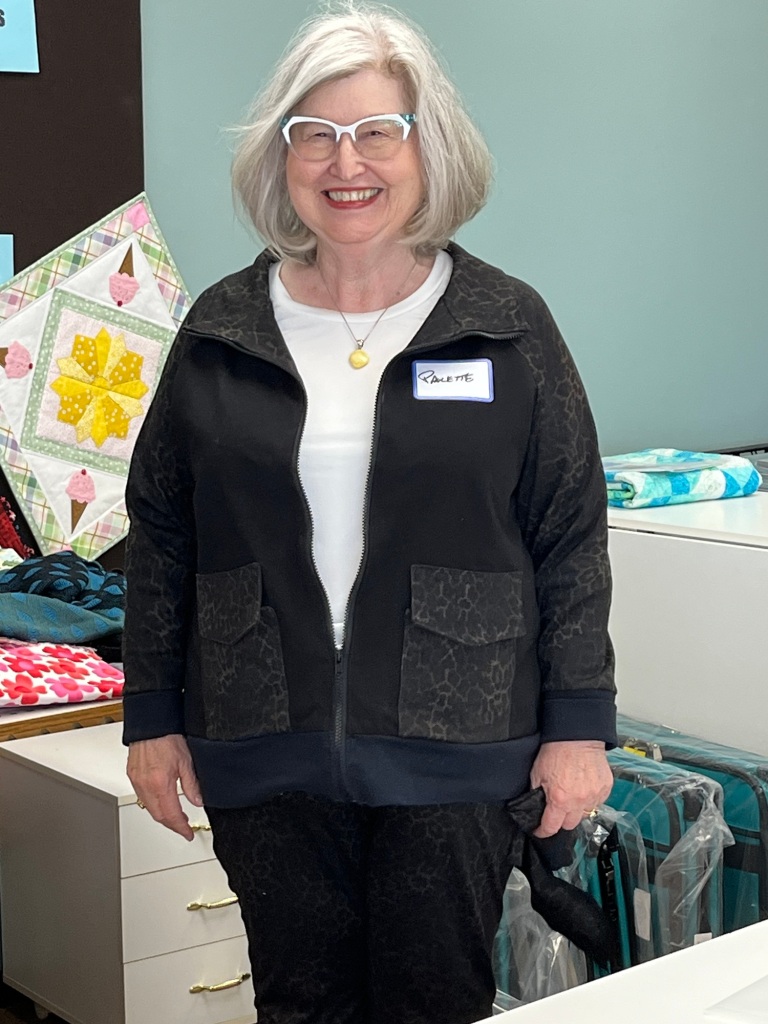
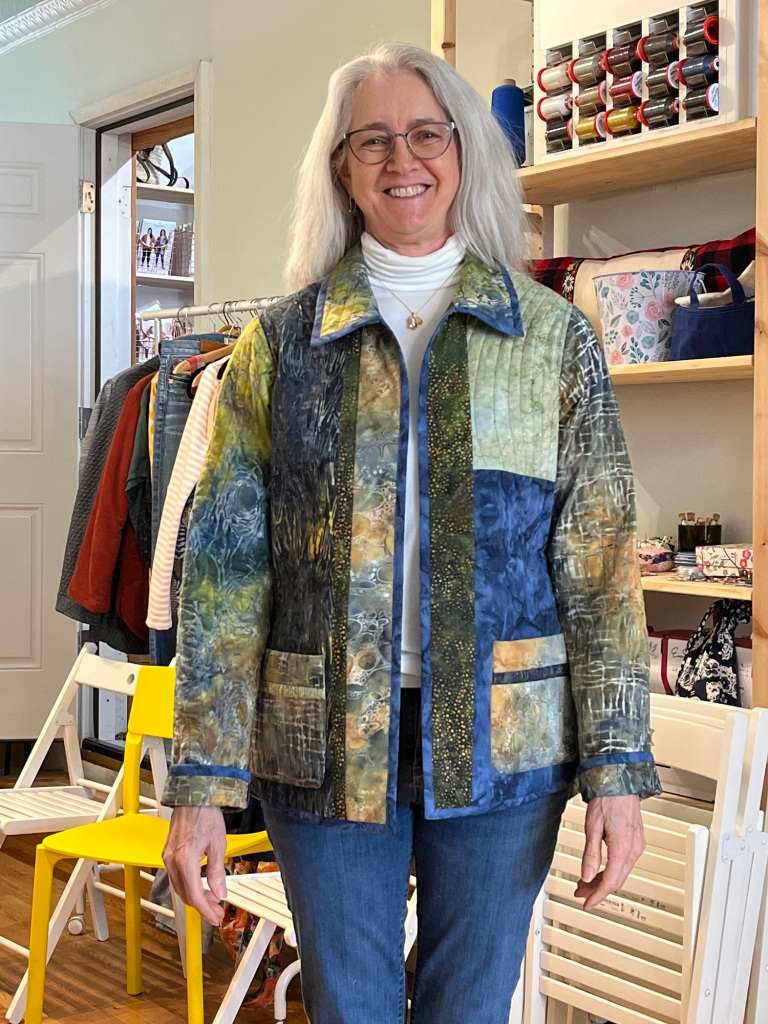
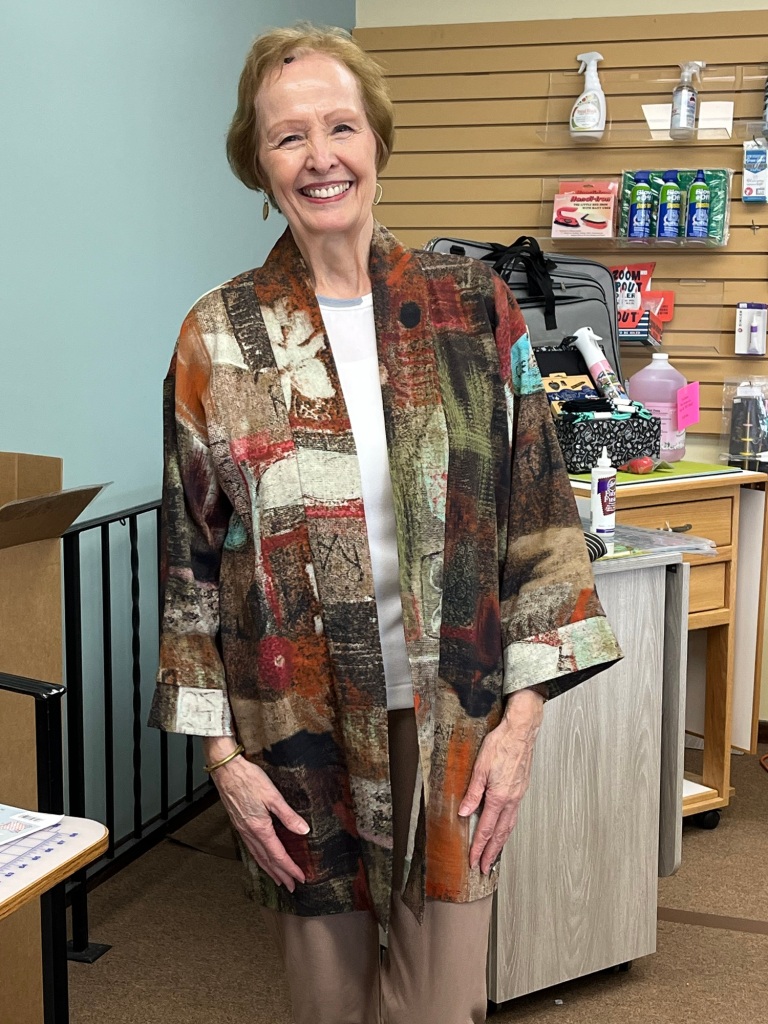
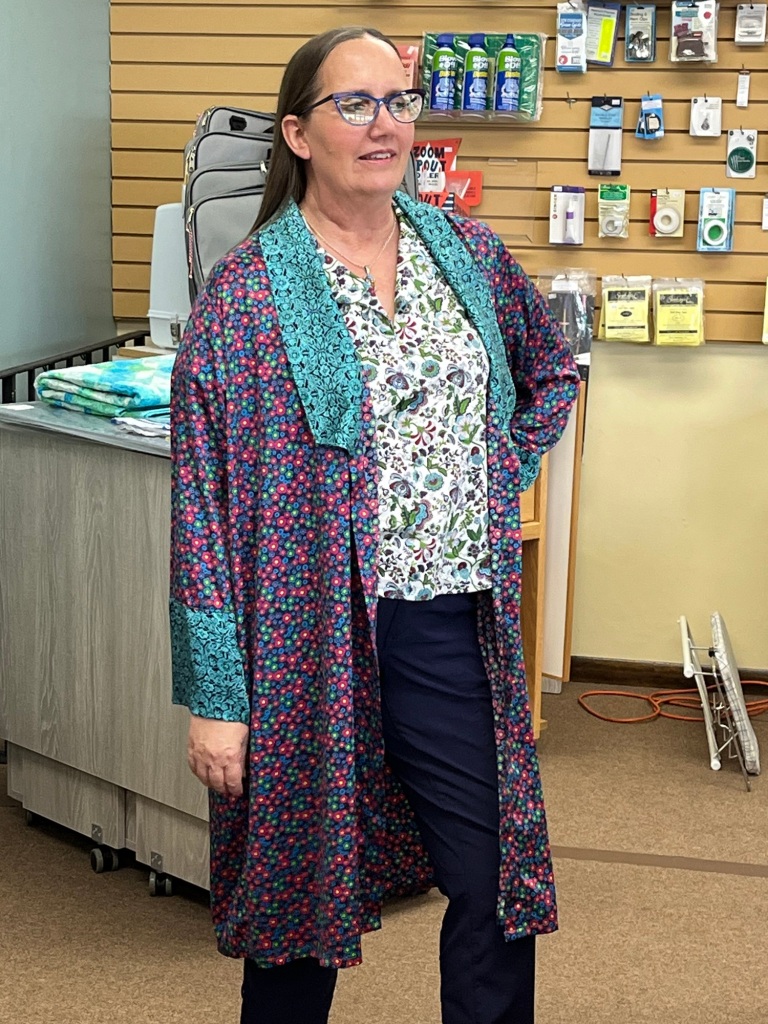
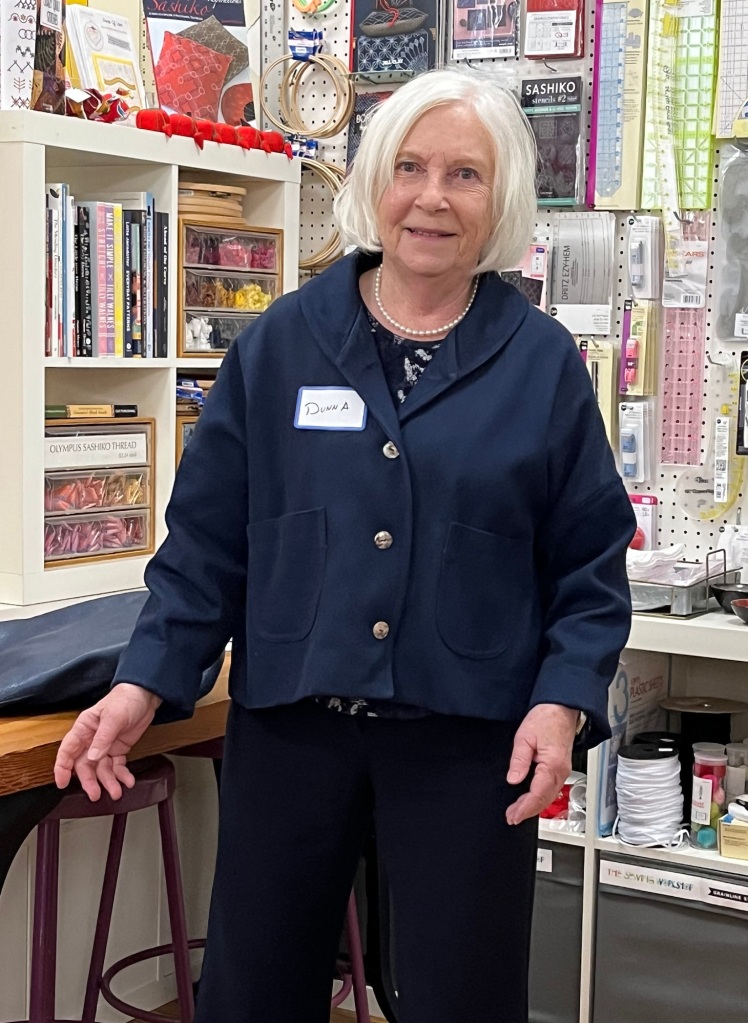
1. Fitting adjustments include shortening front, back and sleeves between shoulder and bust and shortening sleeve lengths. I did a narrow shoulder adjustment, narrowed sleeves at hem and cut collar size down by 3/8 inch all around.
2. I did interface the collar, shoulder seams and center fronts and hems. Because I did not line the jacket I did not interface the dart tips.
3. I omitted the pockets also because I did not line the jacket.
4. It is a fun pattern with very good illustrated instructions. If I make it again I would use wool or a boucle.

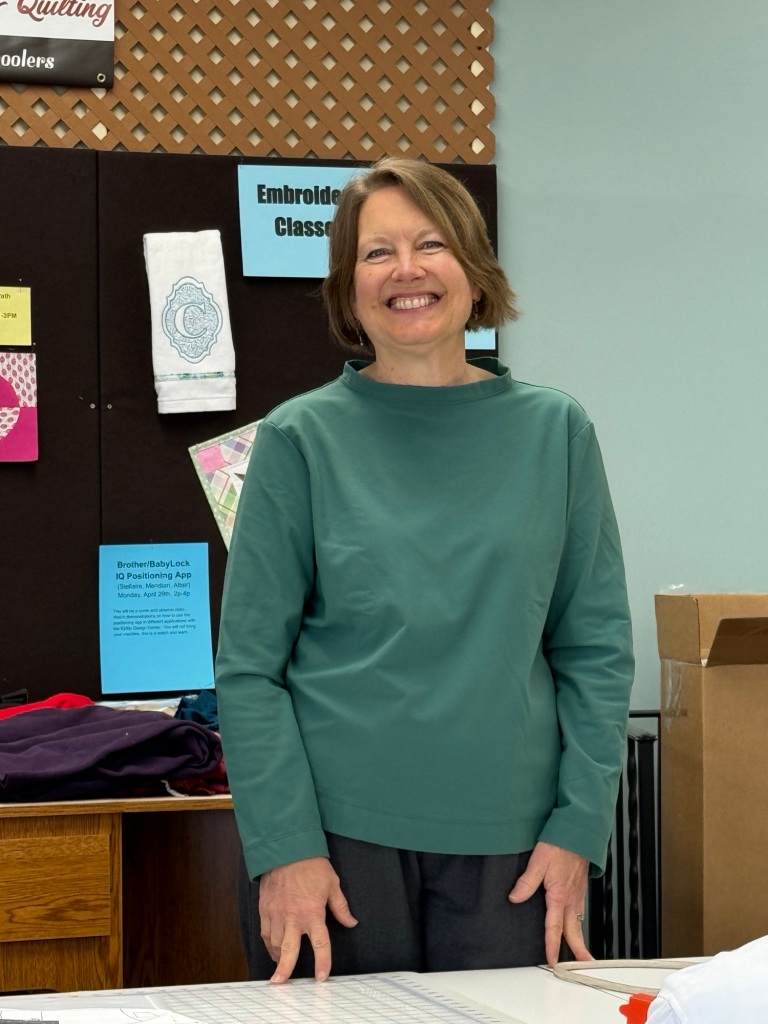
1. I love a boat neck tee. The neck on this tee is unique so I had to give it a try.
2. After trying to decipher the printed pattern included in the magazine I decided to trace the neckline pattern pieces only and used them as a template on my favorite tee shirt pattern (Butterick 6848.)
3. The instructions are vague and it seemed just wrong to construct the neckband using the pattern pieces the pattern supplies. Instead I cut a 2 and 1/2 inch strip for the front neckband and did the same for back neckline cutting that strip about 2 inches shorter than front neckband. I quartered the neckline, overlapped the front band over the back band at the shoulder seams and quartered the neckband. Matching the quarters I basted the band to the neckline. Once the band was basted and I was satisfied with the result I went on to complete the tee shirt easily.
4. The magazine is similar to the Burda magazine. Great for Inspiration but not so much for construction.
1. This is a TNT (Tried and True) pattern for me. It is easy to construct, directions are excellent and works well with many types of knits.
April Garment Sewing Group
Thursday, April 11, 10:30, Creative Sewing Apple Valley
Saturday, April 13, 10:30, Lakes Makerie, Minneapolis
*Wednesday, April 17, 10:30, The Sewing Lounge, St. Paul
*Please note – this is the 3rd Wednesday of the month-not the second Wednesday that we usually schedule
Kristin’s Garments:
1. Thought it might be a nice boxy fit tee but not so much-wider neckline, wider shoulder but not quite drop.
2. Folded the balloon sleeve down to normal sleeve.
3. Neck edge was supposed to be turned under and stitched-no band. I added band and it stood up a bit-not small enough but also doesn’t choke 🙂
4. Fine pattern, just doesn’t earn a spot in my permanent collection.

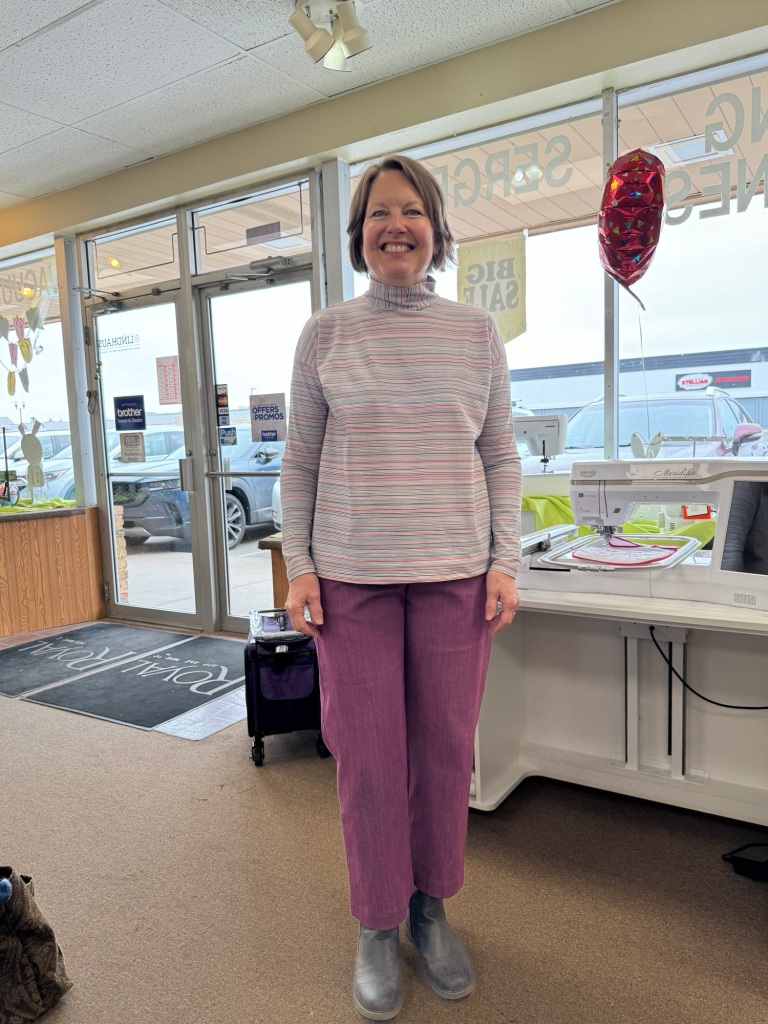
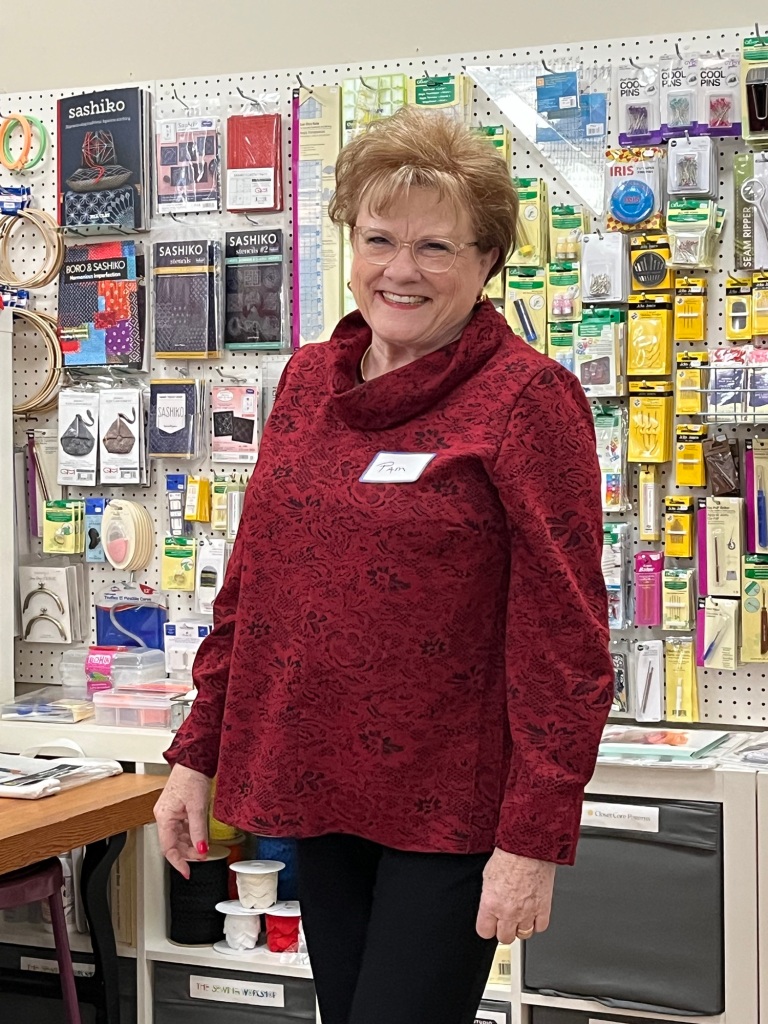
1. “Somebody” said it was their favorite turtleneck-looser fitting-so I had to try.
2. Shortened and widened turtleneck and widened sleeve and armhole. Also tried the size 2 vs. size 3 body.
3. Sleeves are quite narrow, even in the Art Gallery knit.
4. After 3 tries I’m going back to “my” favorite turtleneck 🙂
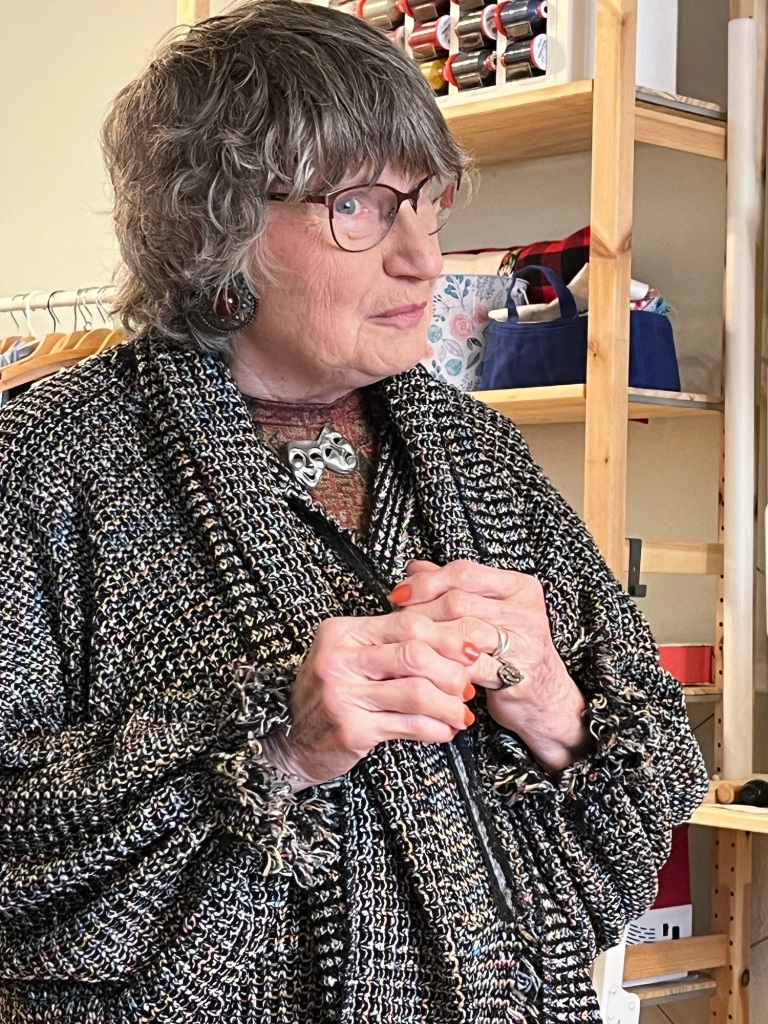
1. Originally my muslin, but over time (and experience), I realized that the wide wale corduroy I had intended for the final garment wouldn’t be appropriate so carried on and made wool version my final.
2. Shortened the jacket and sleeves by 1 inch. Otherwise made to pattern with a few detours along the way.
3. The front and back yoke are one piece so the front yoke is on the bias. If I were to make again, I would try with the back on bias instead as the front stretched a bit and wouldn’t I rather have that in the back?
4. The other endearing feature of the pattern is the vents on sleeve and bottom hem. The technique, however, is what would be difficult on a thick fabric. It looks good in the drawing but doesn’t really show up when worn-for all the work that it took. Maybe deepen the hems/vents to 3”?
5. Otherwise the drafting was great, everything went together well. I shortened the body of the longer version by 2” and sleeve by 1”.

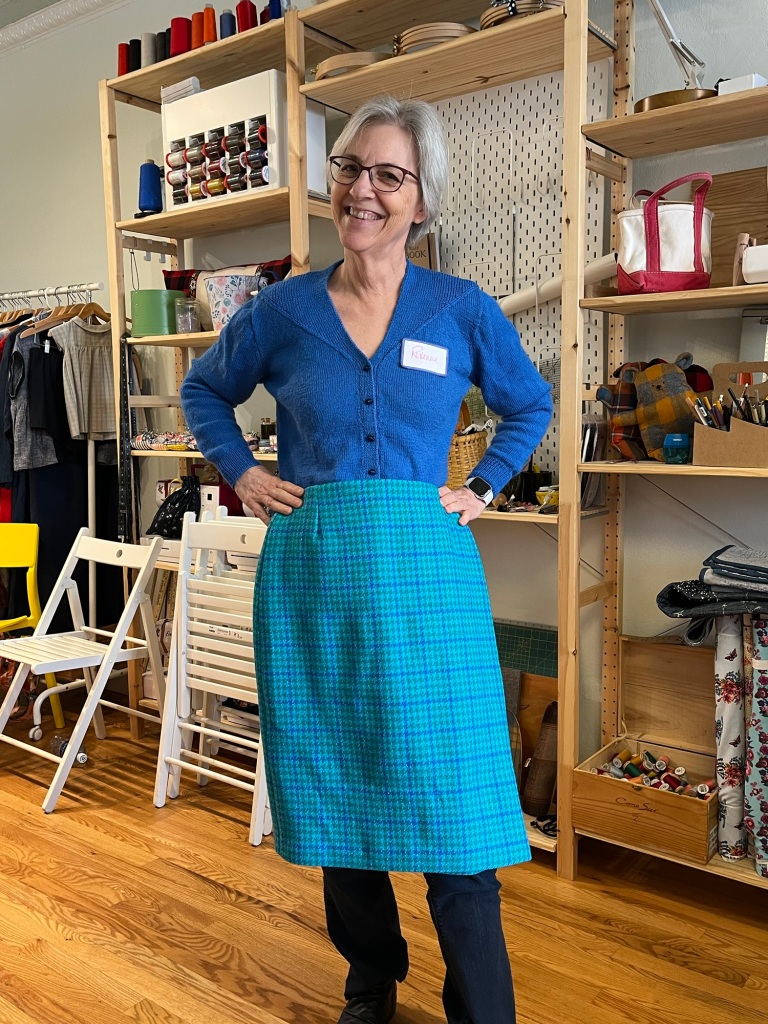
1. Looking for a straight leg pattern but so many are soooo wide. Maybe what I want should be called relaxed leg? These are 20” at the hem-size 18.
2. Simple back dart and fold over elastic waist. I went up one size as I was in middle but may try down size also.
3. They are called a 7/8 length. I cut to pattern but lengthened at hem 1”.
Saturday at the Sewing Lounge was packed with wonderful sewing-the fun continues Wednesday, March 13 at Lakes Makerie and Thursday, March 14 at Creative Sewing in Apple Valley. Don’t miss it!!


Here are the makes from Saturday’s Garment Sewing Group meeting-new people too!